ACR-CV GUI
The ACR-CV GUI is used to do any changes within the LUA script, it allows you to enter interactive mode and to send chunk of codes (for example AT commands to the NB module) for easier integration or to flash a new firmware.
To use the GUI offline, you must first load the webpage in advance. Optionally, you can install the loaded application as a Progressive Web Application (PWA).
GUI Download Explanation
- Open GUI at gui.acrios.com.
❗Note, that our GUI is compatible with Chromium based browsers only (we recommend Google Chrome).
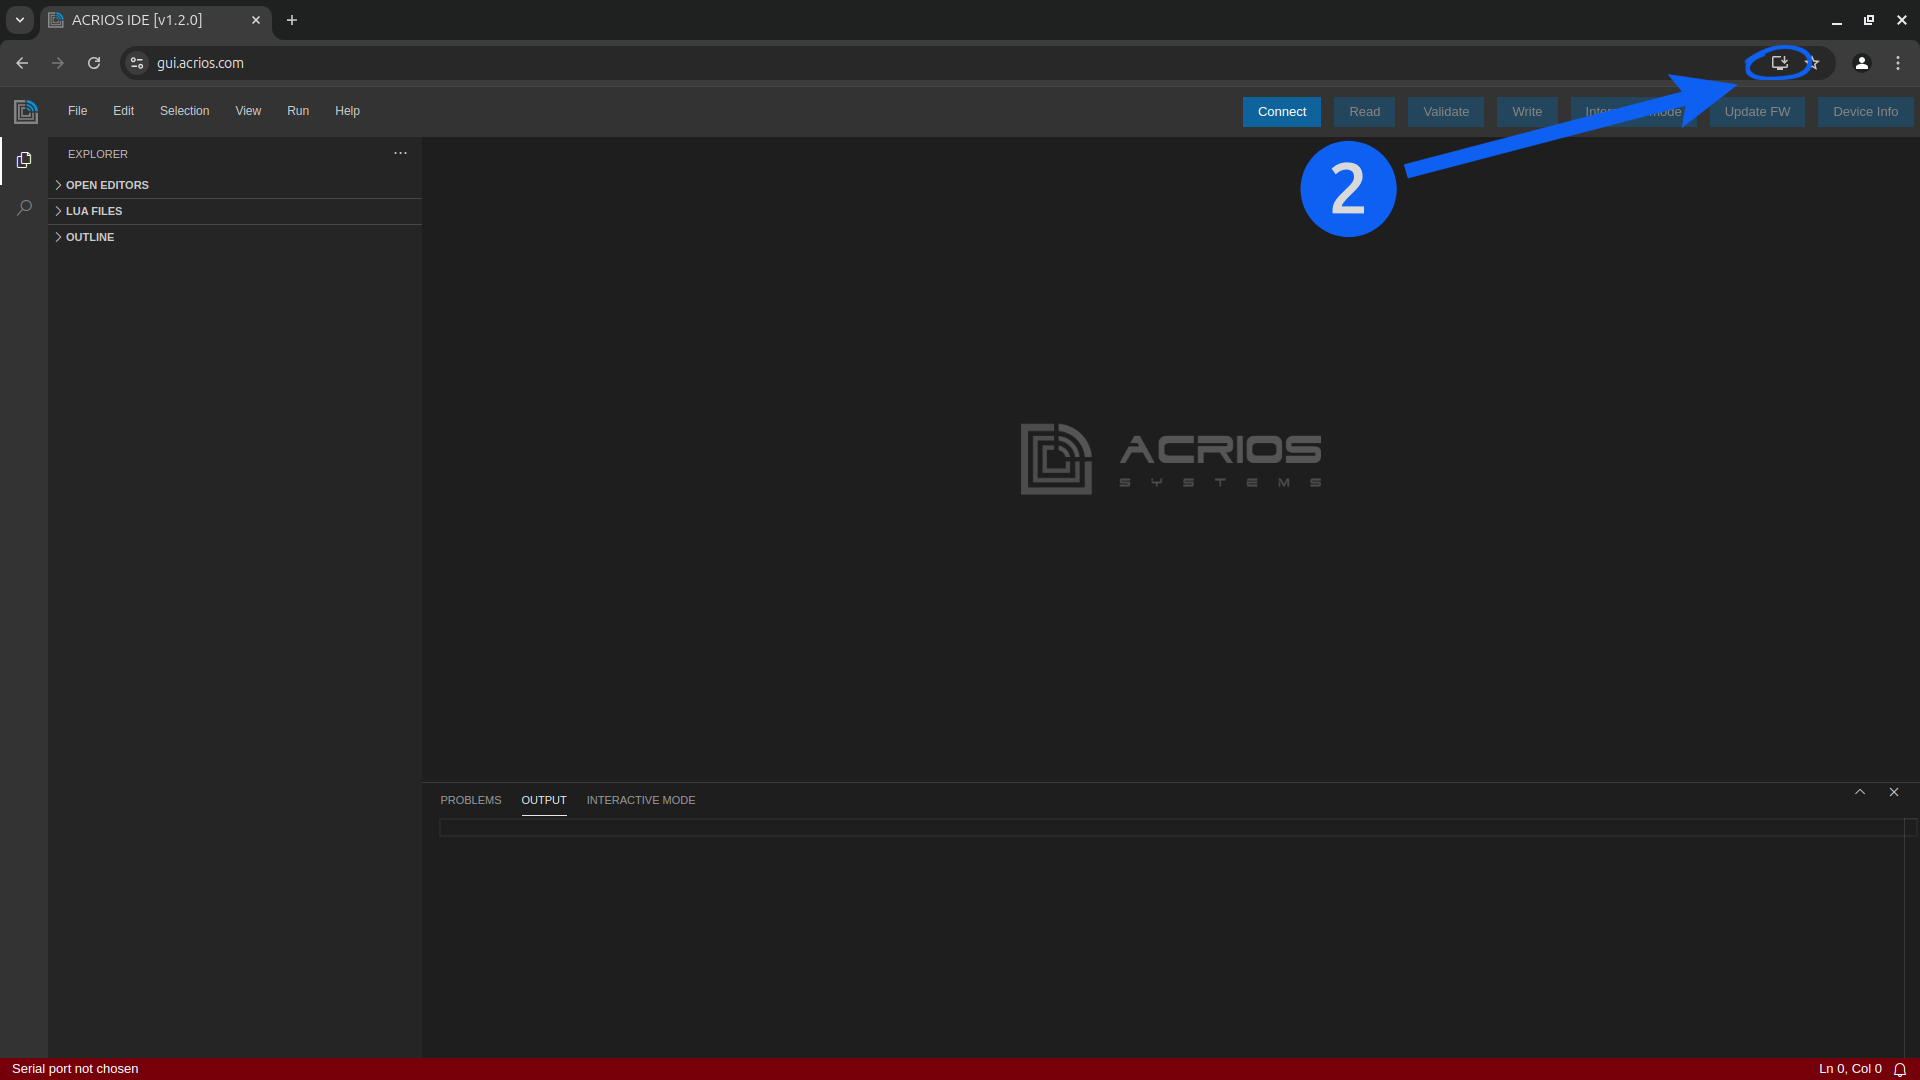
- Click at an icon in the upper left corner and click on "install".
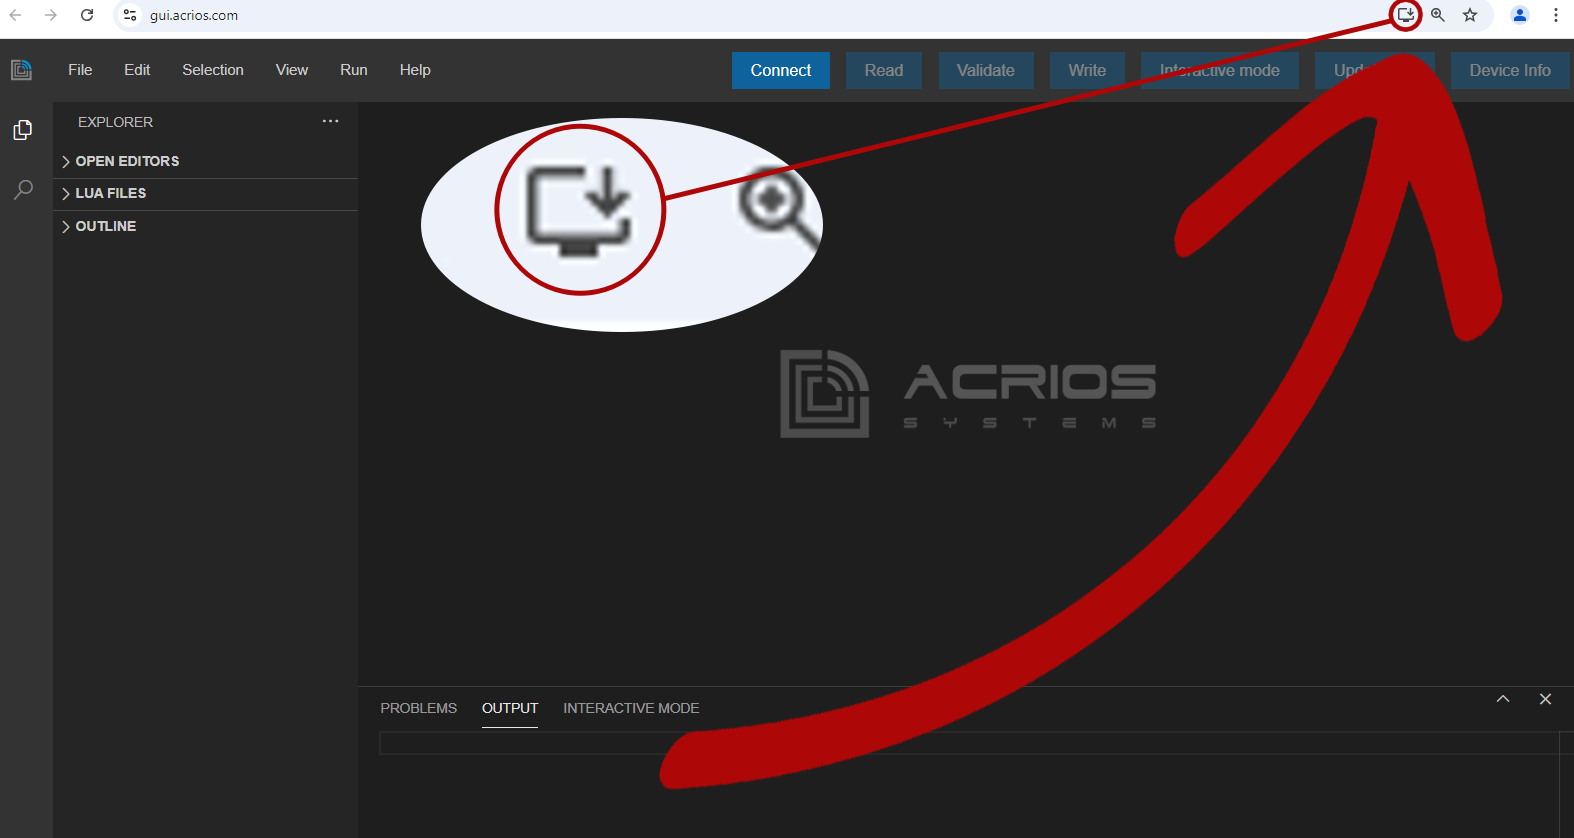

- The local UI should now install and open, but you can close it and open it with the help of an icon that should be on your desktop.
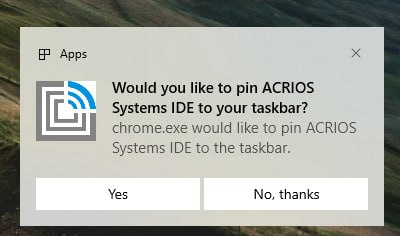
- The GUI also prompts you to pin it on the task bar, if you wish to do so.
Using the GUI
To manage the ACR-CV device you need a Chromium-based web browser (such as Chrome, Opera or Microsoft Edge) and a configuration cable.
-
Navigate to the user interface at gui.acrios.com.
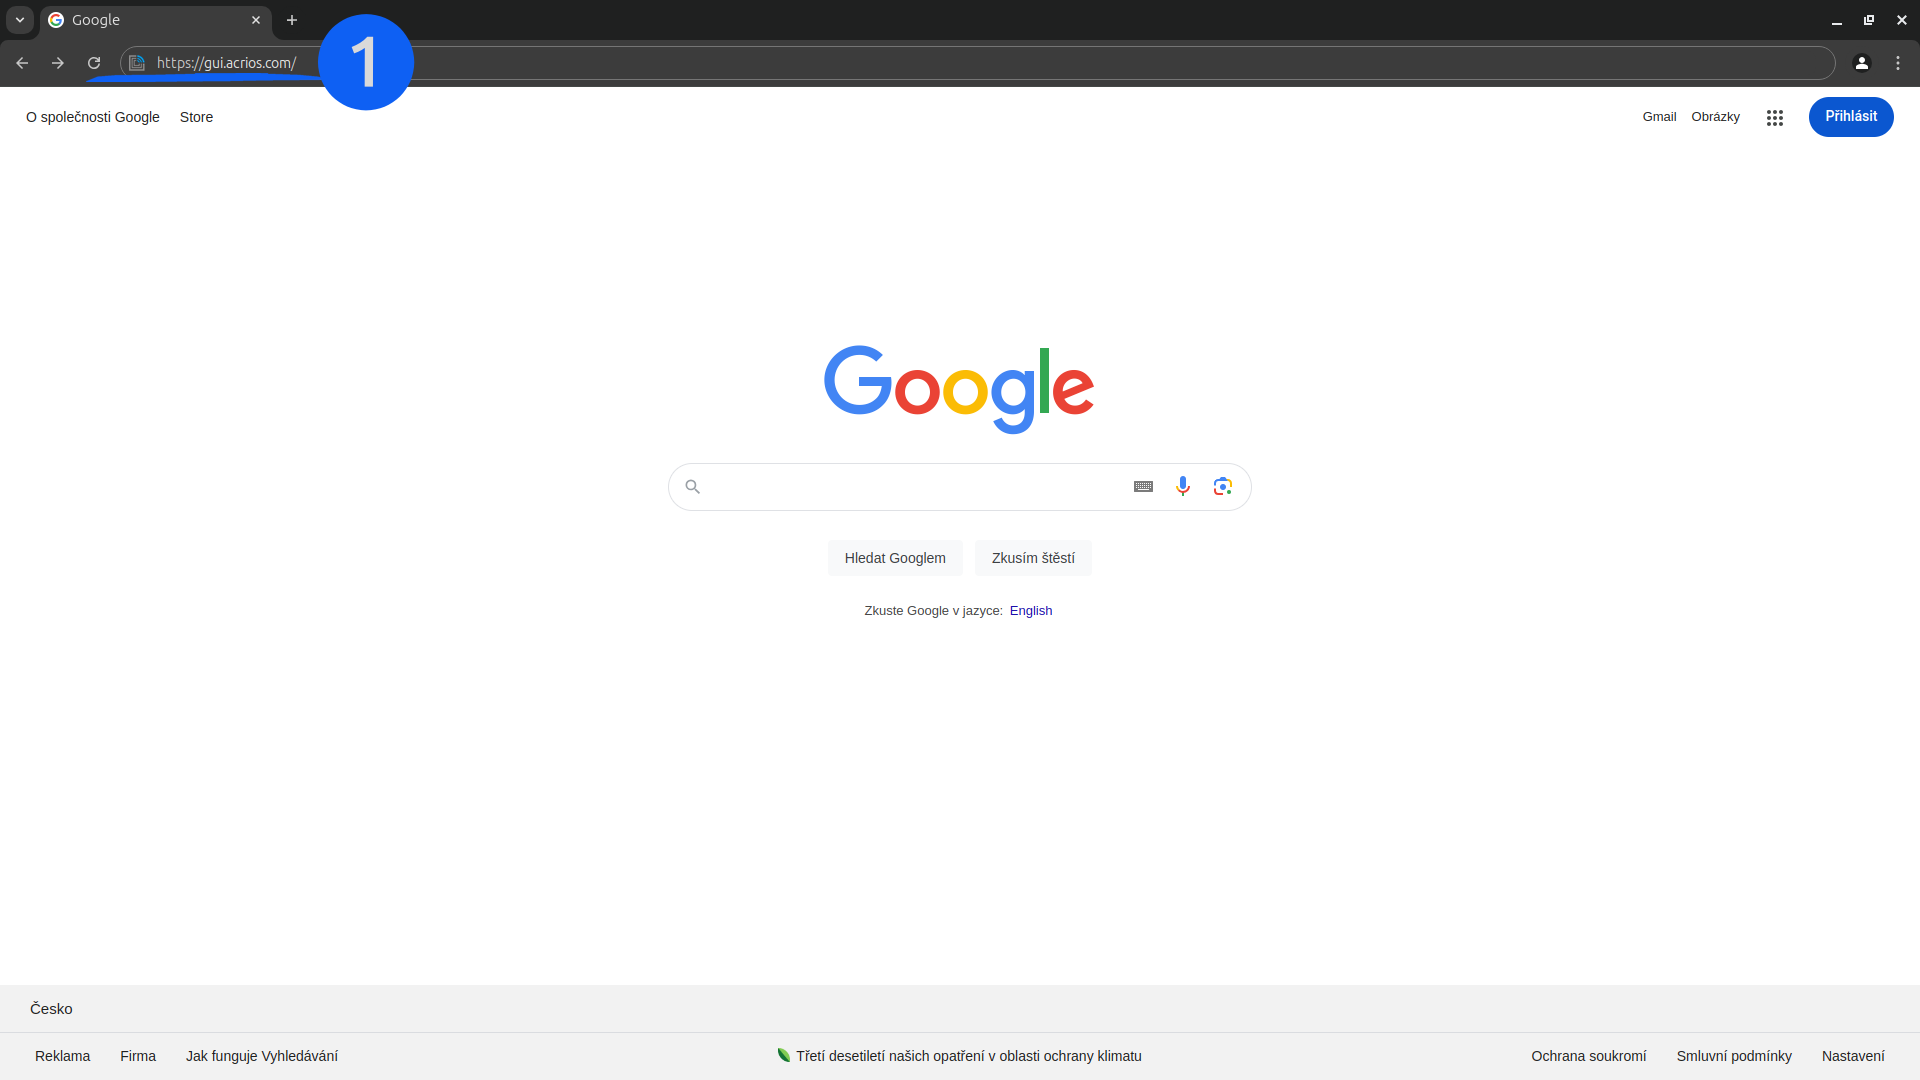
-
Wait for the interface to load completely (this may take a few seconds). You might see a download icon in the address bar, which allows you to install the GUI locally as a Progressive Web Application (PWA).
-
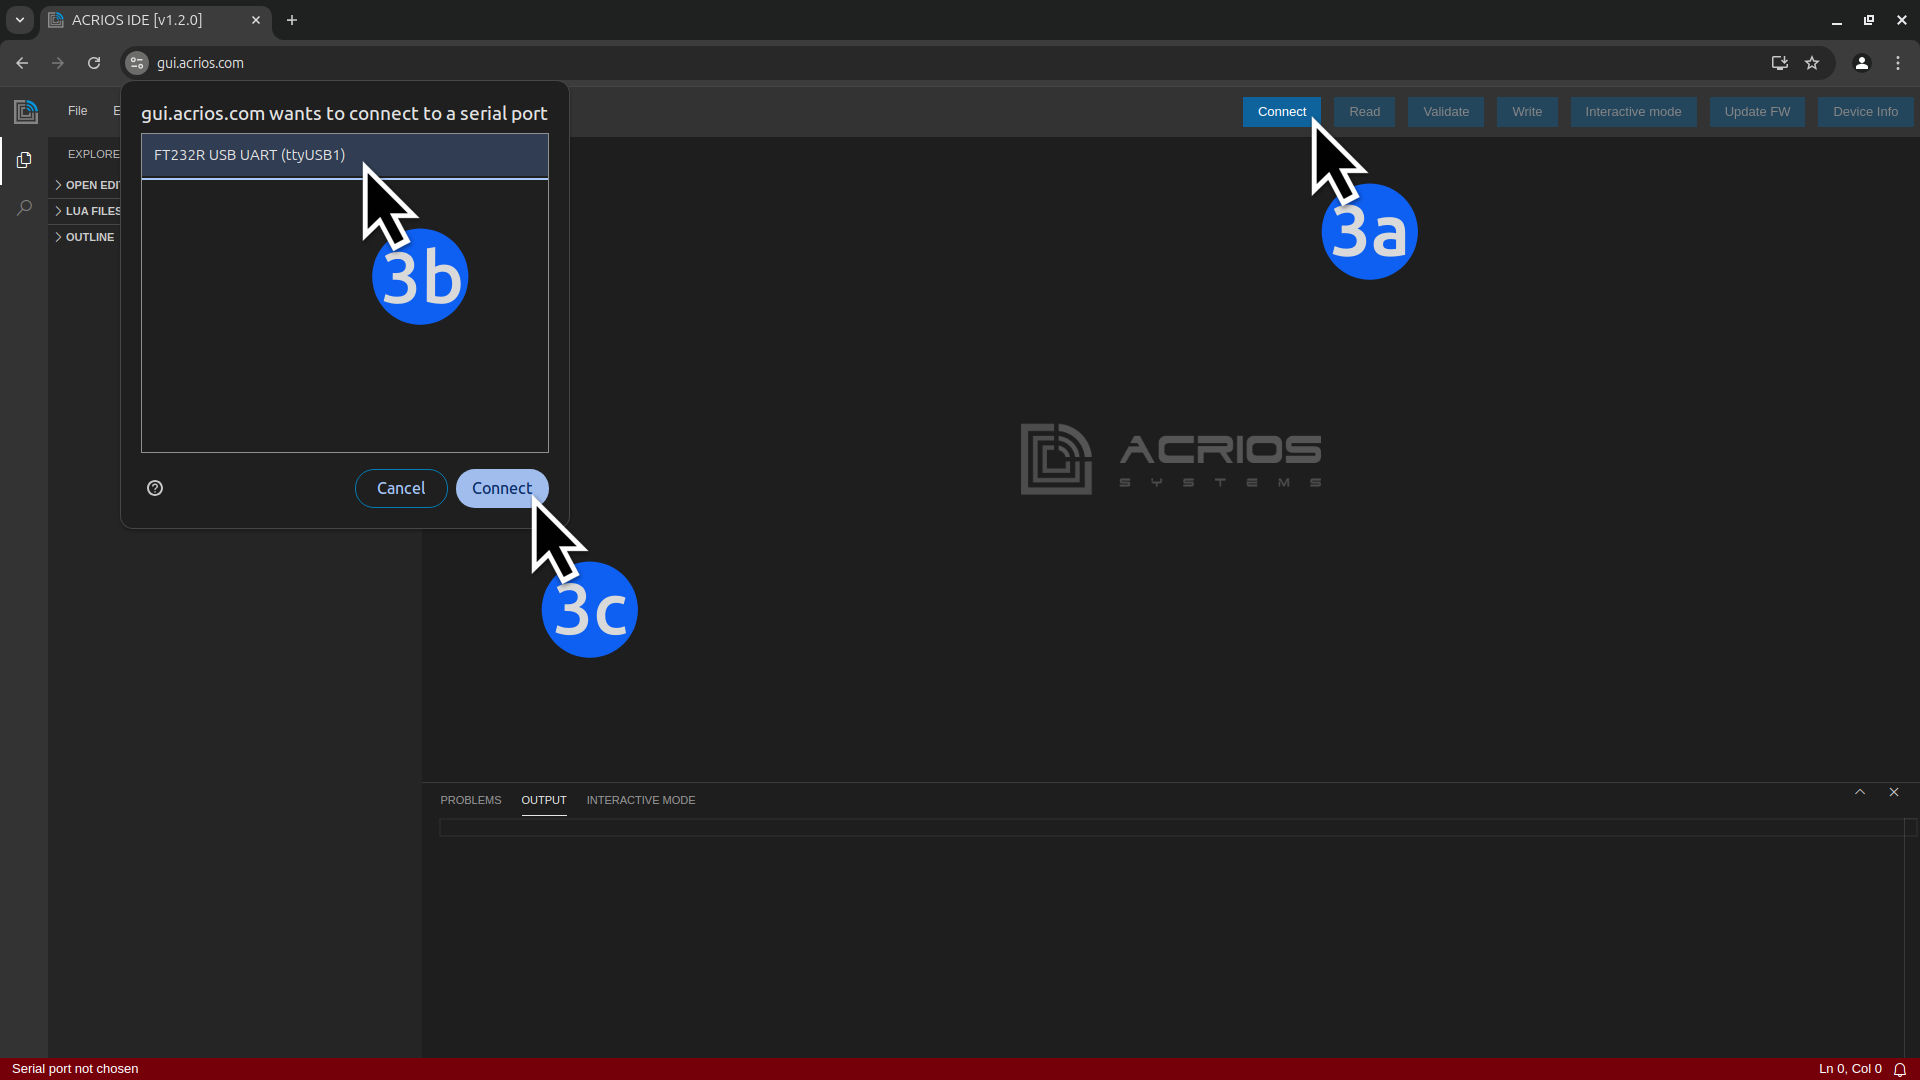
Connect the serial cable to the ACR-CV device and click on Connect button in the interface.
At this stage, you'll be connected to the cable (not the device itself!) and able to read the device’s serial output.
-
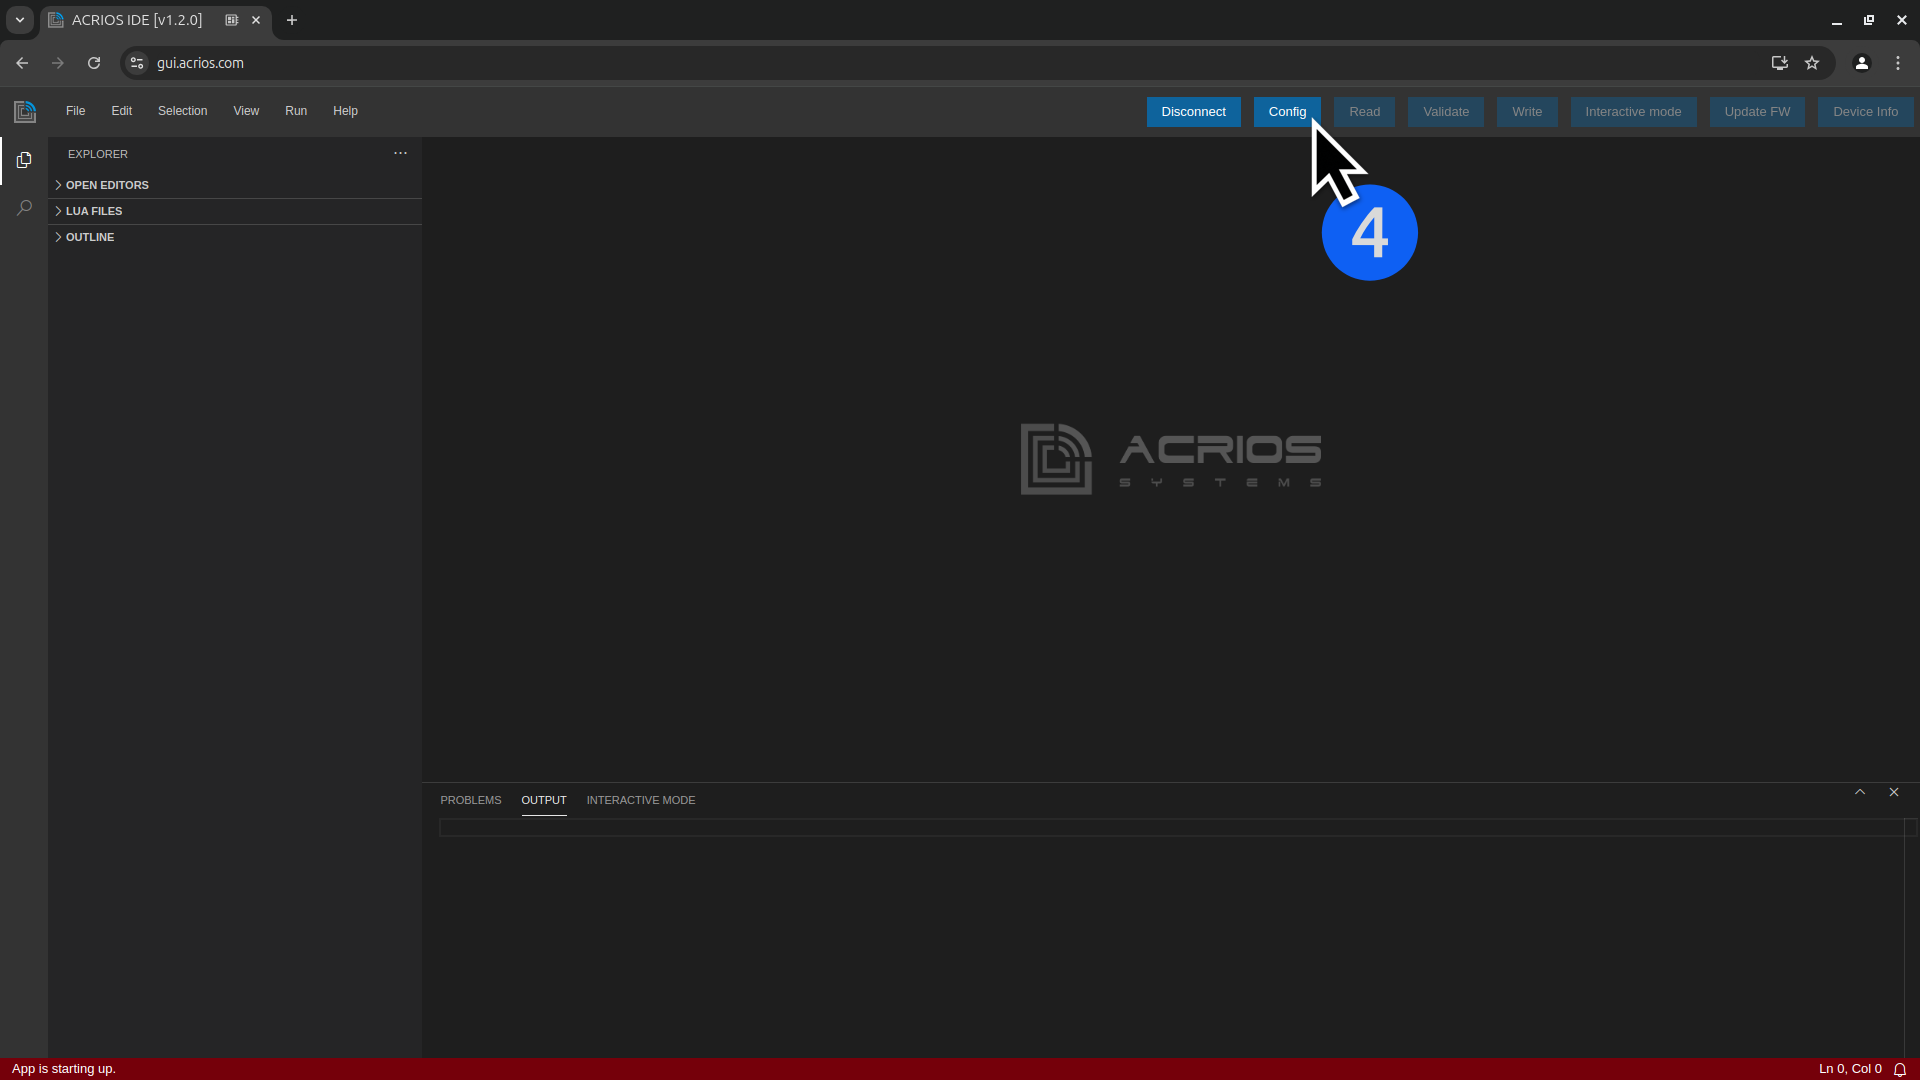
Click on Config button to connect and configure the device.
-
If the device is not detected, it may be sleeping. Press and hold the button on the device to wake it up (use a short press on firmware 2.8.0+ or a long press on older firmware versions).
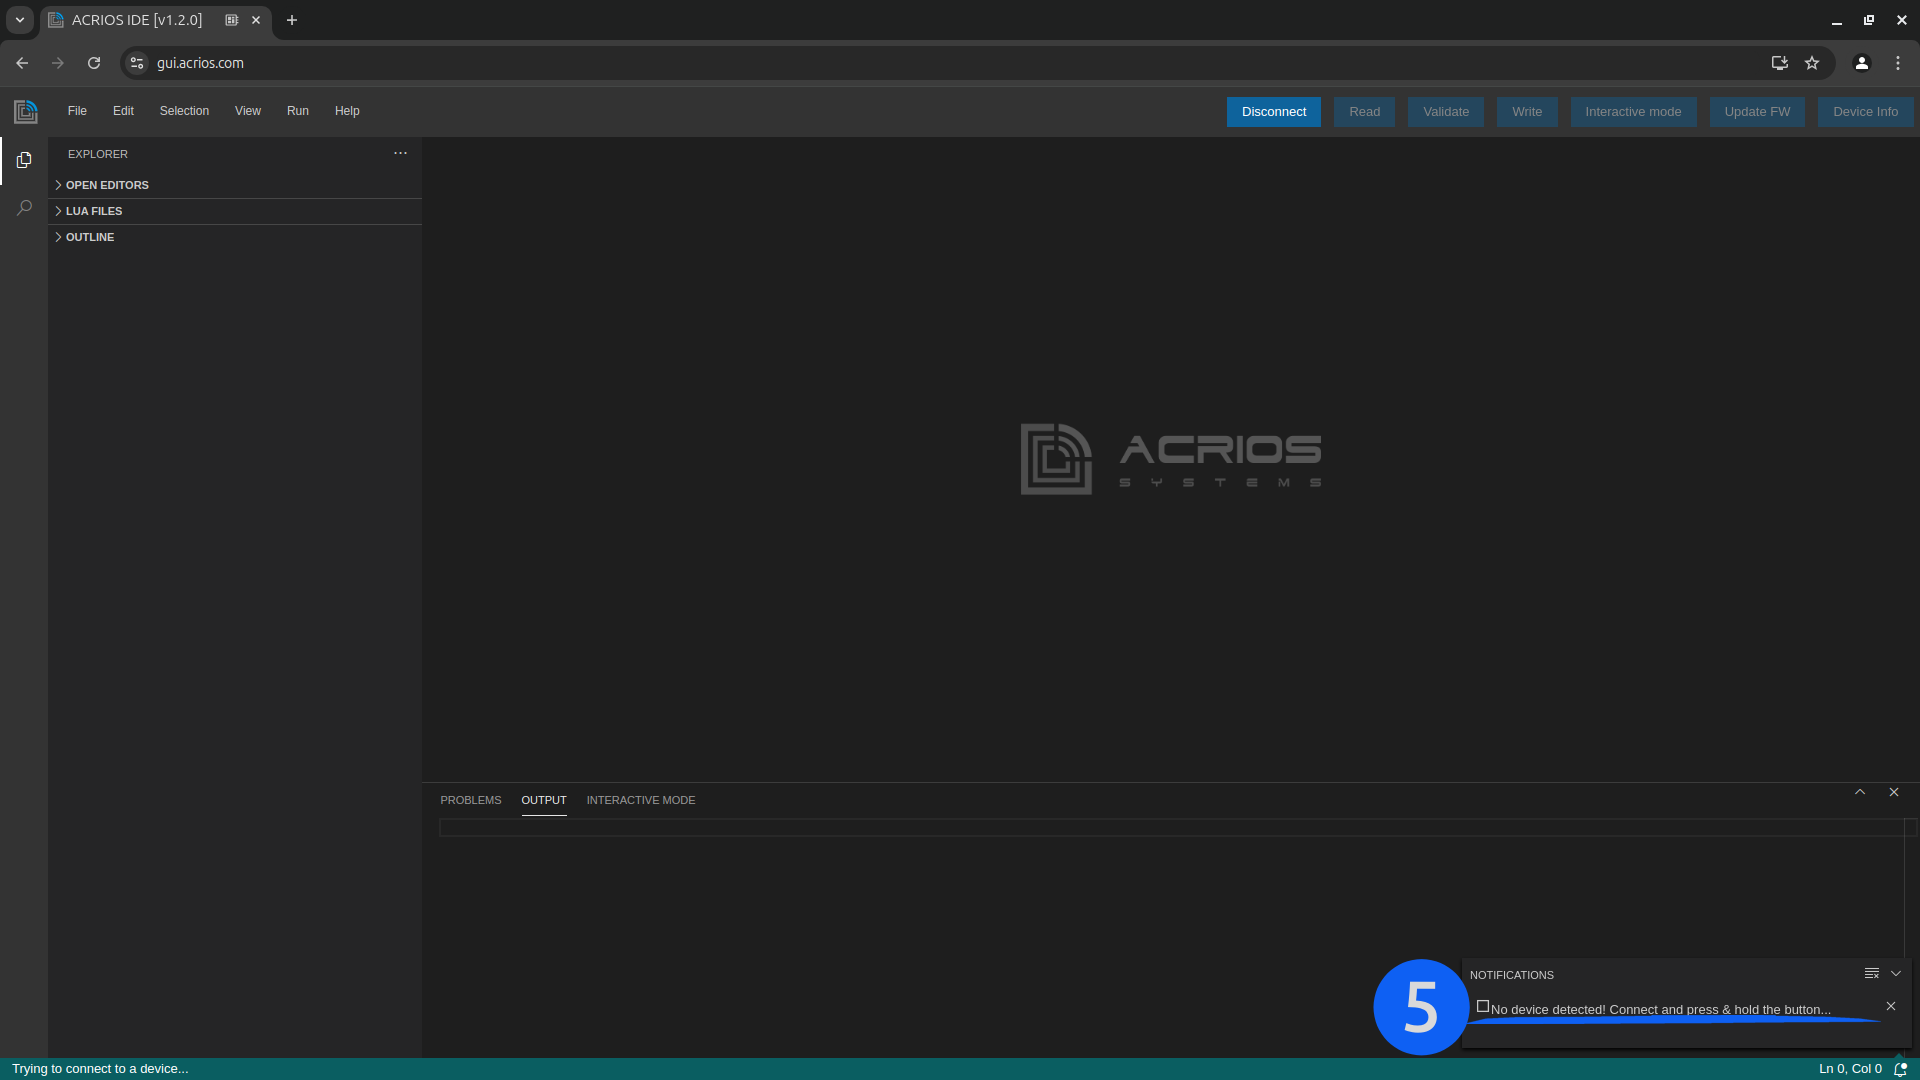
-
Once the device is detected, the interface will read out the device model and firmware version.
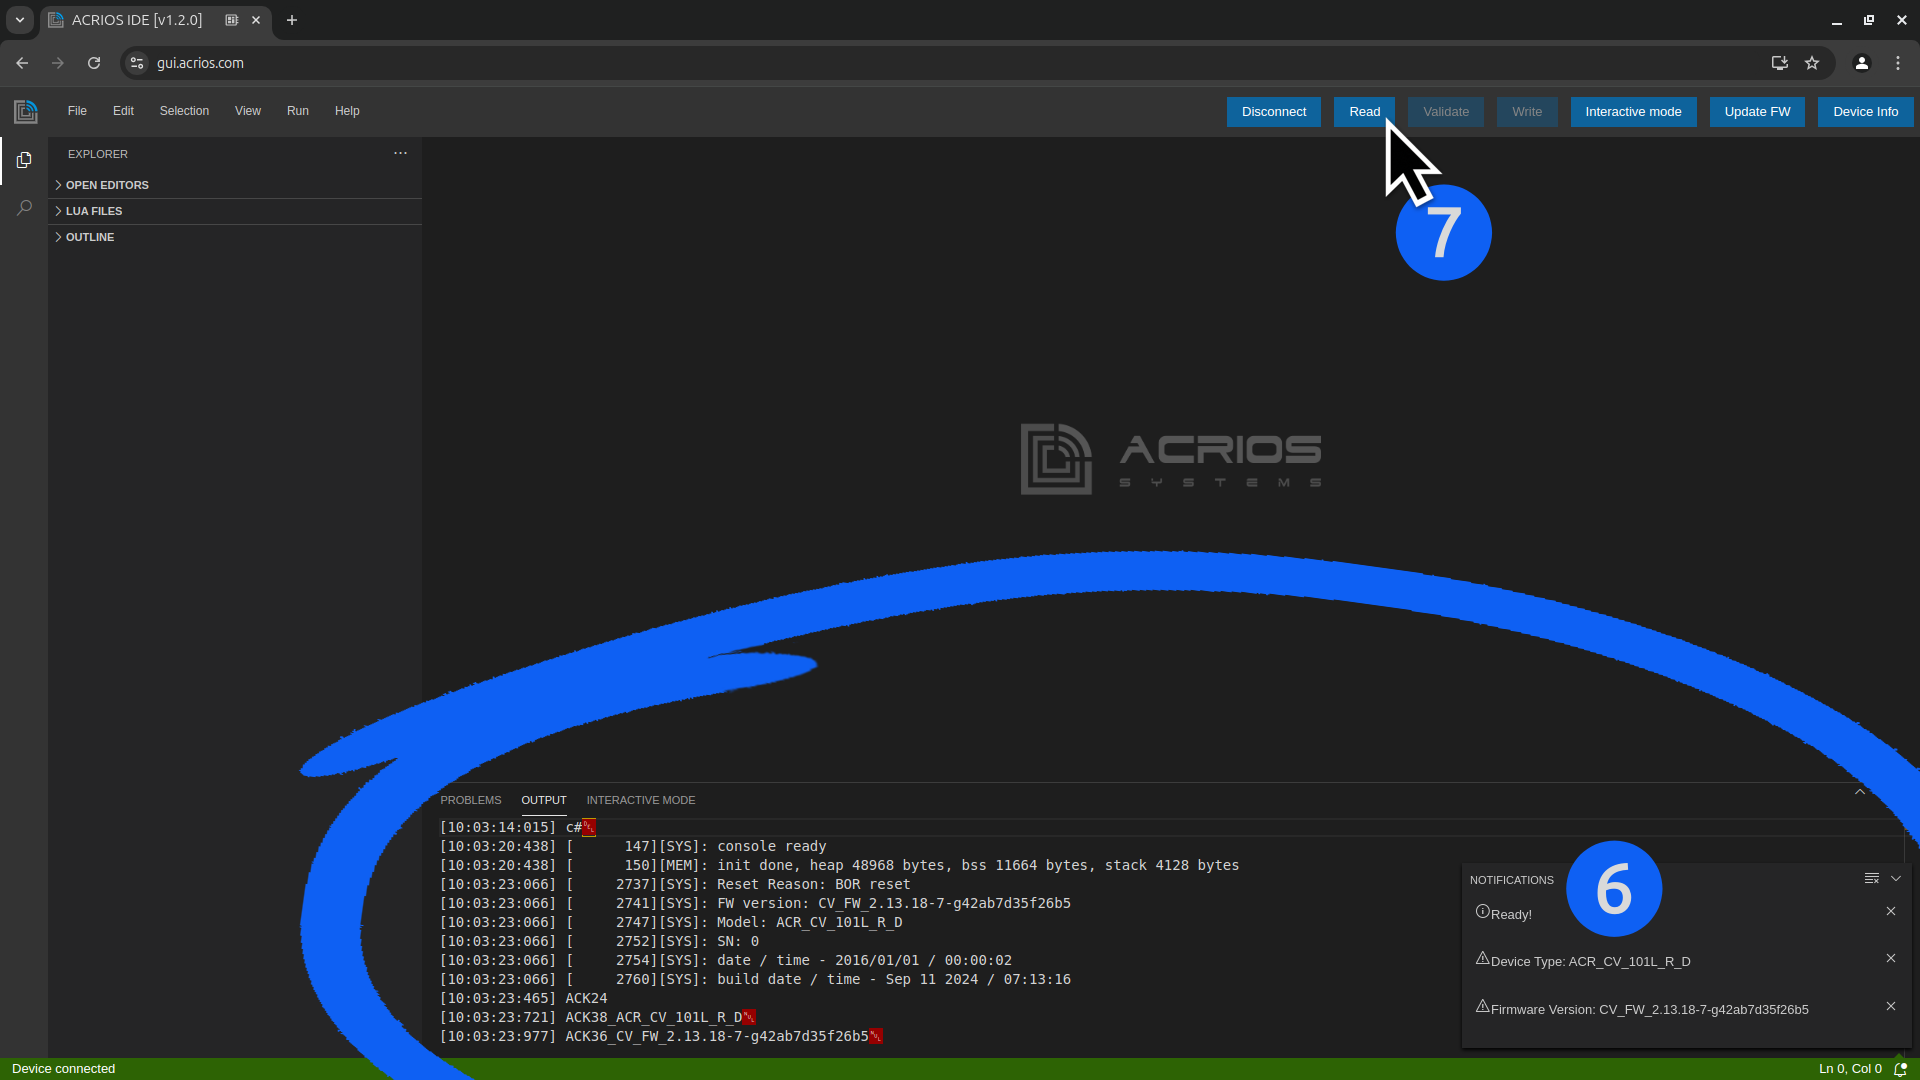
-
You can read the Lua script on the device by clicking the Read button.
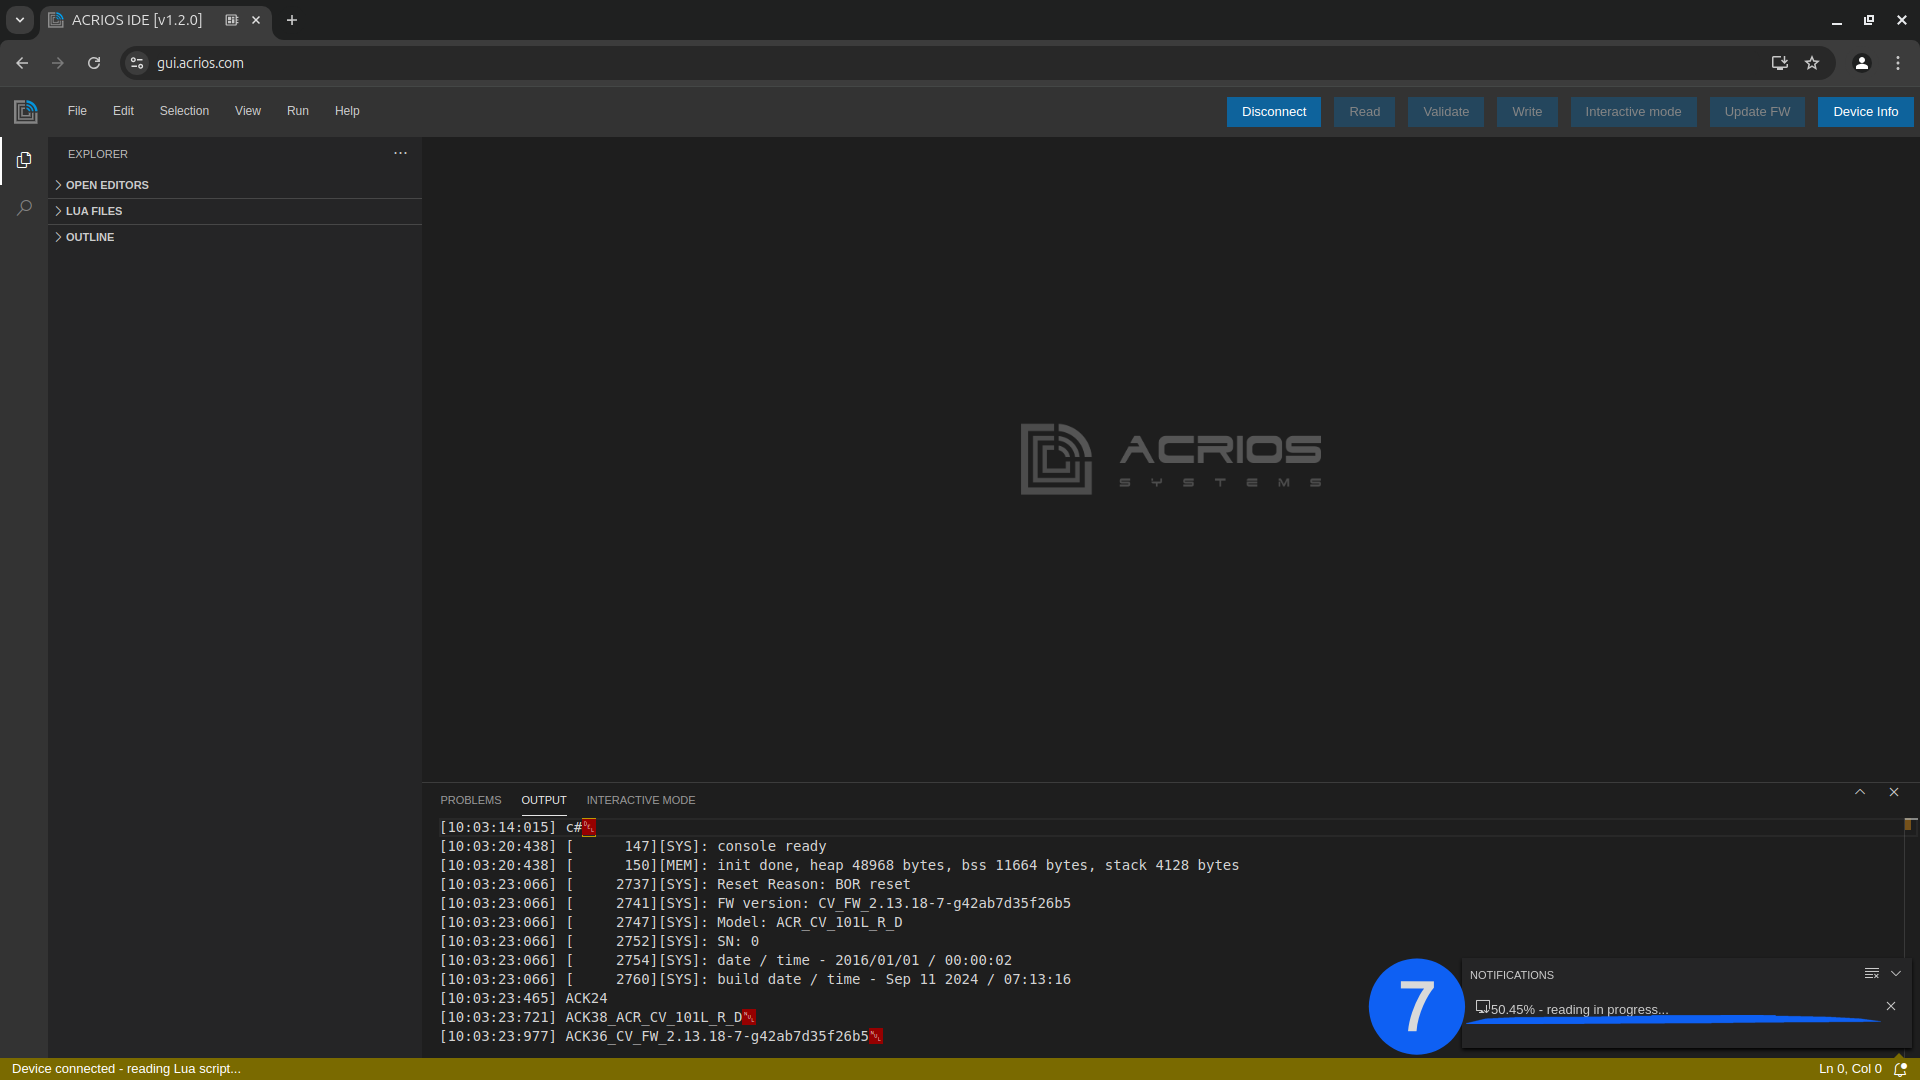
-
After reading, the Lua script will be displayed in a new text editor tab.
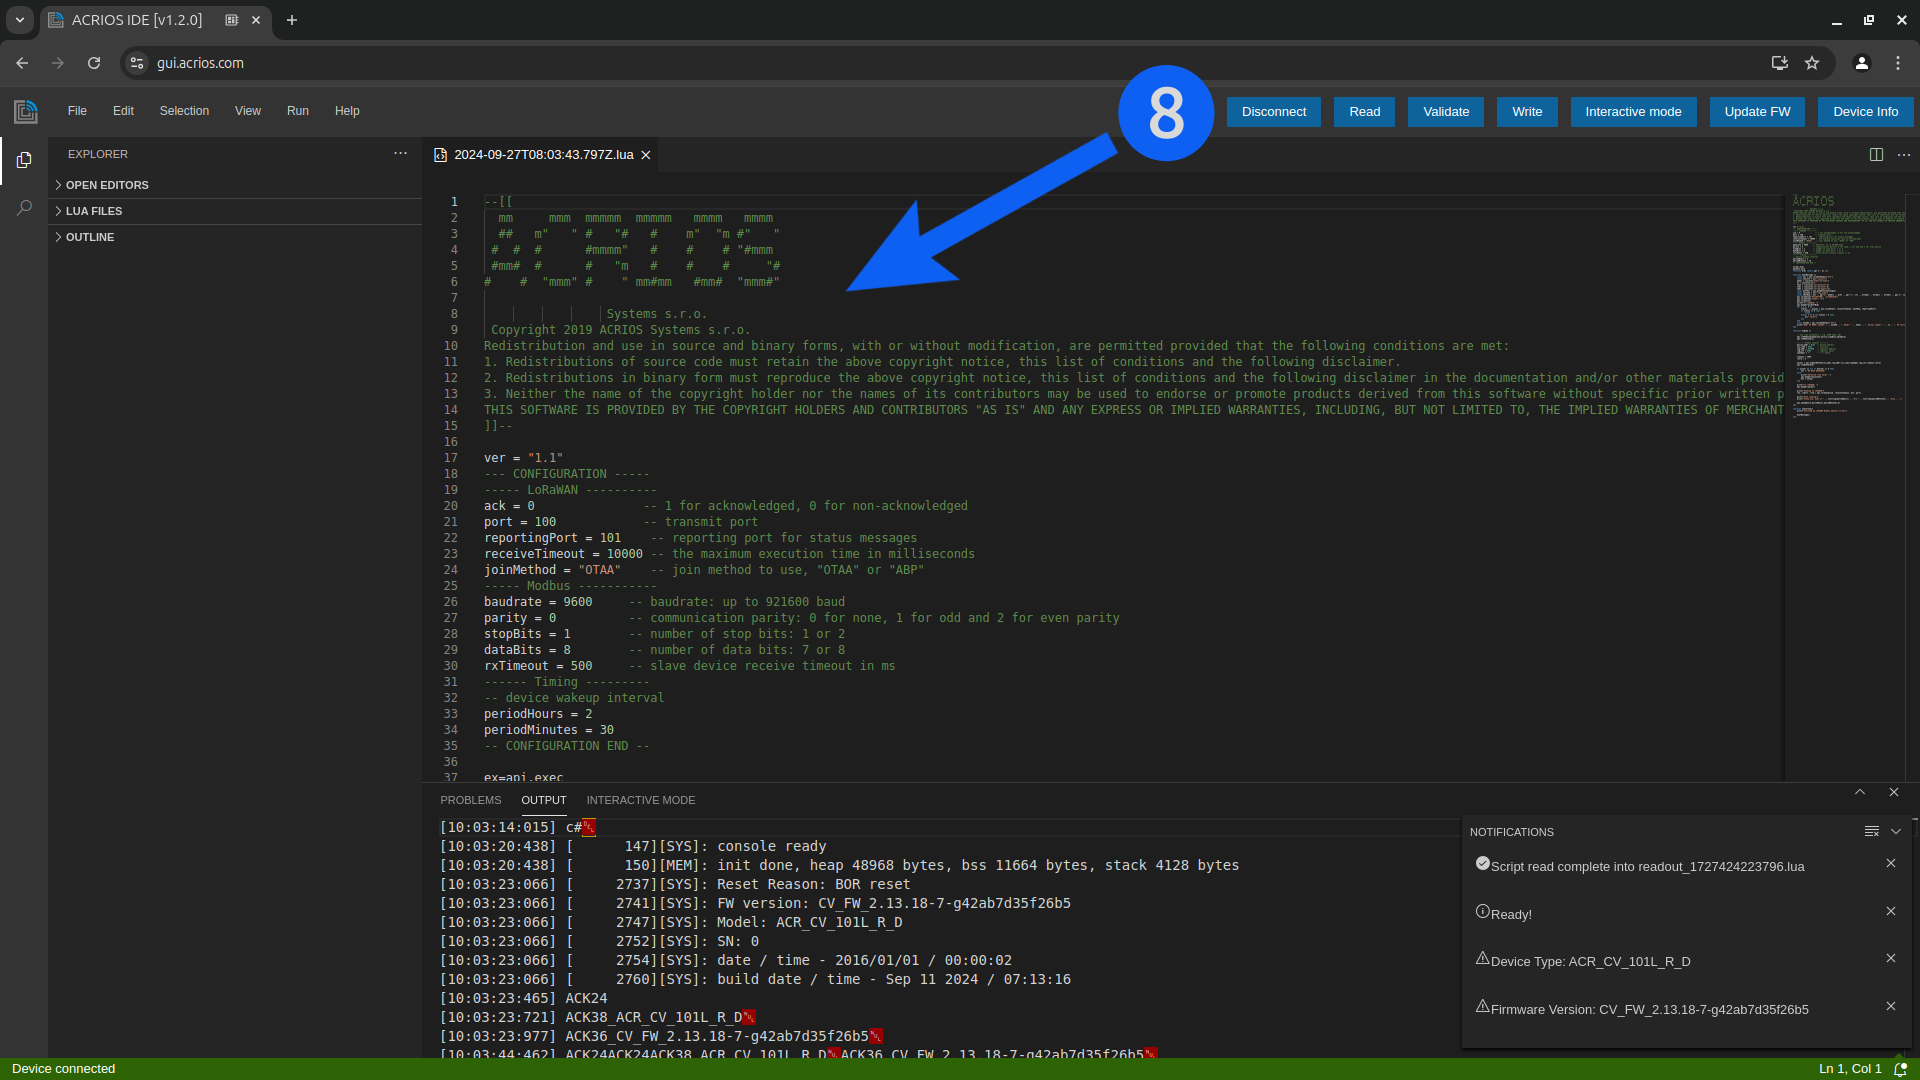
-
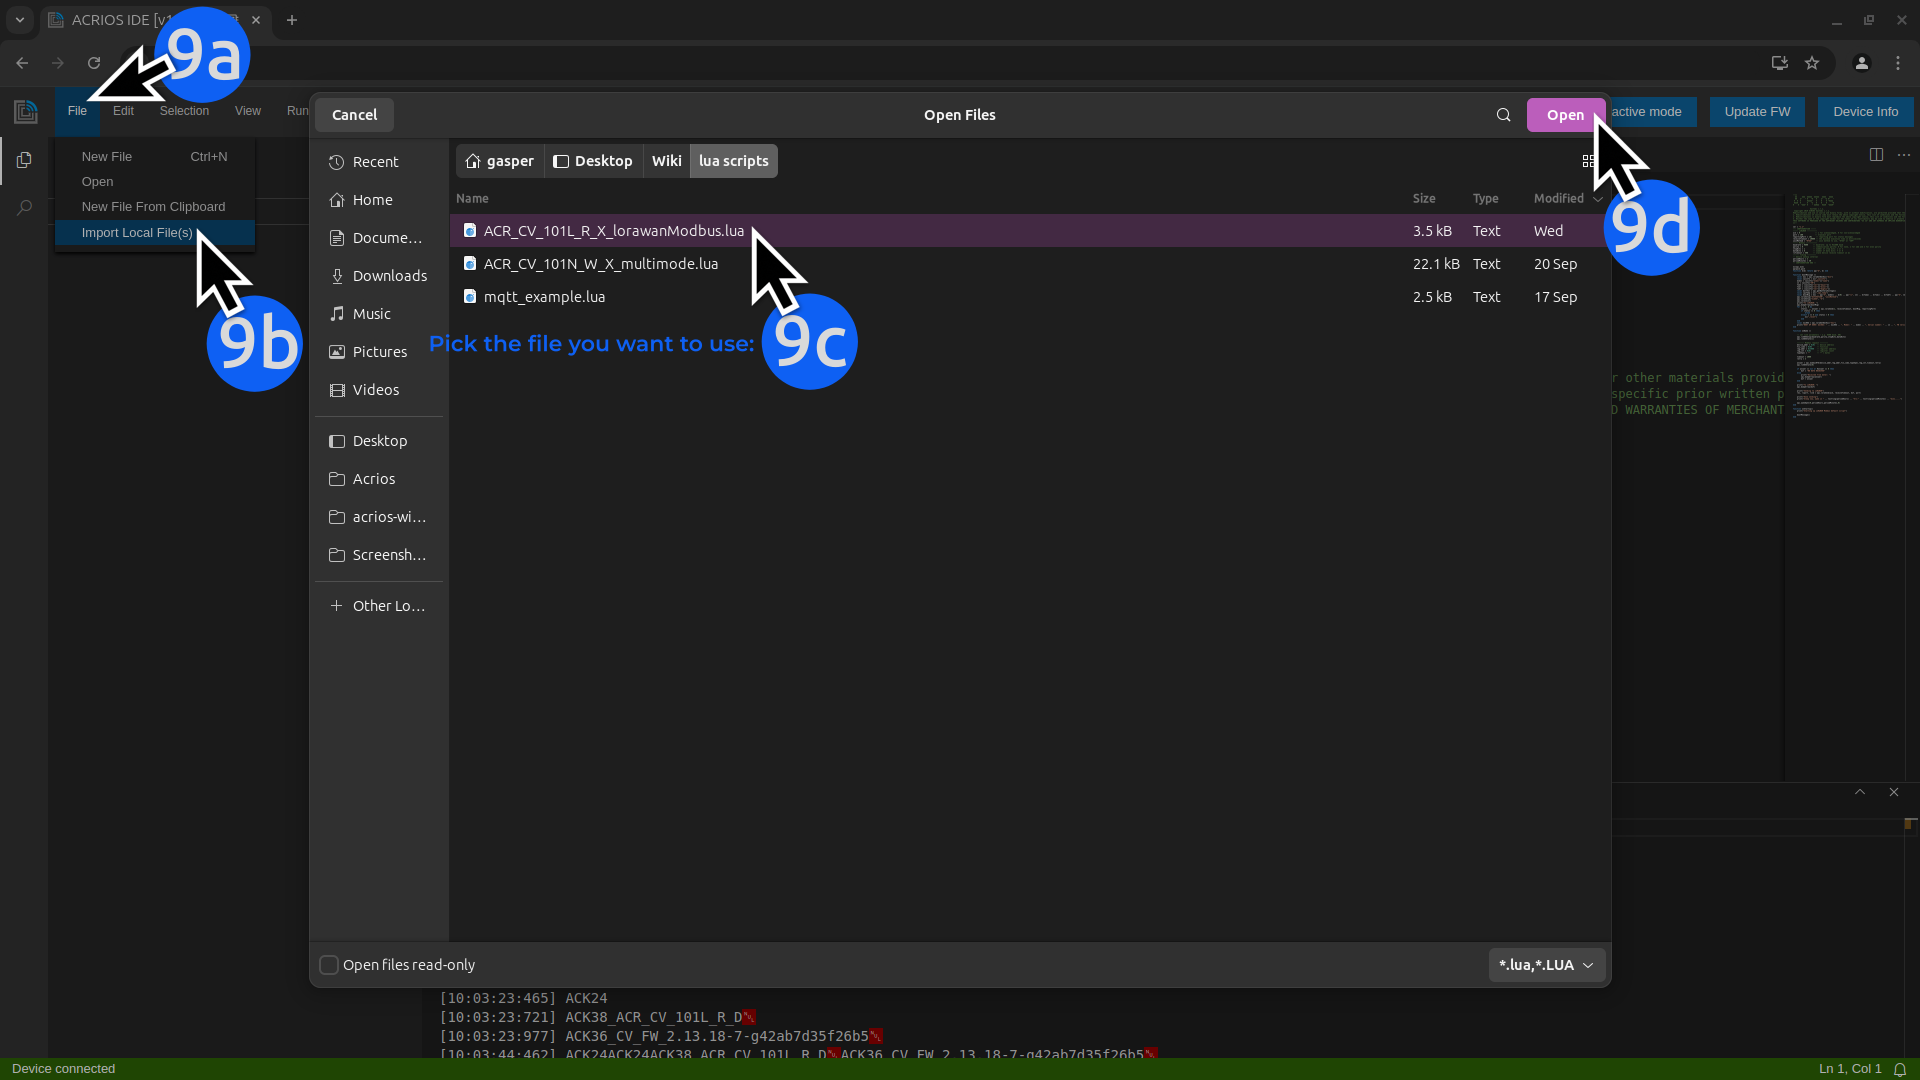
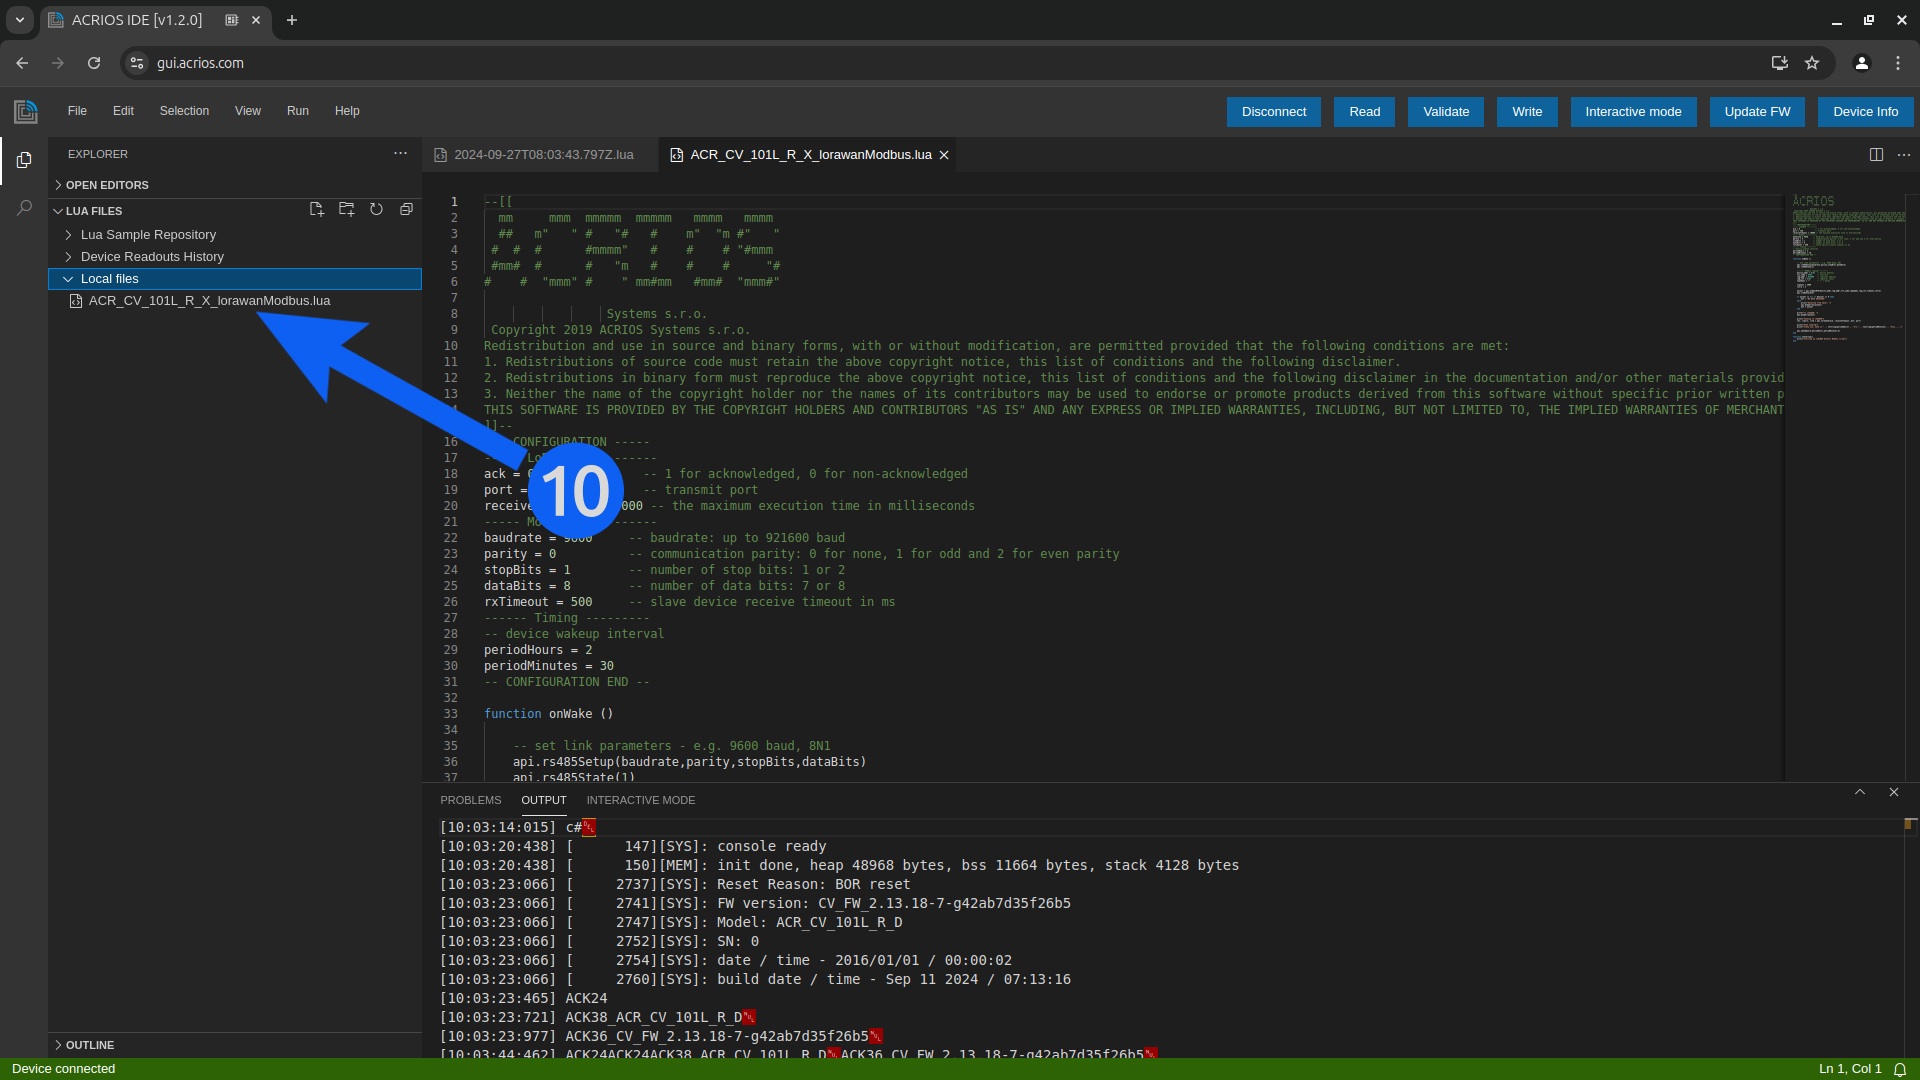
Use the File -> Import local file(s) to import a local file or copy-paste the script into the text window.
Imported files will appear in new editor tabs.
-
Files are stored locally in the browser's local storage. If you install the application as a PWA, the scripts will be stored in the local storage of the app.
-
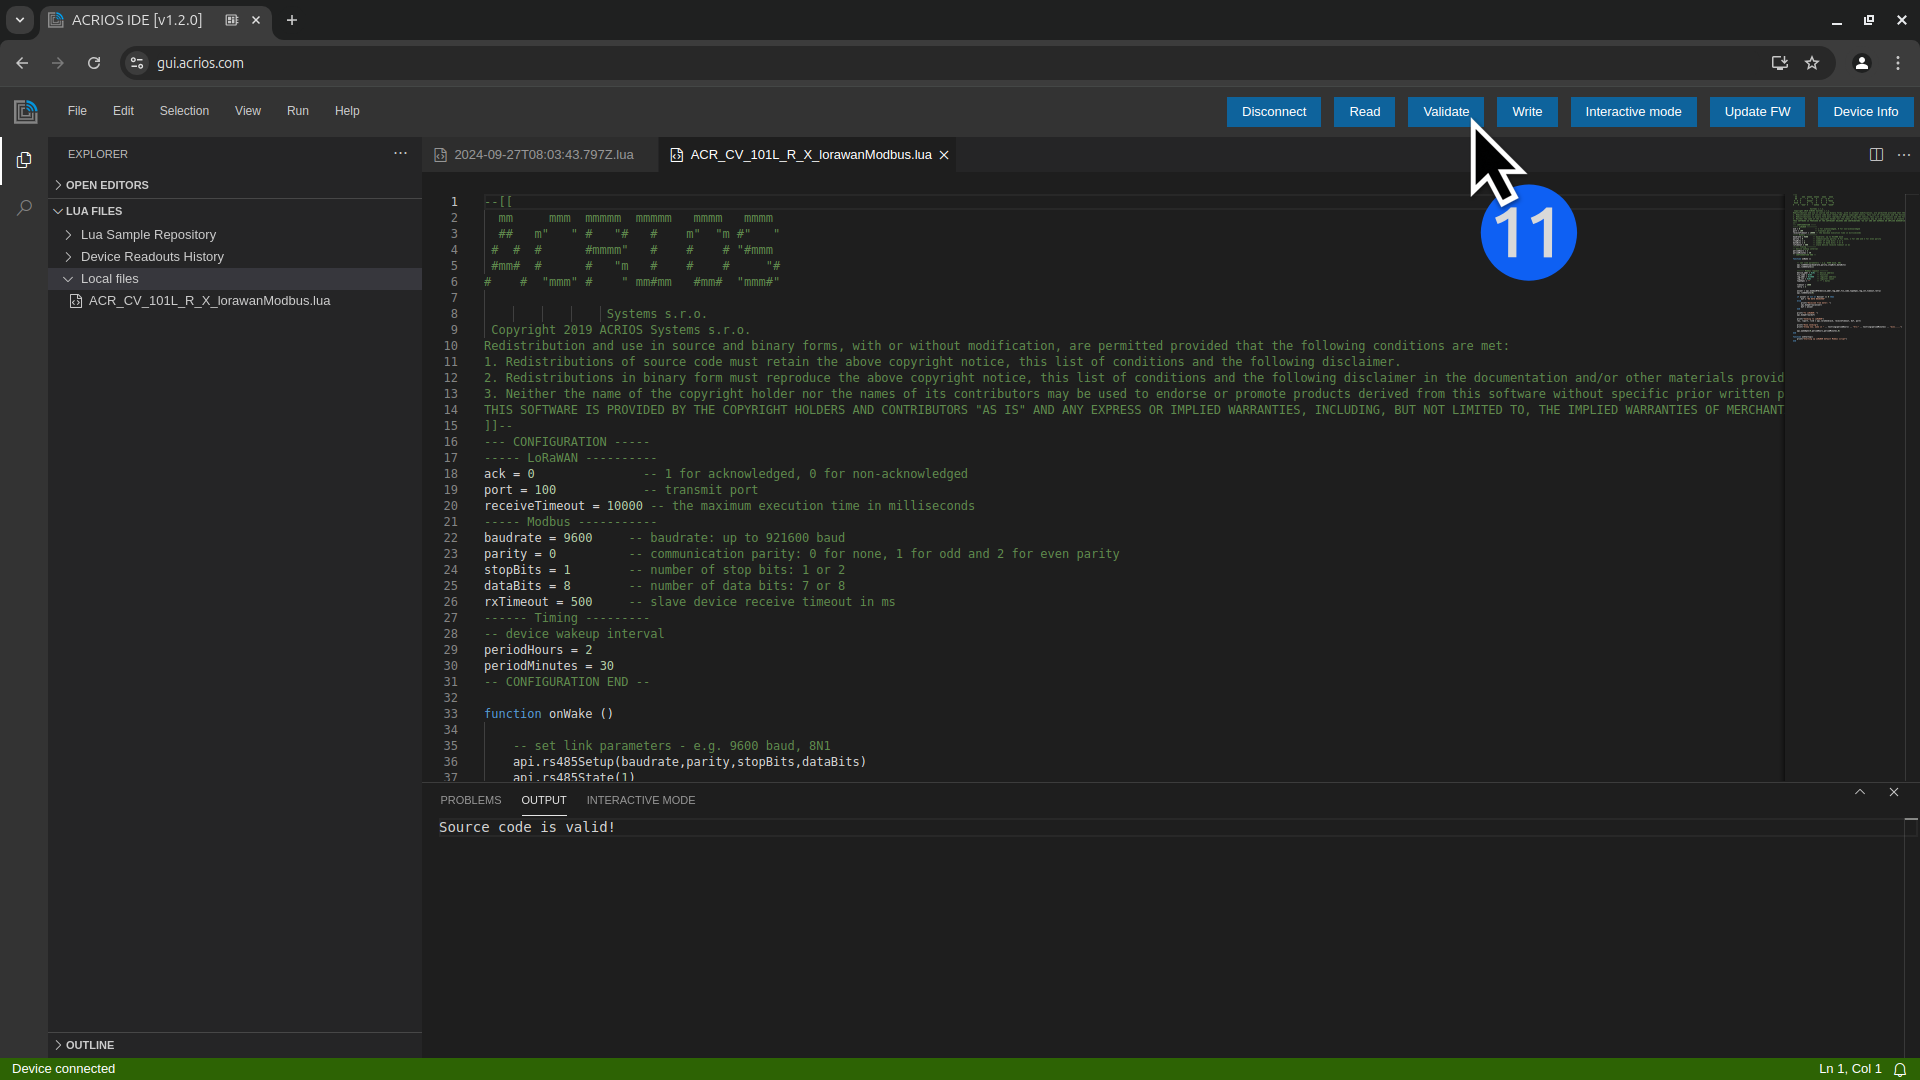
Click on Validate button to compile the Lua script and check for errors.
-
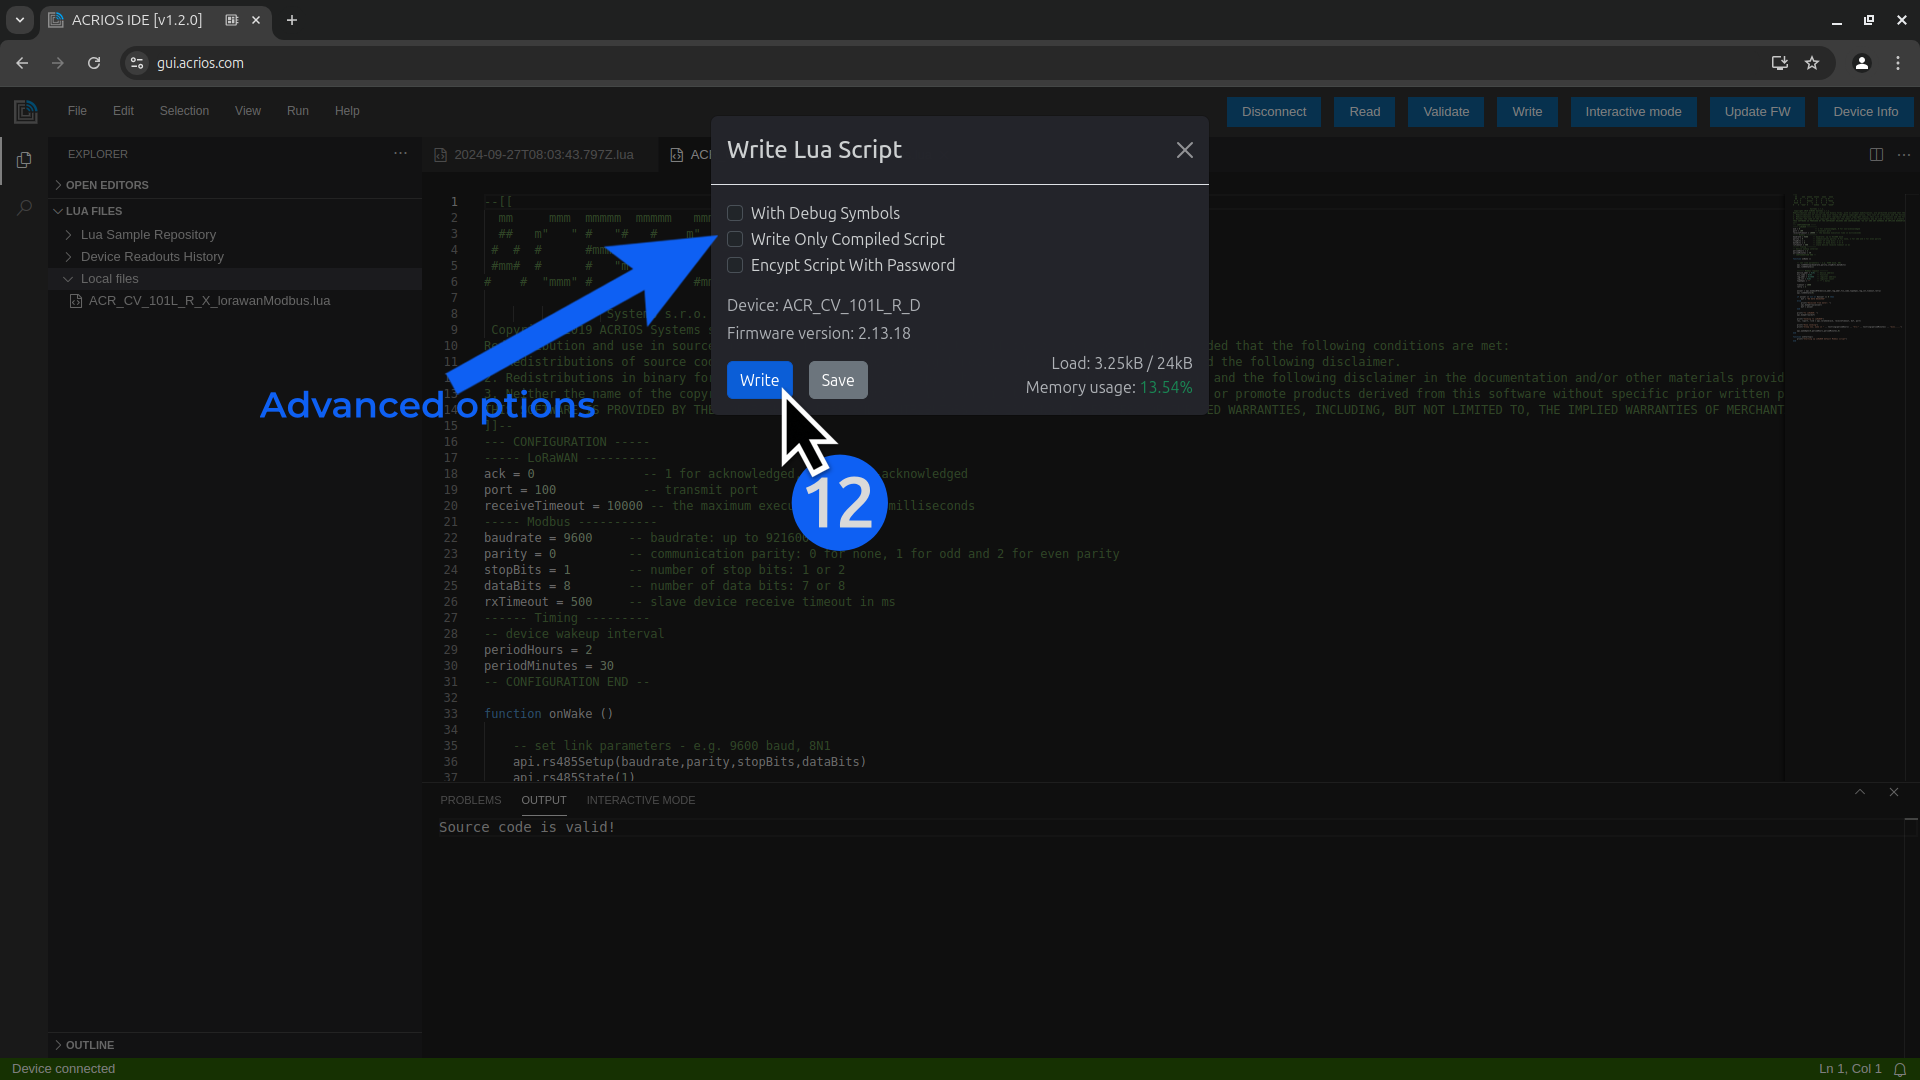
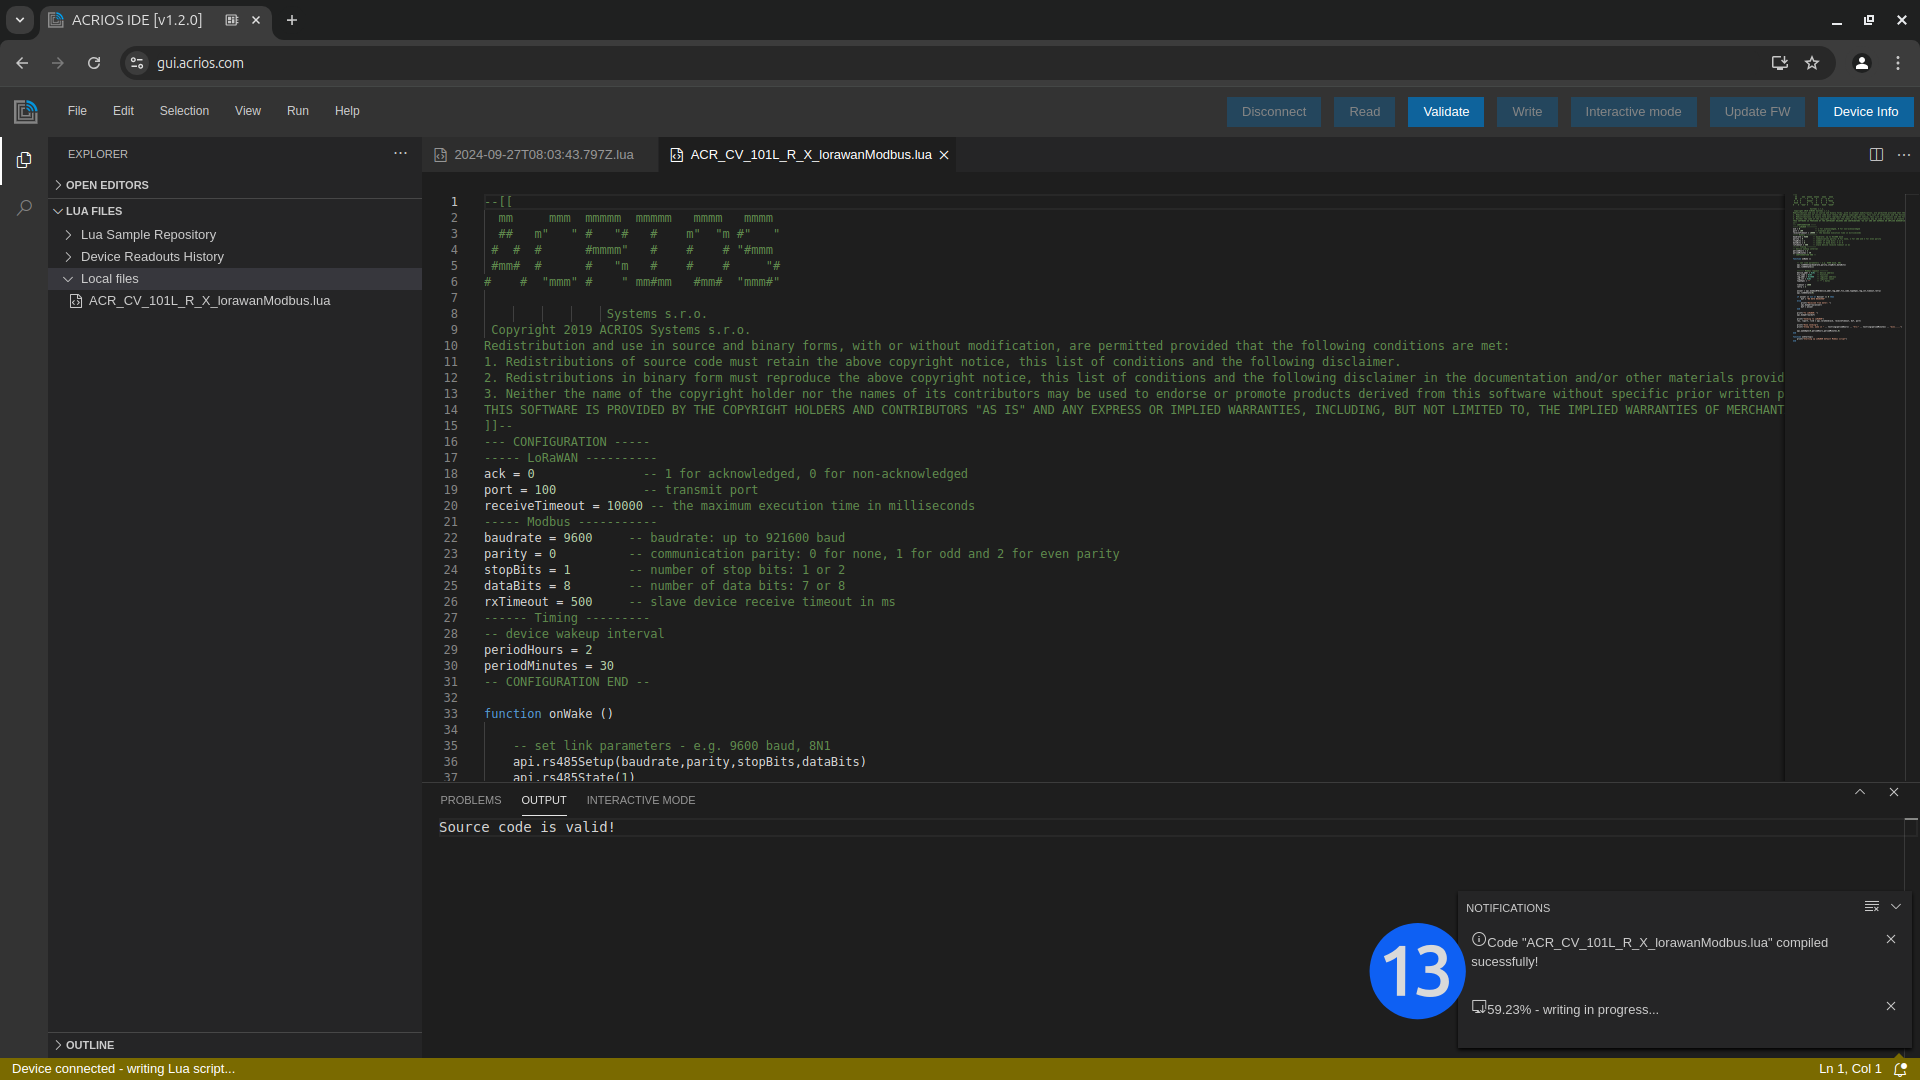
Click on Write button to save the Lua script to the device. You can configure how is the script saved or protect it with a password.
-
After configuring the script write settings, Lua script is saved to the device.
-
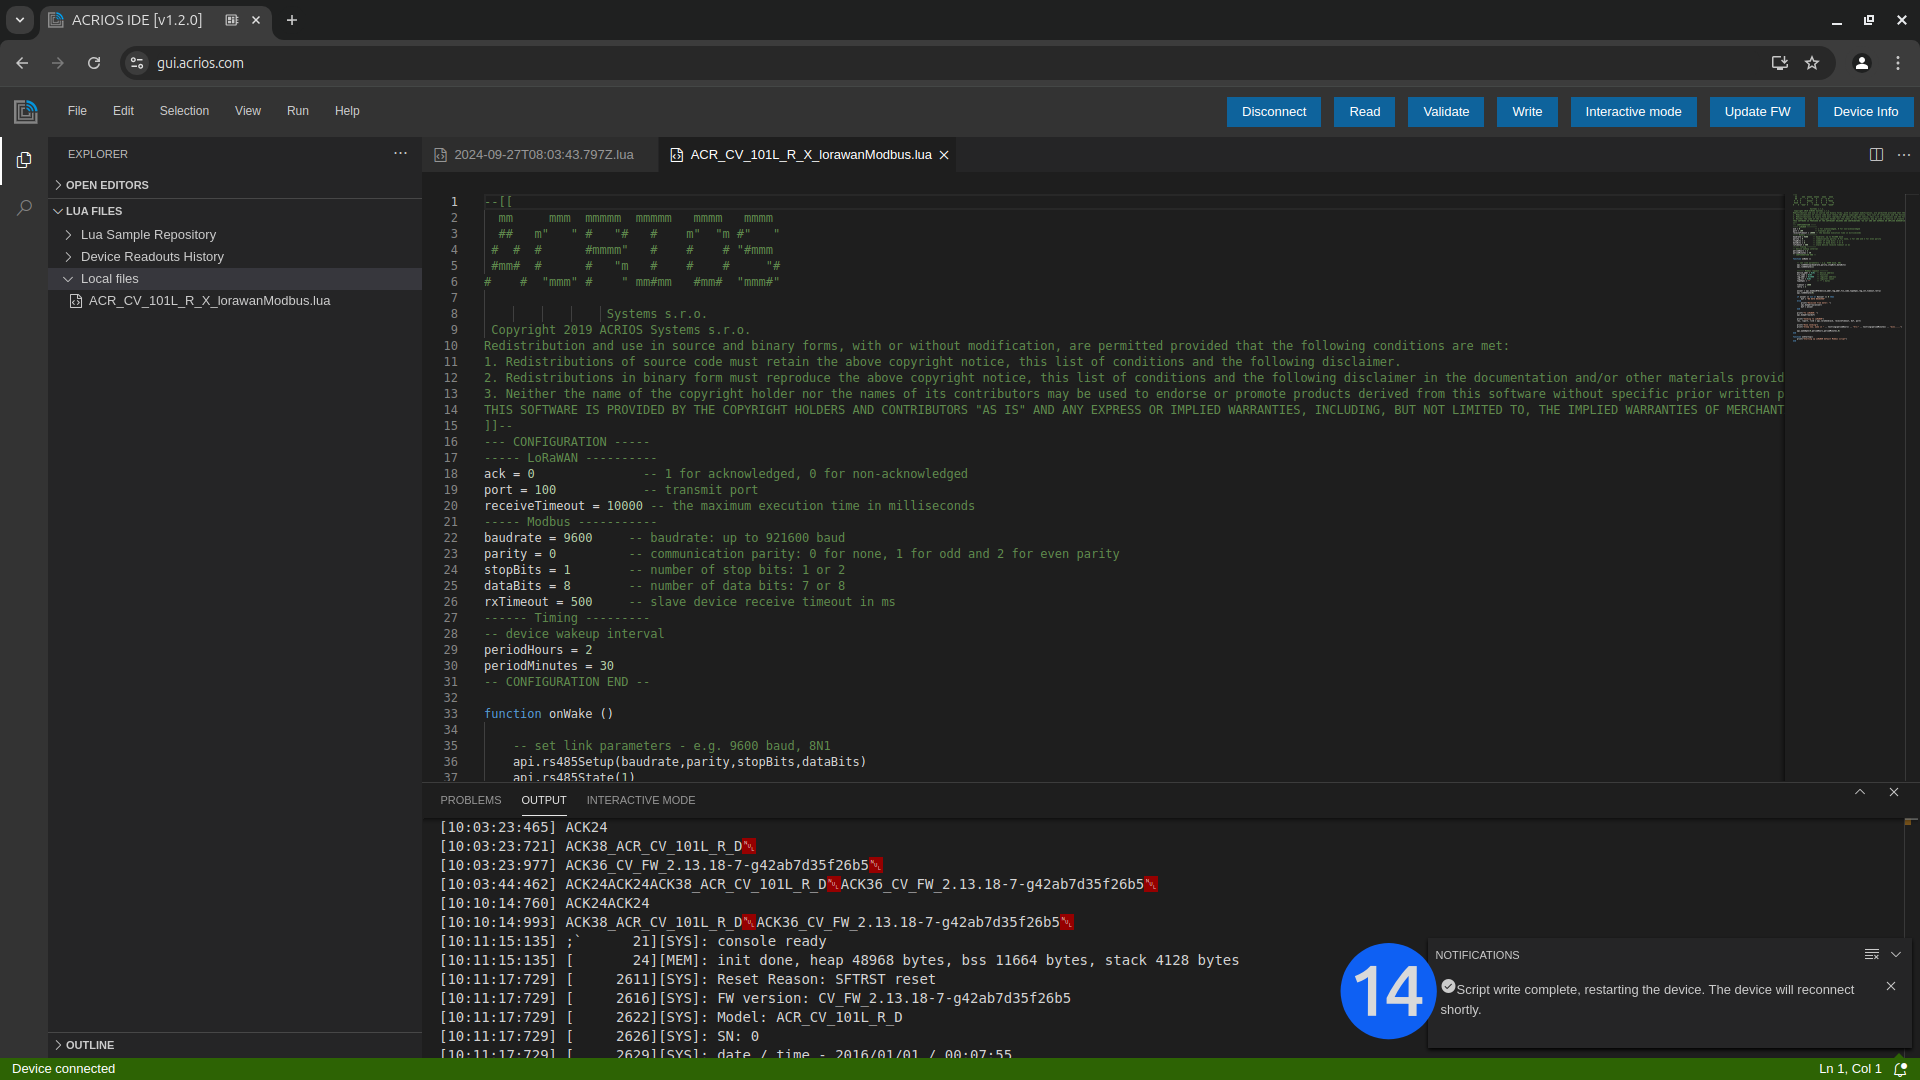
After writing, the device will restart and the GUI will automatically reconnect.
M-Bus Scanner
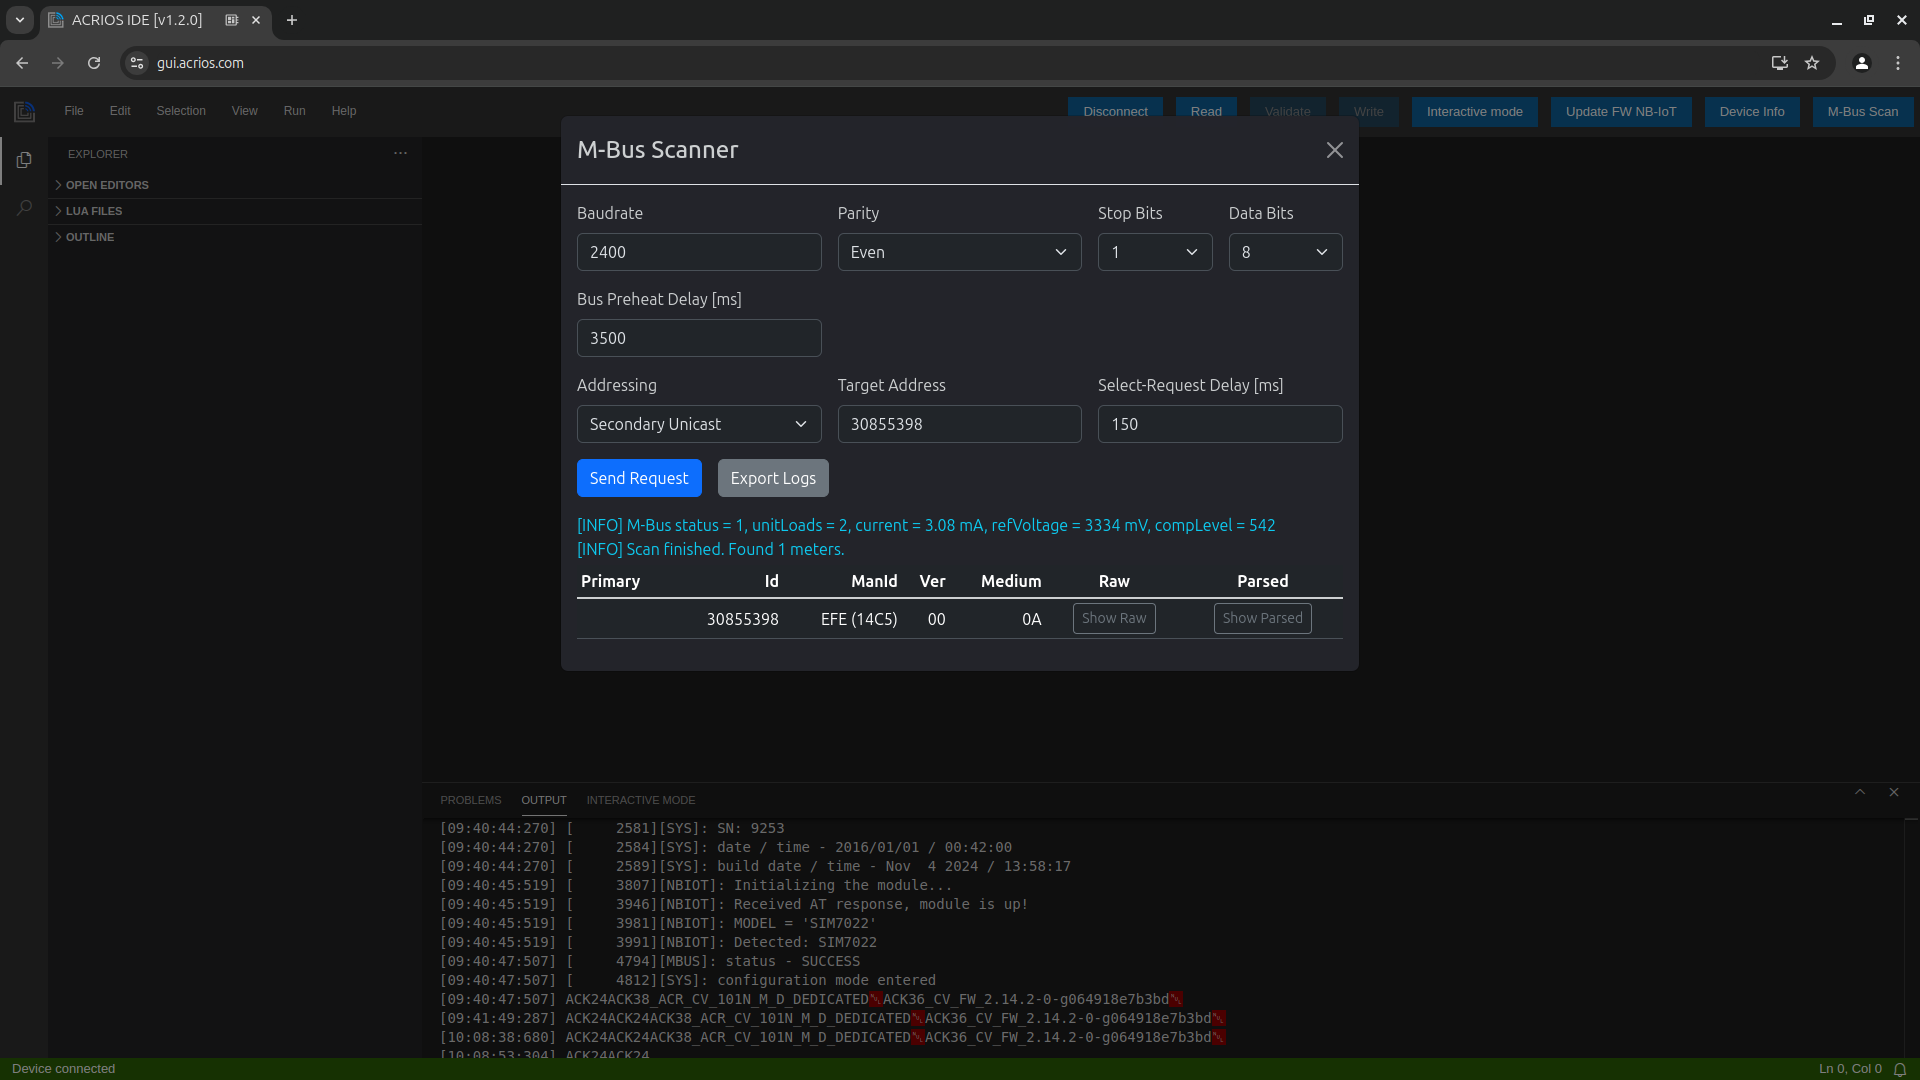
The M-Bus Scanner is a tool designed to scan for M-Bus devices connected to the M-Bus variants of the ACR-CV devices. It identifies and displays key information about the connected devices, including their primary address, secondary address, manufacturer ID, version, and other relevant details. This tool is essential for efficiently managing and diagnosing M-Bus networks.
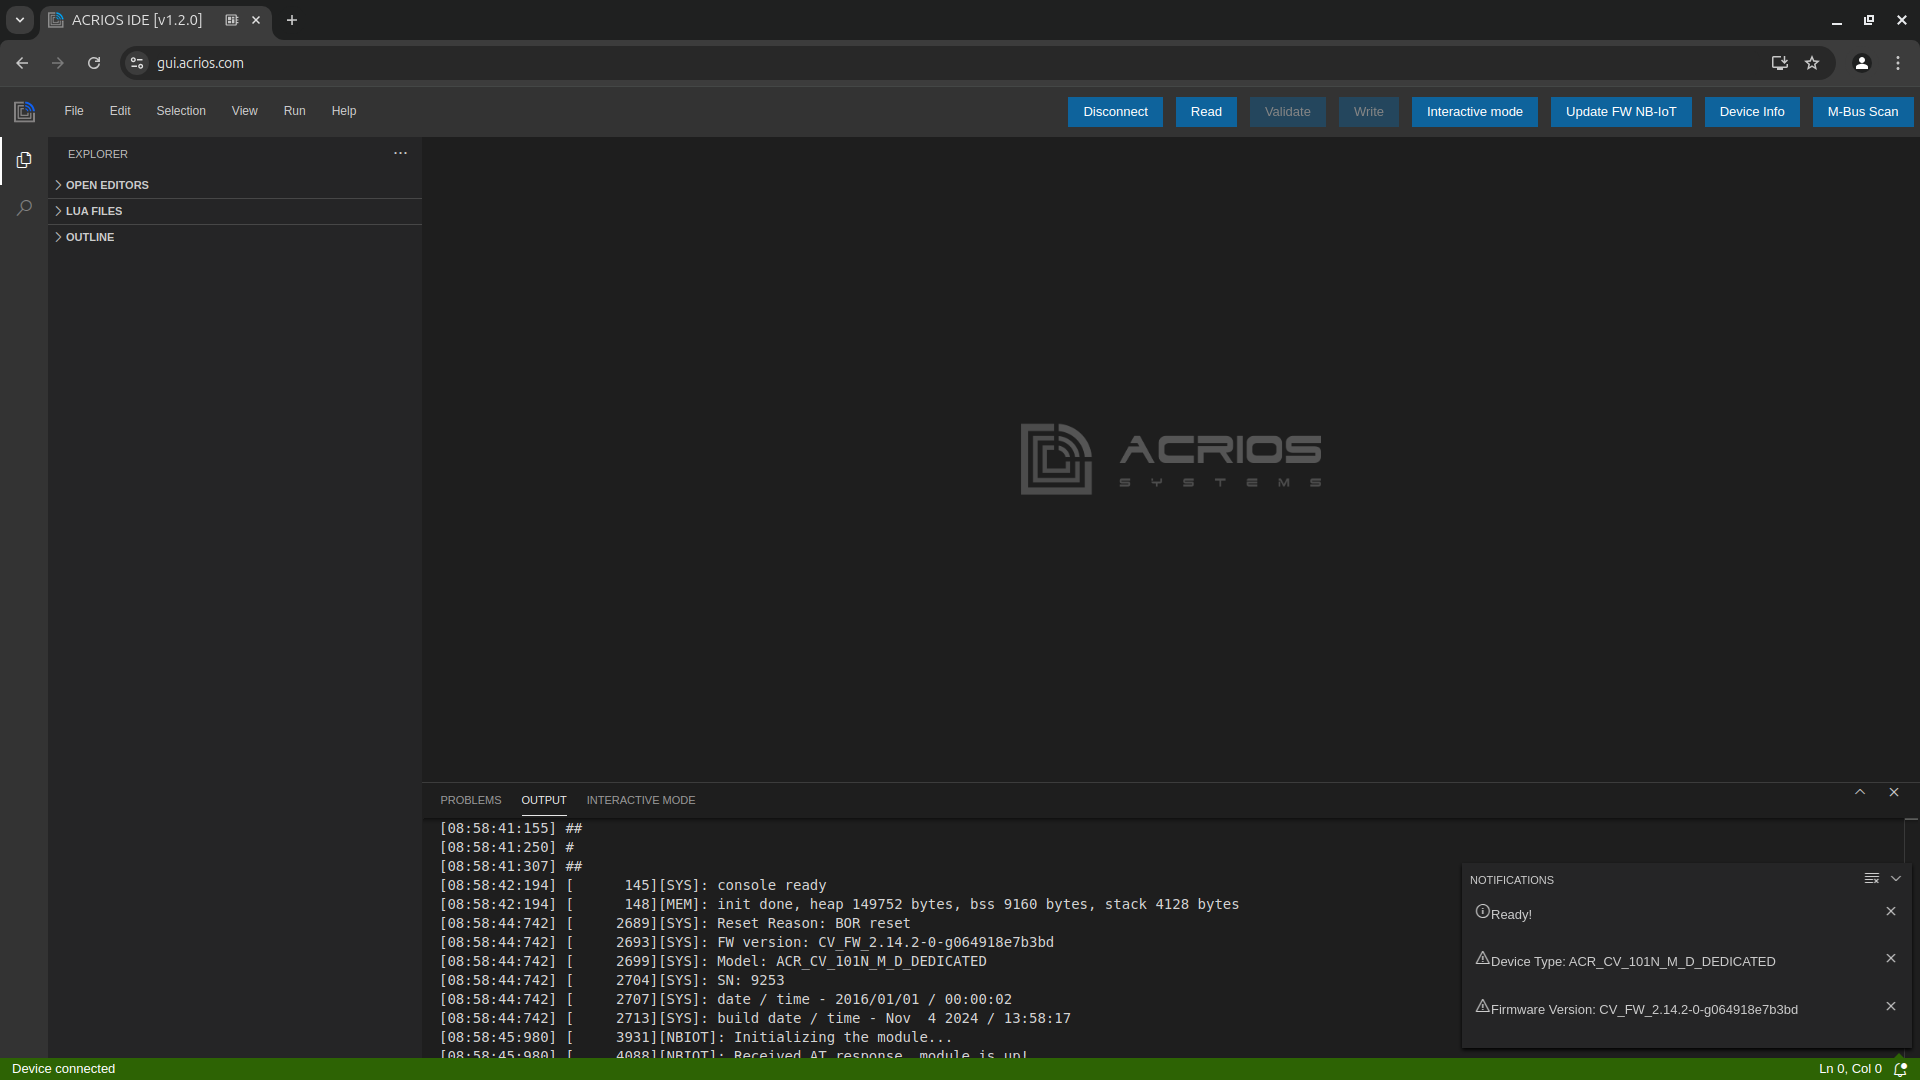
- After connecting the M-Bus ACR-CV device to the interface, click on the M-Bus Scanner button.
- M-Bus scanner configuration window will appear.
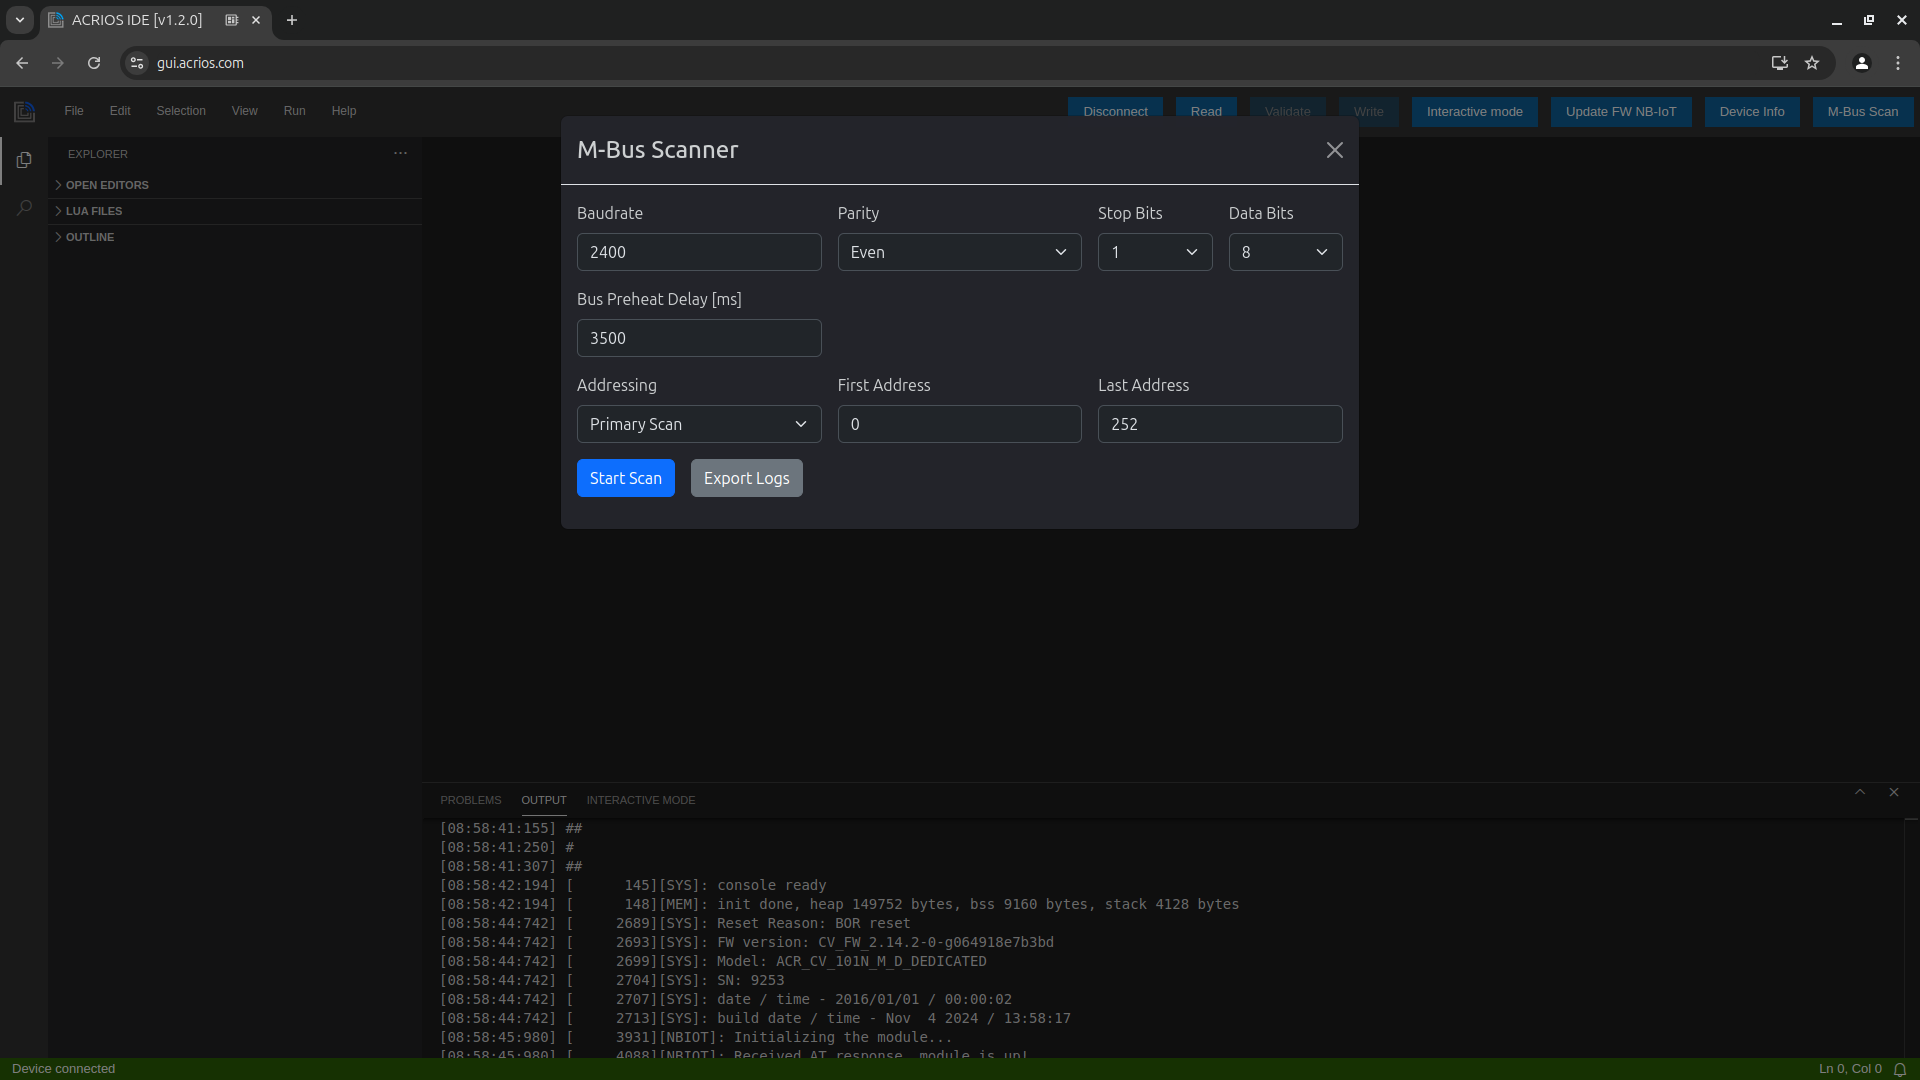
- You can configure multiple parameters and addressing modes.
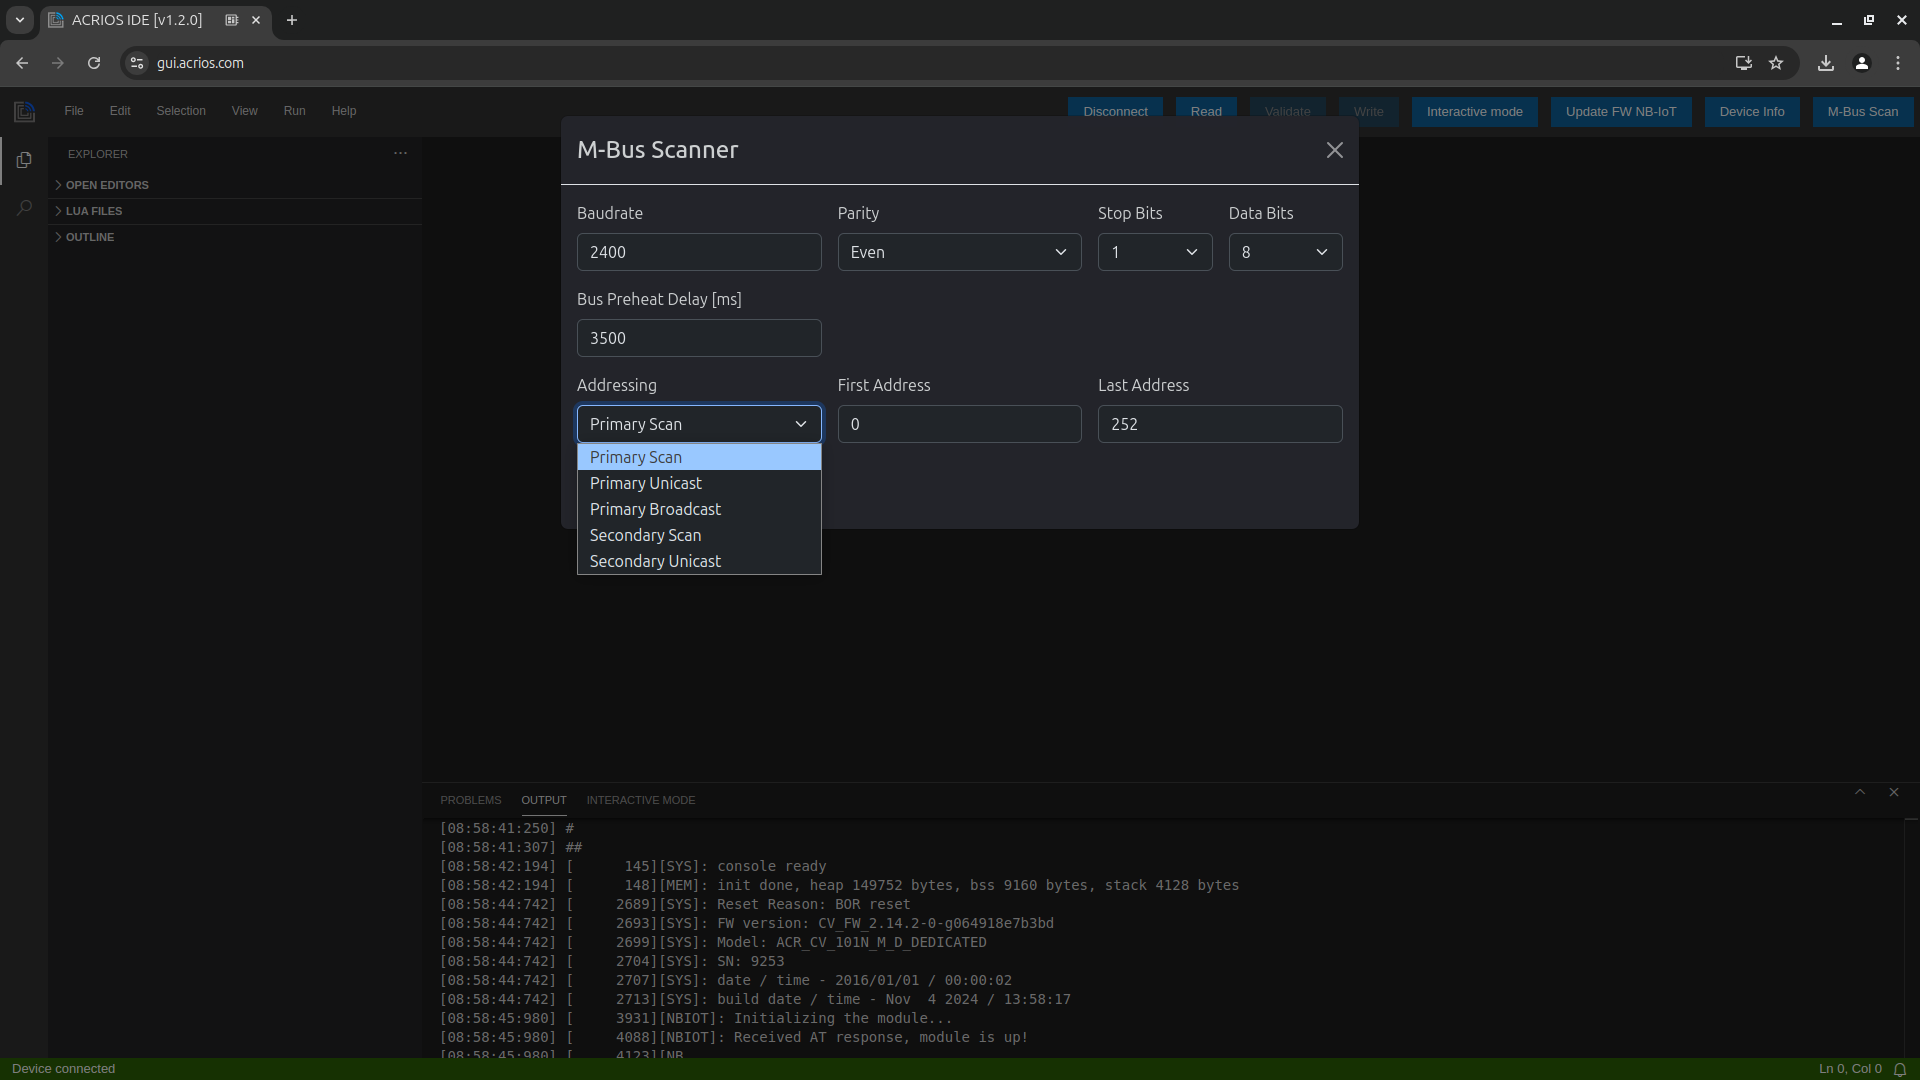
Primary Address Scan
The ACR-CV device scans the primary addresses of the connected M-Bus devices. M-Bus devices are often assigned unique primary addresses (typically from 0 to 252).
-
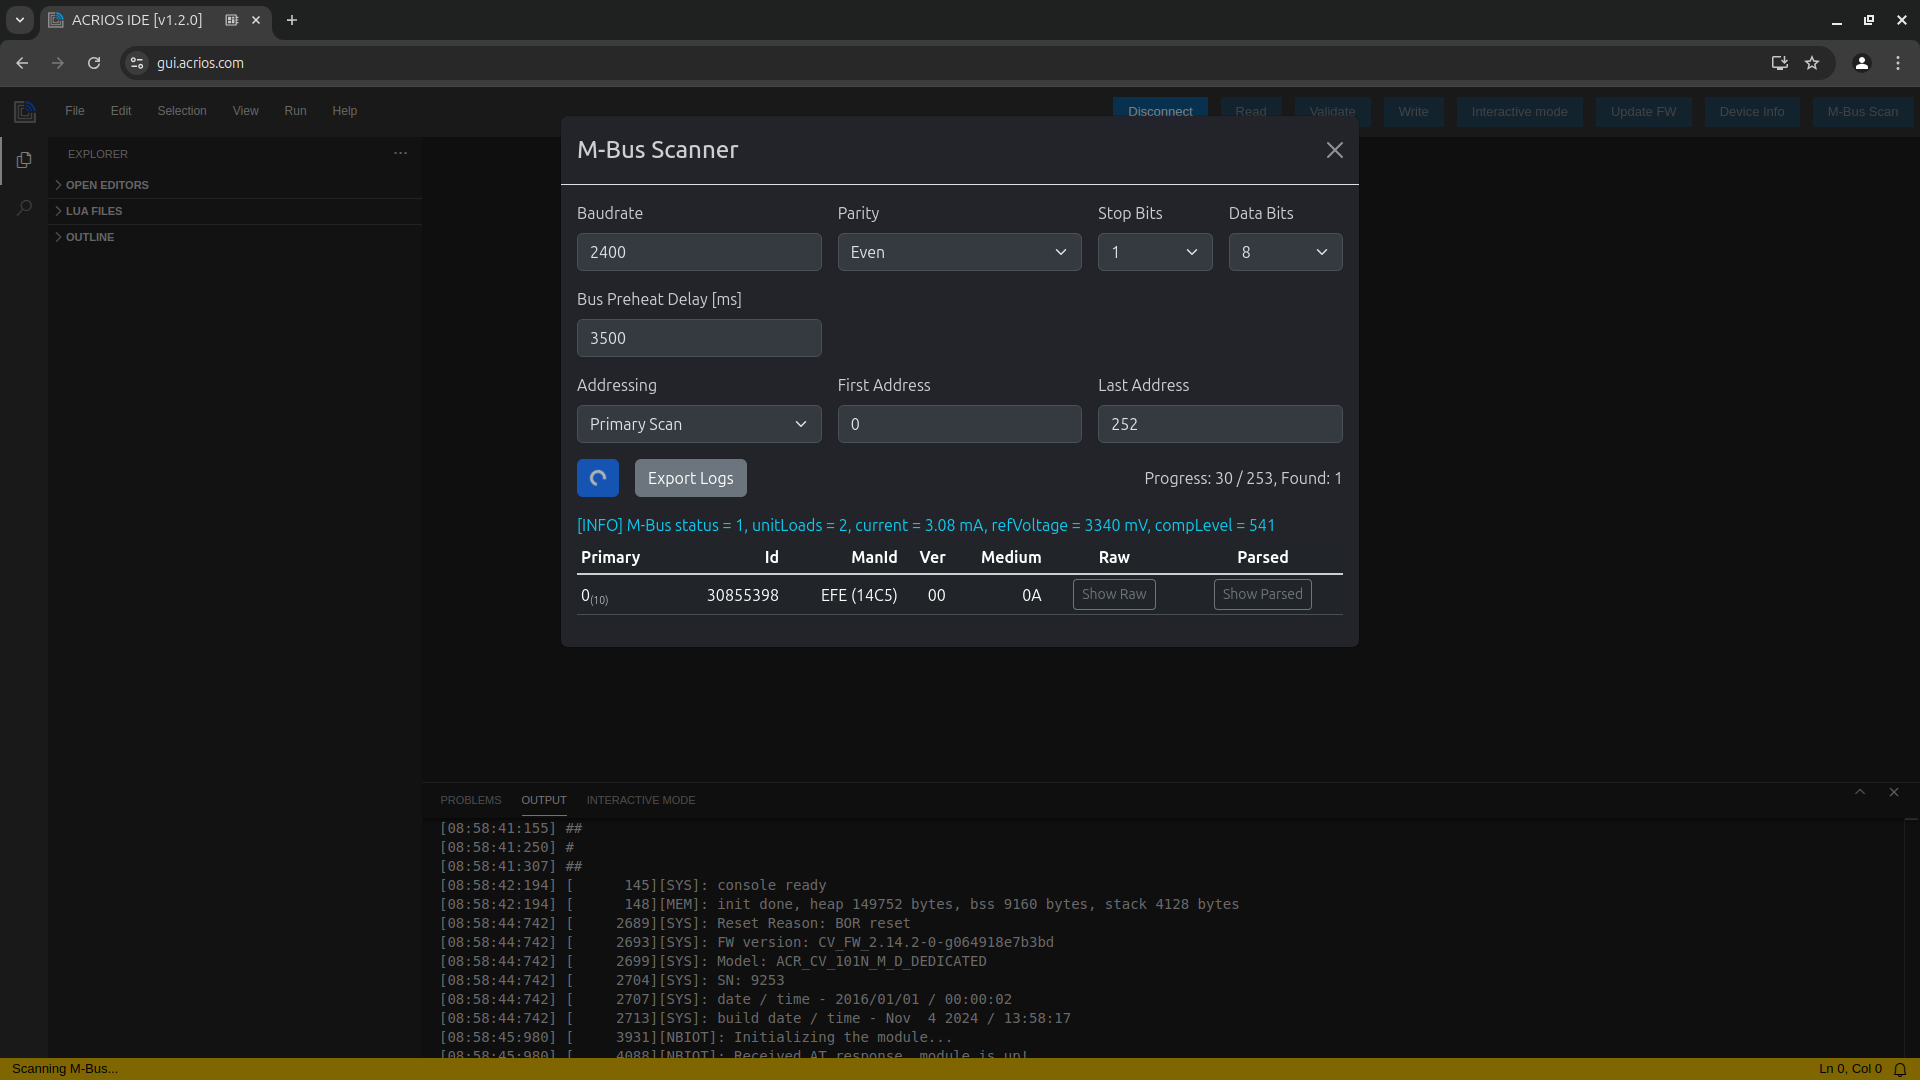
Choose Primary Scan option from Addressing dropdown menu and click on Start Scan button.

The scanner will show found devices in real-time.
-
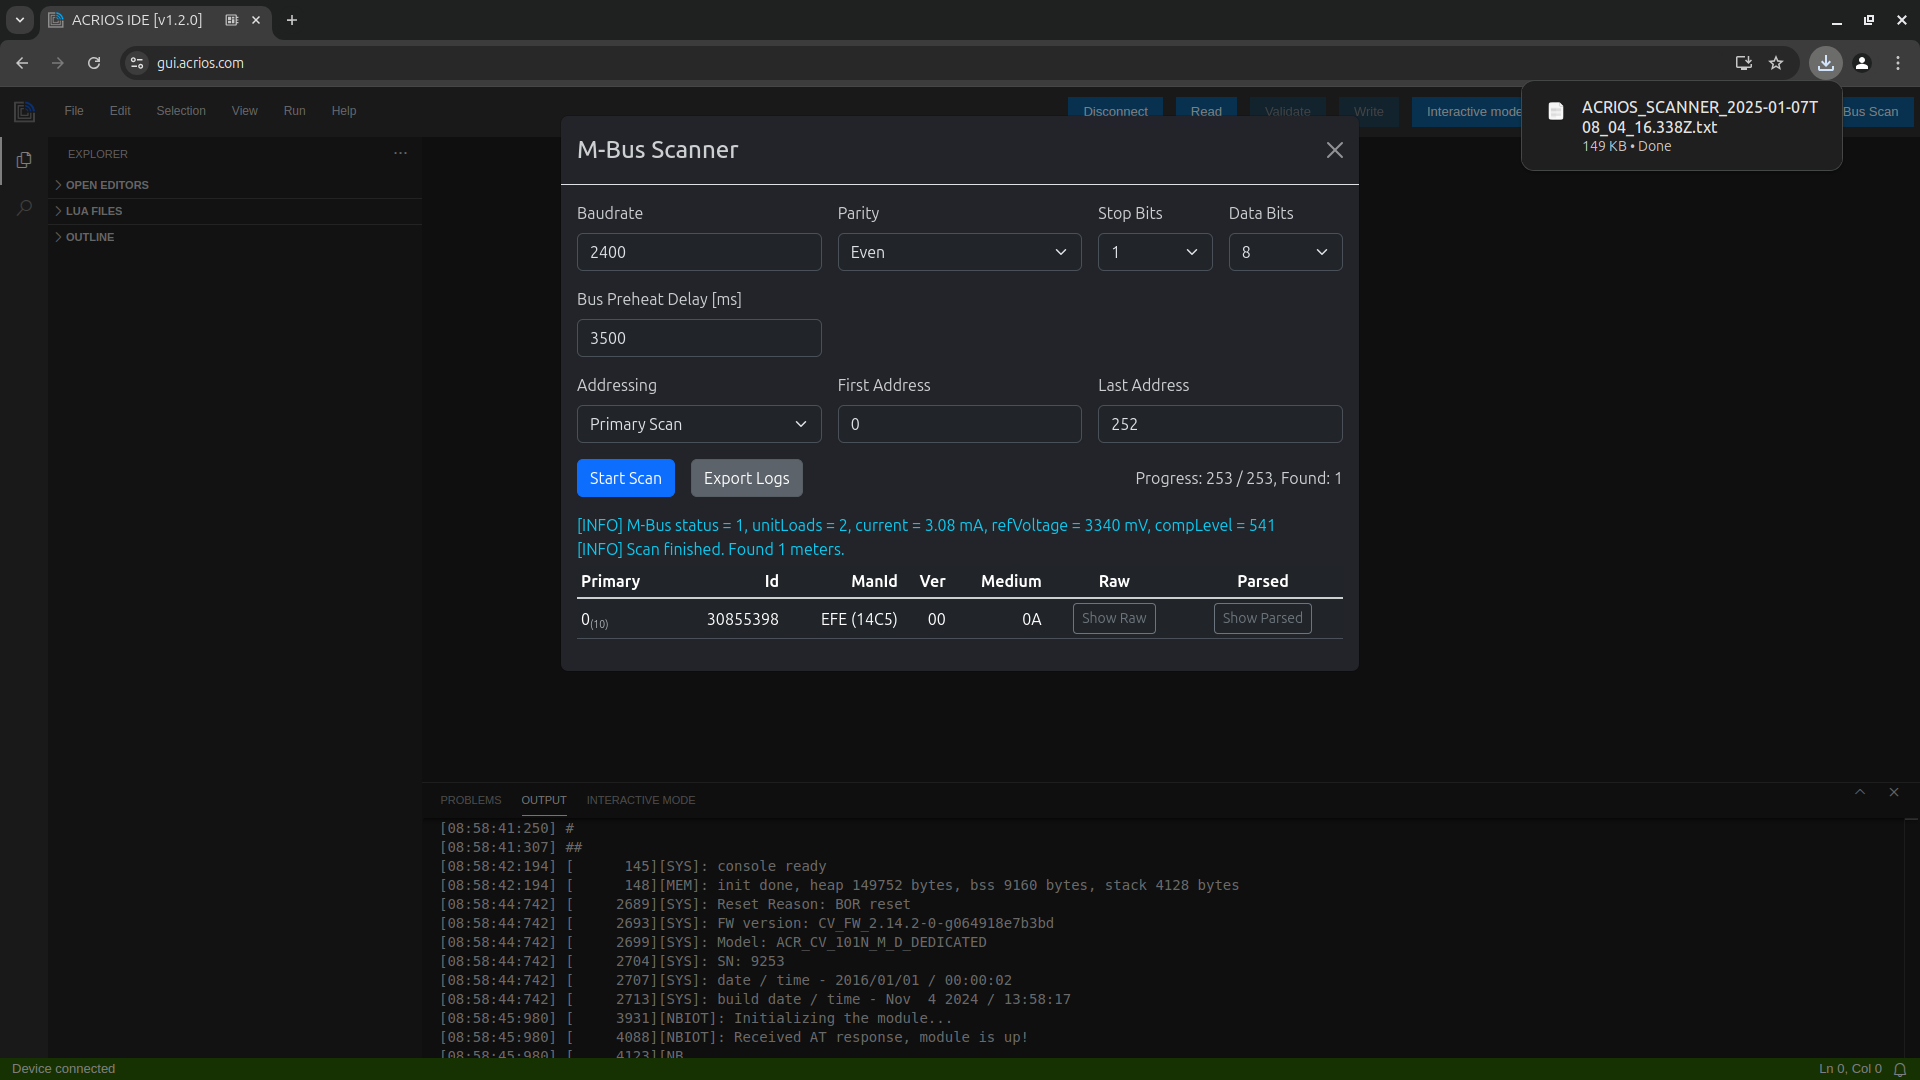
After the scan is finished, you can download the scan logs by clicking on the Export Logs button.
You can also view raw or parsed answer from connected M-Bus devices.
Secondary Address Scan
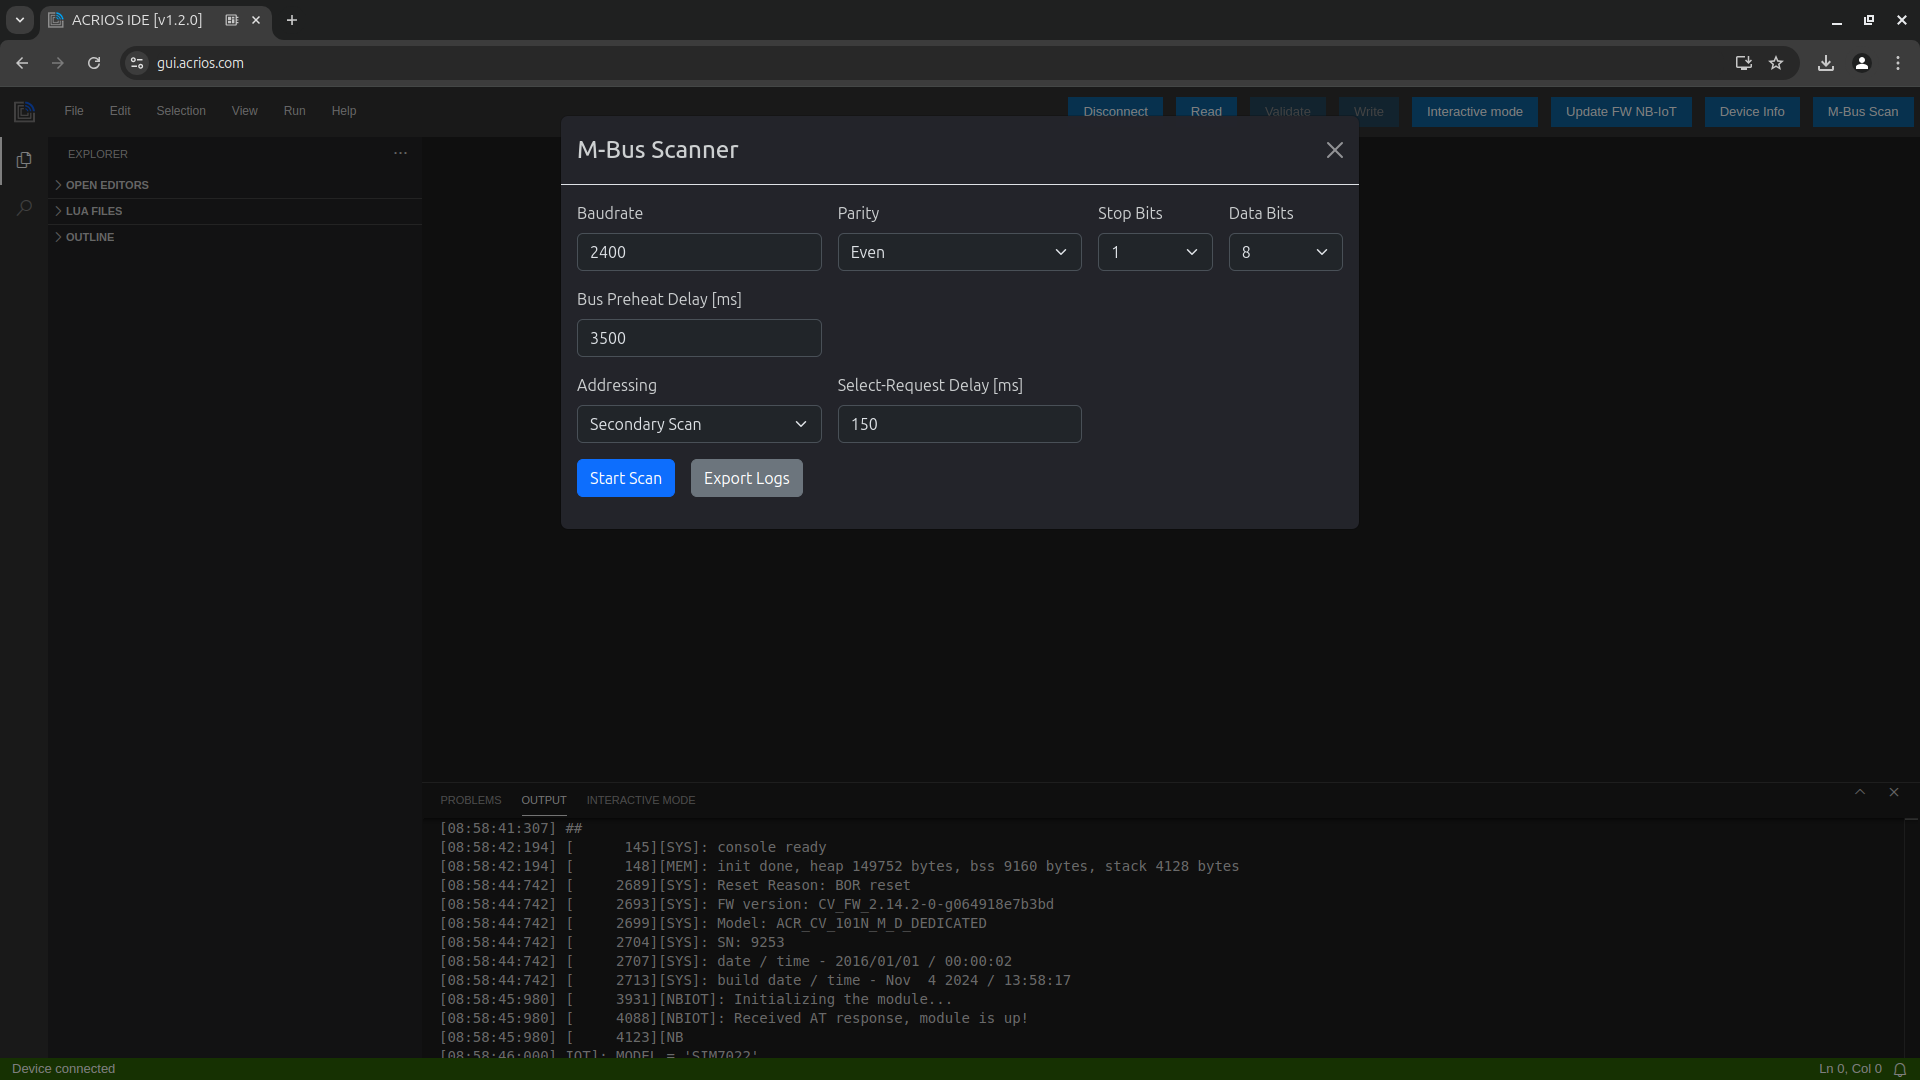
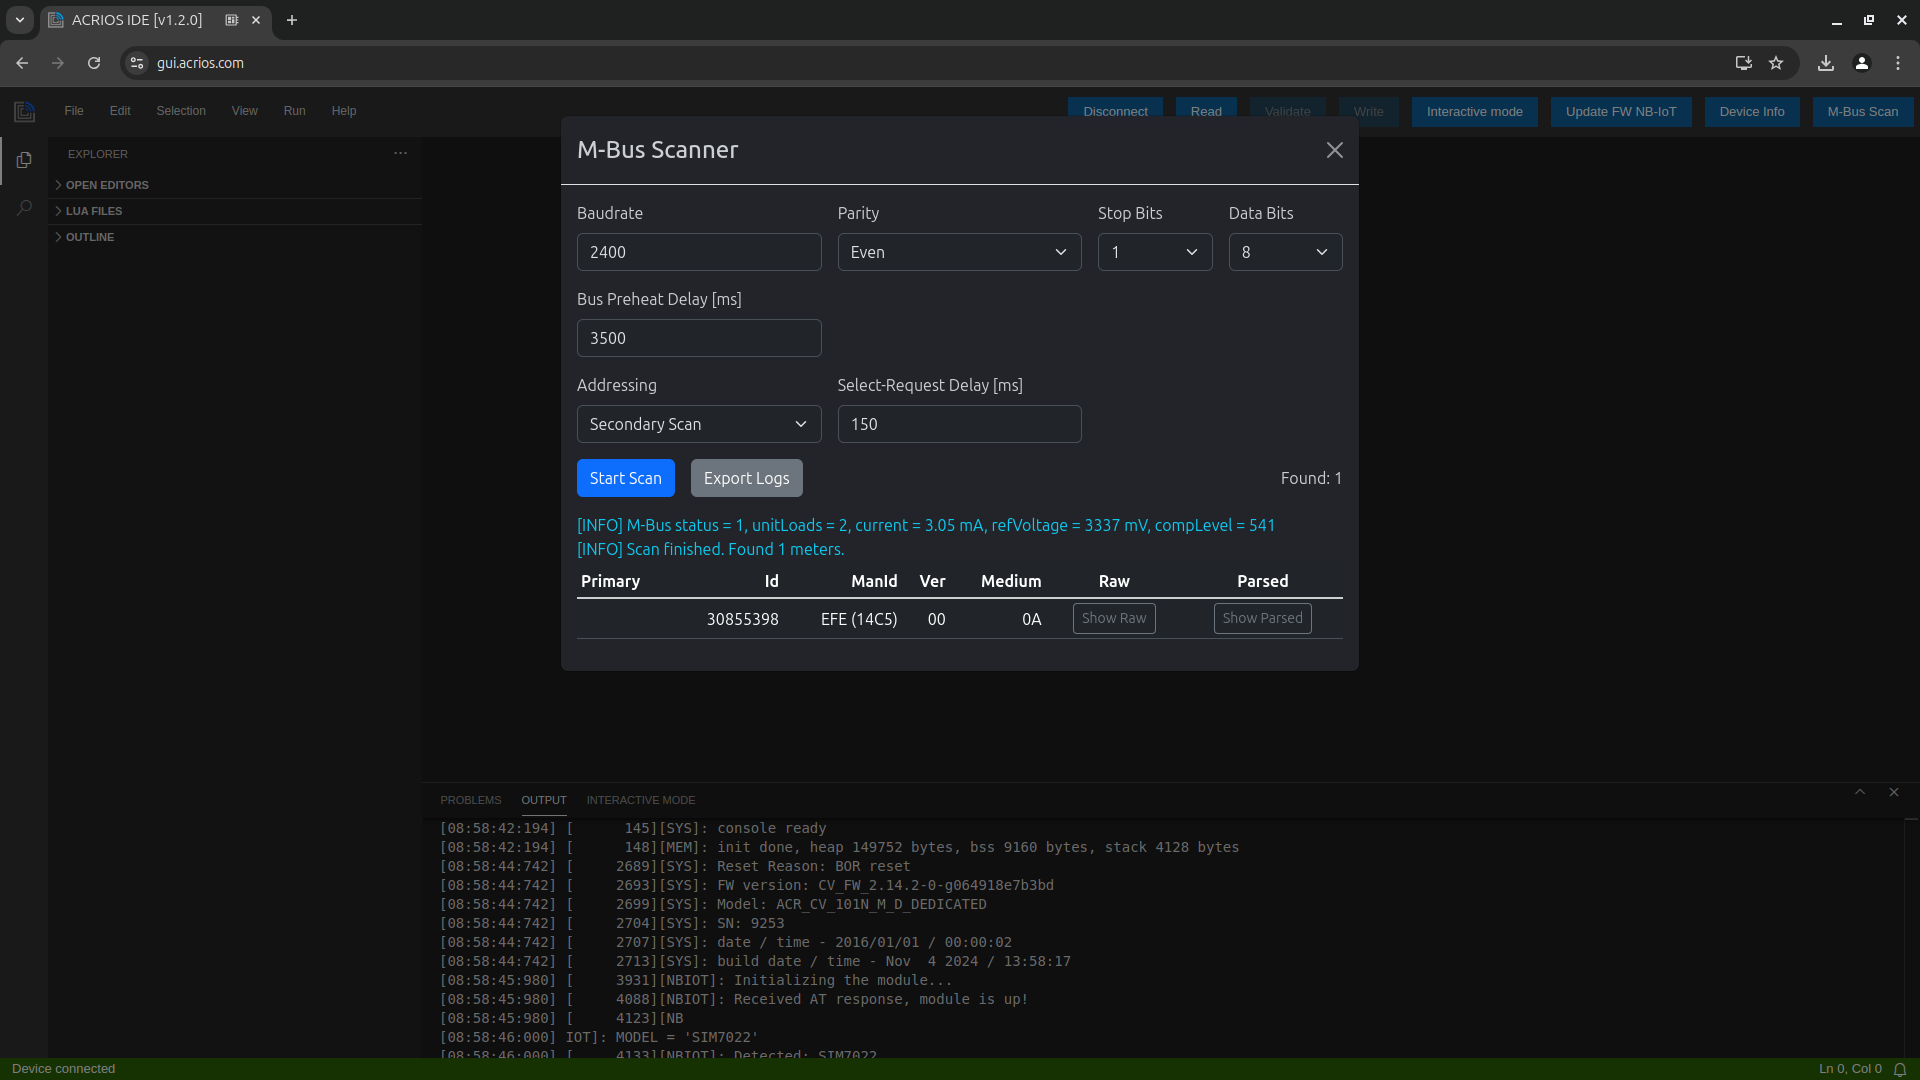
The ACR-CV device scans the secondary addresses of the connected M-Bus devices. Secondary addressing is typically based on unique identification numbers (e.g., serial numbers) rather than the simpler primary addresses. This allows identification and communication with devices even if their primary addresses overlap.
-
Choose Secondary Scan option from Addressing dropdown menu and click on Start Scan button.
-
After the scan is finished, you can download the scan logs by clicking on the Export Logs button.
You can also view raw or parsed answer from connected M-Bus devices.
Other Addressing Options
-
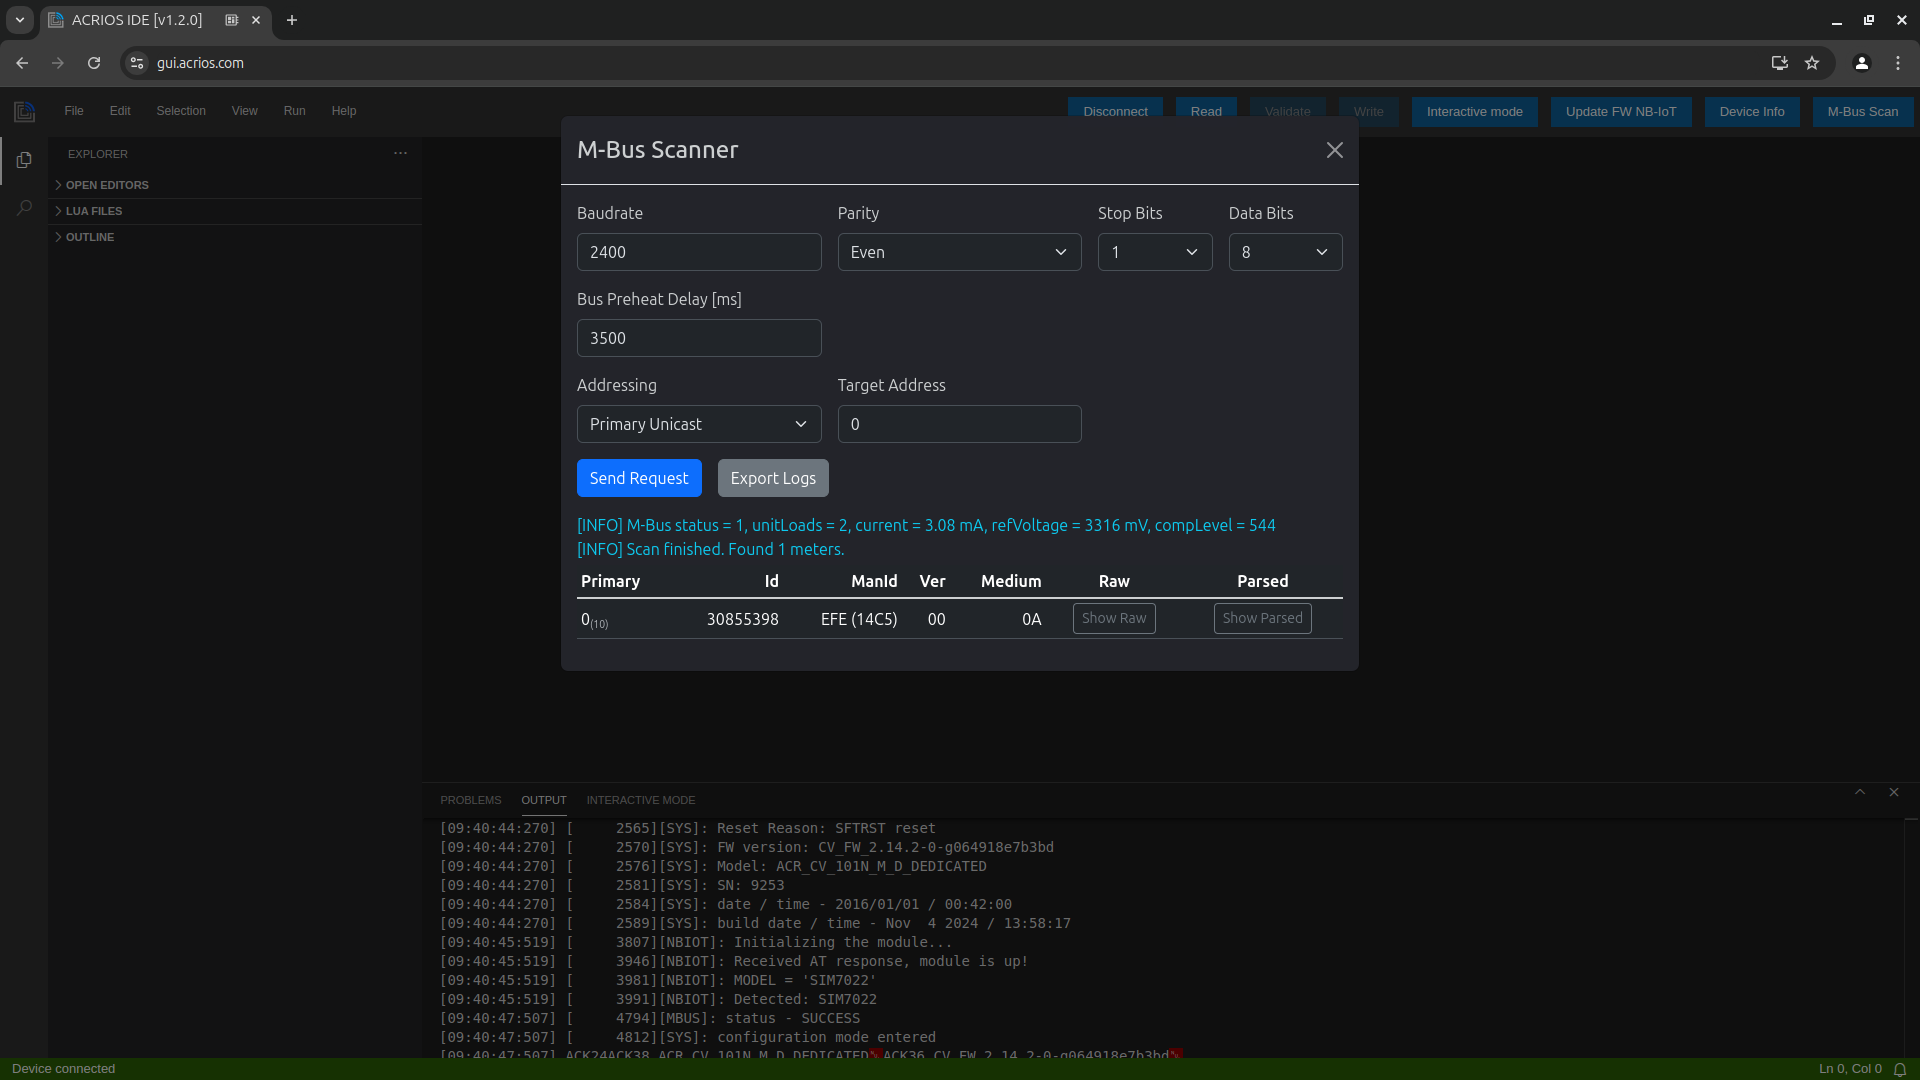
Primary Unicast: Scans for device with a specific primary address.
This method queries a single M-Bus device by its unique primary address (0 - 252) for direct communication. Used when the primary address of the device is already known.
-
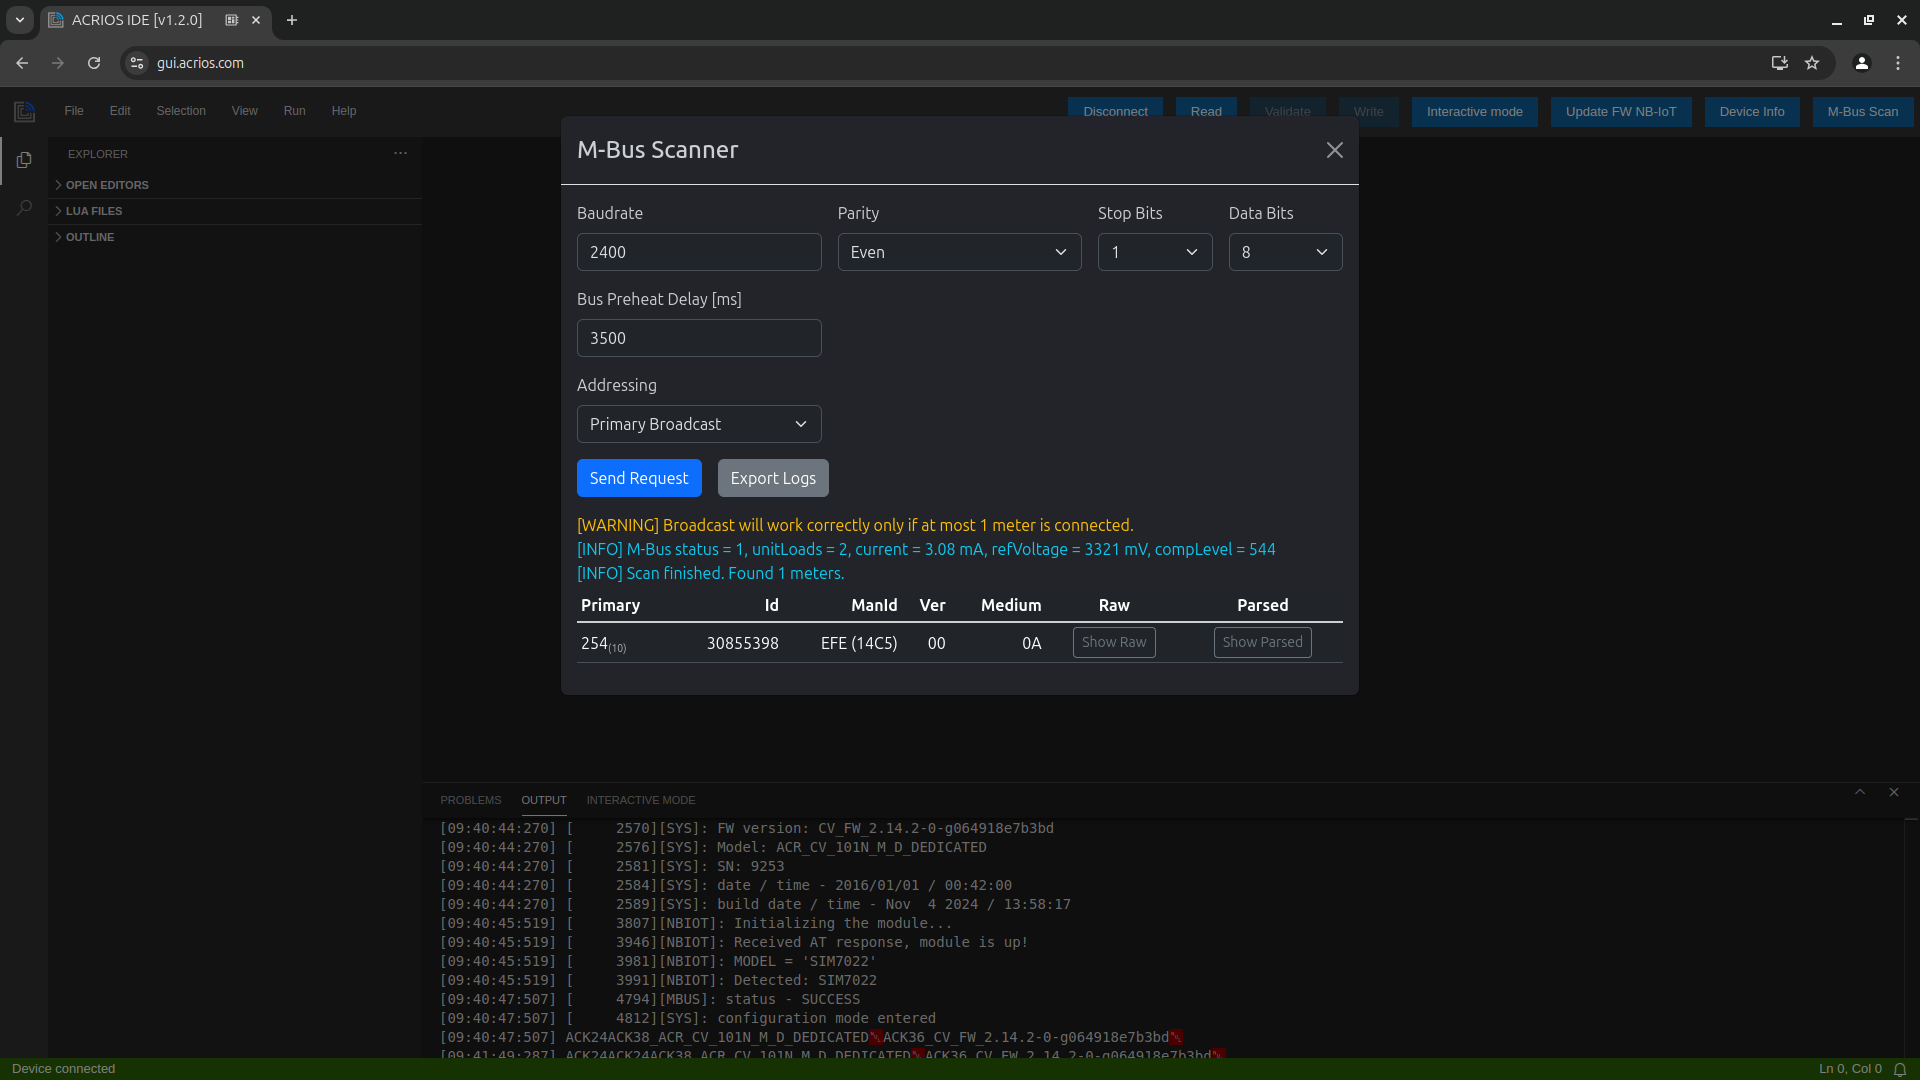
Primary Broadcast: Scans for device connected to the ACR-CV device.
This method queries all M-Bus devices connected to the ACR-CV device for their primary address. It is intended for cases where there is only one M-Bus device connected. If multiple devices are present, collisions will occur and the scan will not work.
-
Secondary Unicast: Scans for device with a specific secondary address.
This method queries a single M-Bus device by its unique secondary address for direct communication. Used when the secondary address of the device is already known.
