M-Bus to LoRaWAN - Akenza.io
Integration manual for an Akenza.io professional service used for data gathering of our devices.
WORK IN PROGRESS: This manual is currently being updated and may not contain all the necessary information.
Introduction
This manual provides a step-by-step guide for integrating the ACRIOS System converters ACR-CV-101L-M-D and ACR-CV-101L-M-EAC with the Akenza.io platform. The guide focuses on setting up workspaces, creating integrations, configuring dataflows, and adding devices for data transmission and monitoring on the Akenza.io platform.
Before You Start
Prerequisites
To successfully integrate your devices with Akenza.io, ensure you have the following:
- A functional LoRaWAN network server (in this guide, we use The Things Stack, both the open-source version deployed on our own server and the EU1 server).
- Access to an Akenza.io account where you can create workspaces, integrations, dataflows, and assets.
- LoRaWAN devices such as ACR-CV-101L-M-D or ACR-CV-101L-M-EAC.
- Device credentials (such as DevEUI, AppKey, and AppEUI) to properly configure the connection between your devices and the network server.
Network server - The Things Stack
Before you start configuring Akenza.io, ensure that your LoRaWAN network server is fully set up and operational.
For The Things Stack (TTS), this includes having your organization, application, or user properly configured within the platform.
In this manual, we are using an application for our integration with Akenza.io, but you can also integrate using an organization or a user. After setting up one of these entities, you will need to create an API key with the appropriate rights. This API key will be used to configure the connection between TTS and Akenza.io to facilitate data transmission and device management.
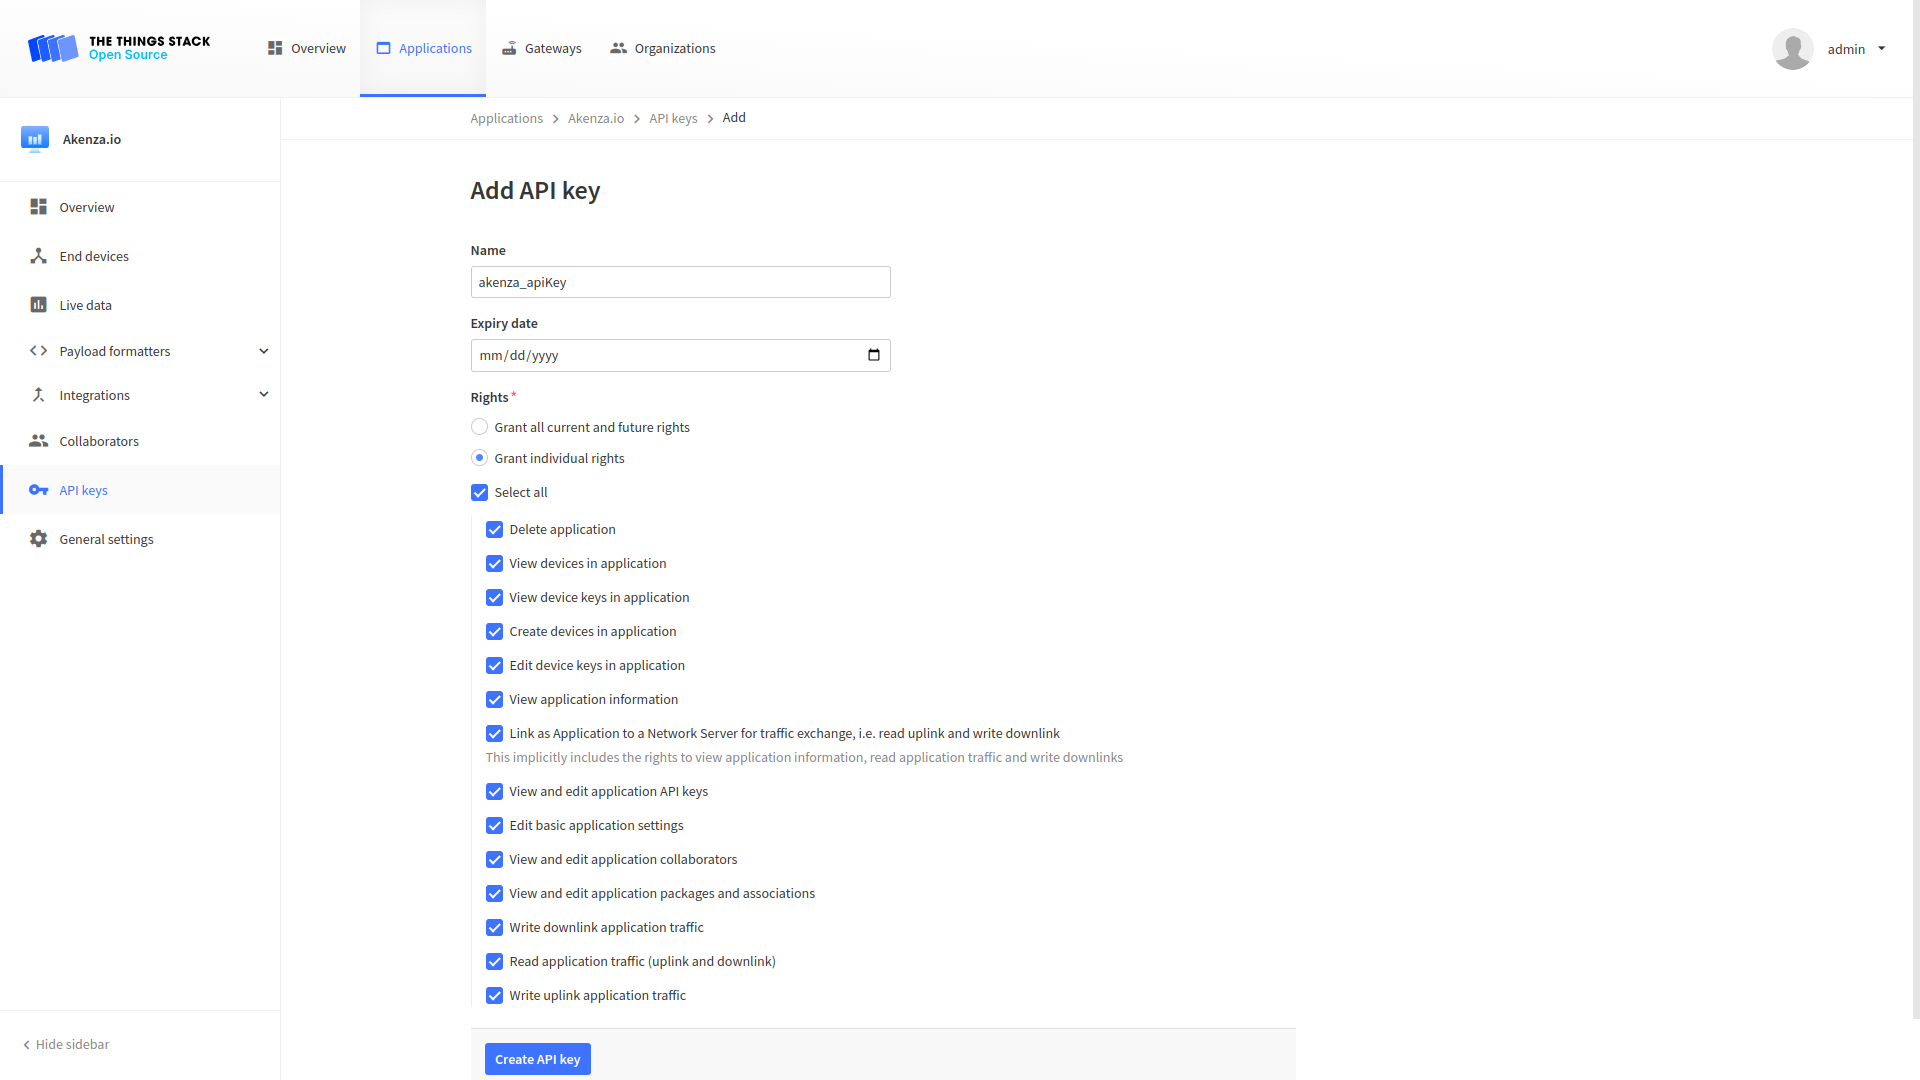
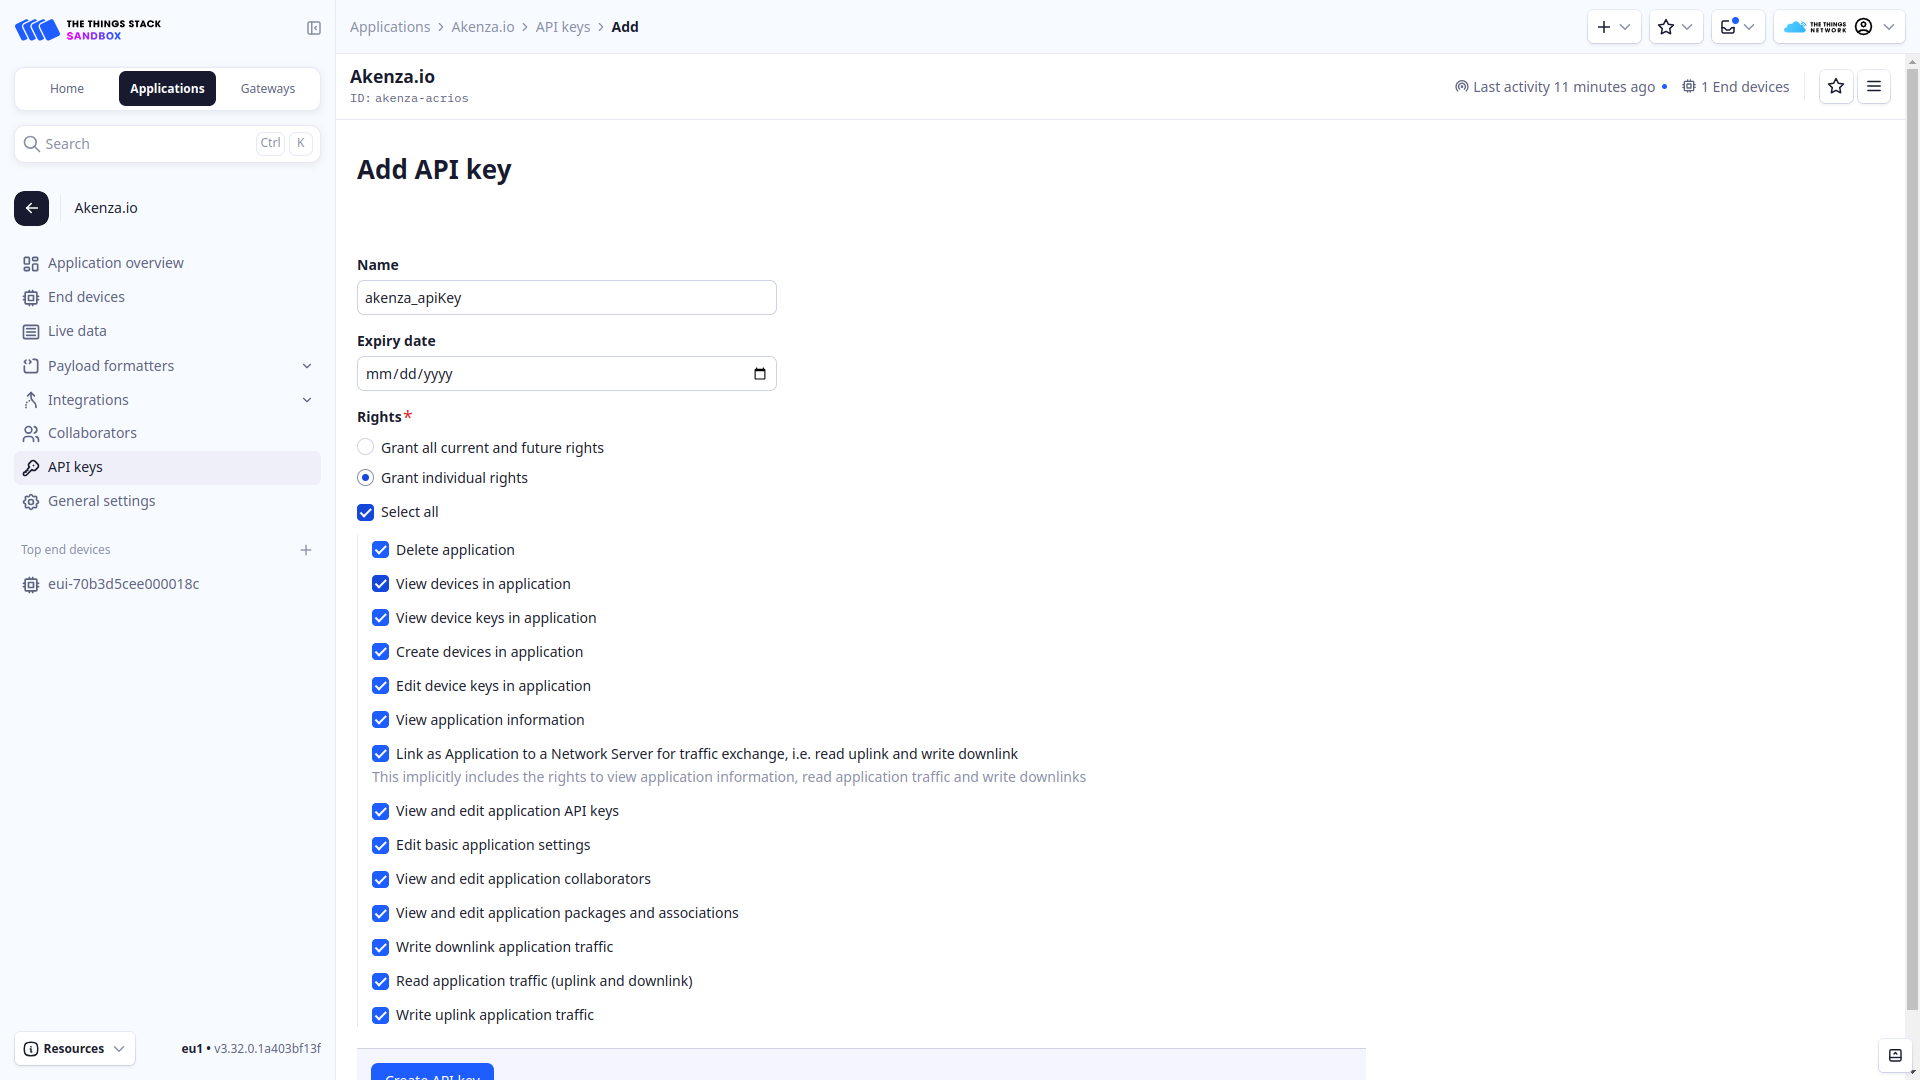
When creating the API key you need to switch to Grant individual rights and select all:
- Open-source TTS server:
- EU1 TTS server:
Akenza.io
In this section, we will walk through the steps required to integrate your LoRaWAN devices with Akenza.io, starting from workspace creation to setting up devices and dataflows. Akenza.io provides a robust platform to manage IoT devices, visualize data, and set up automated workflows for efficient monitoring and management.
By following the steps below, you will connect your LoRaWAN devices via TTS to Akenza.io, ensuring data is properly received, processed, and visualized on the platform.
1. Creating Workspace
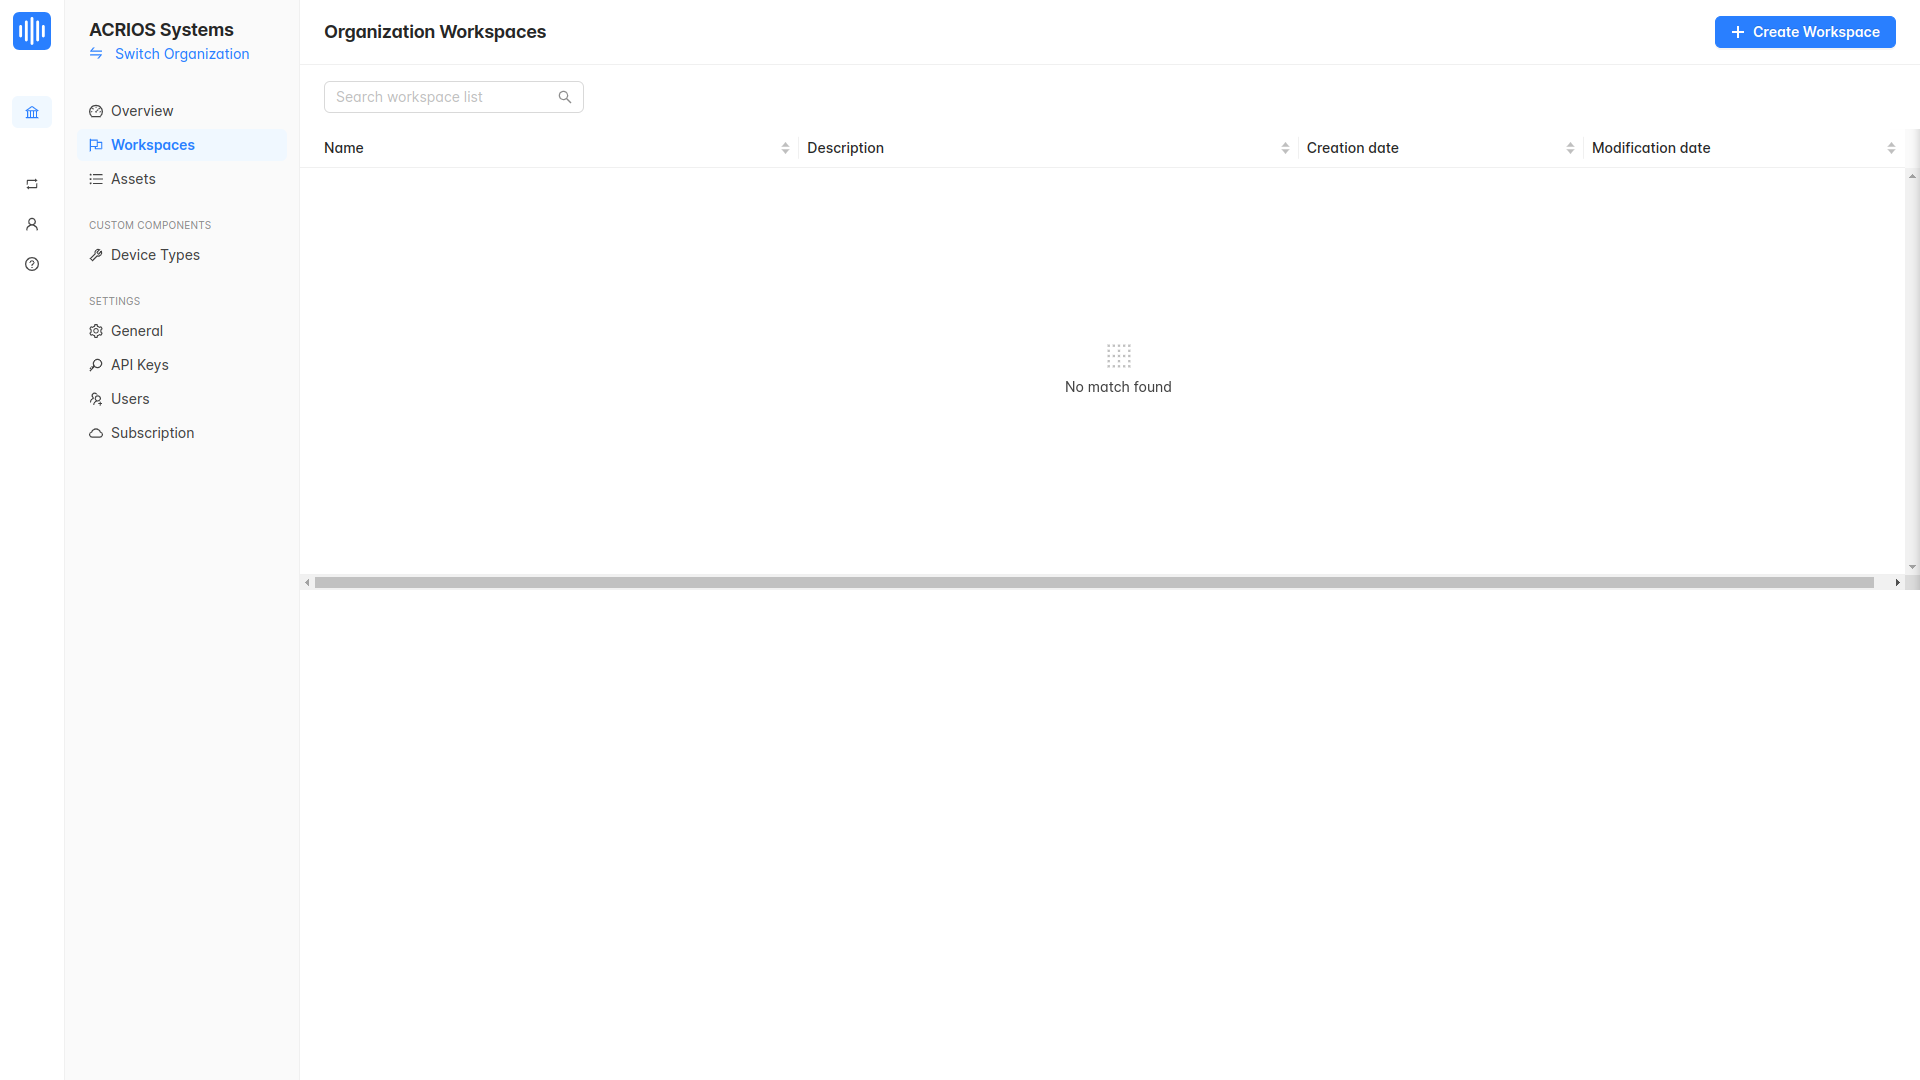
- Navigate to Workspace tab on the left side of the screen.
- Click on the Create Workspace button to create a new workspace.
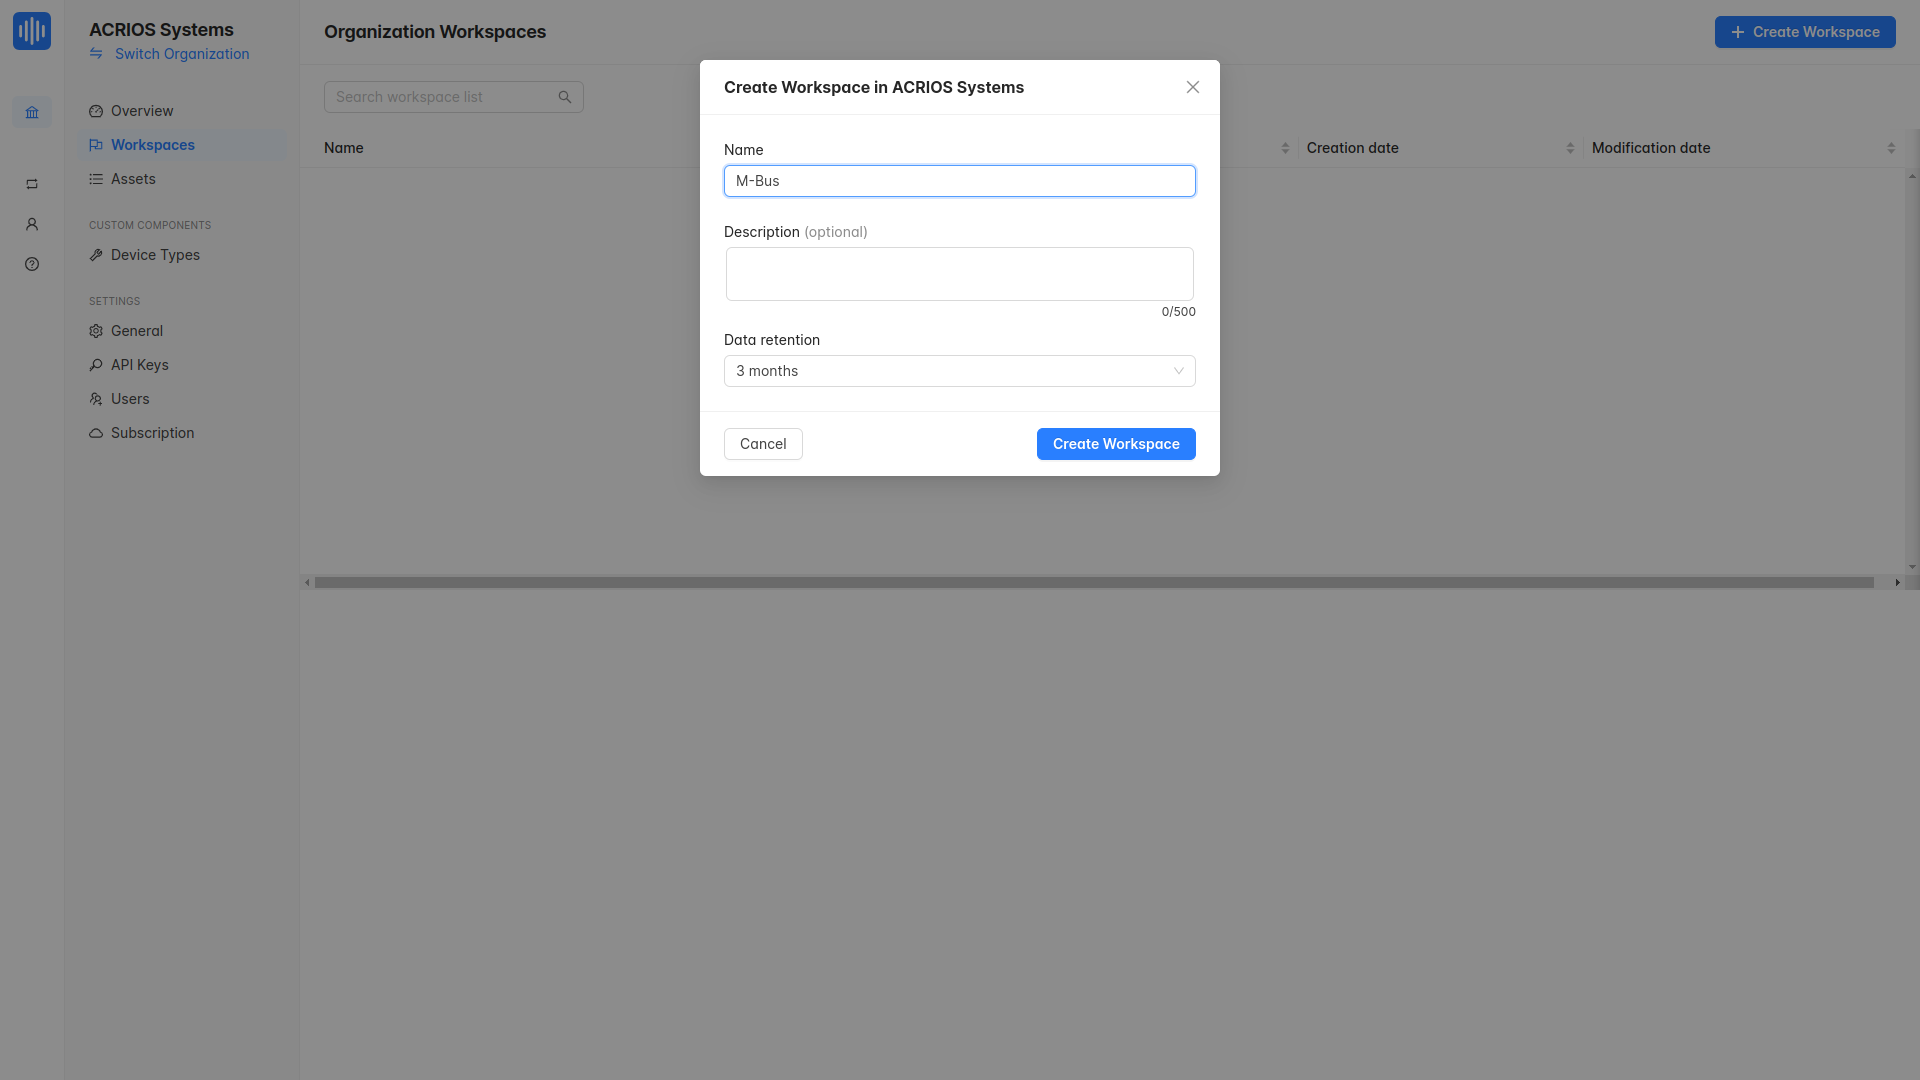
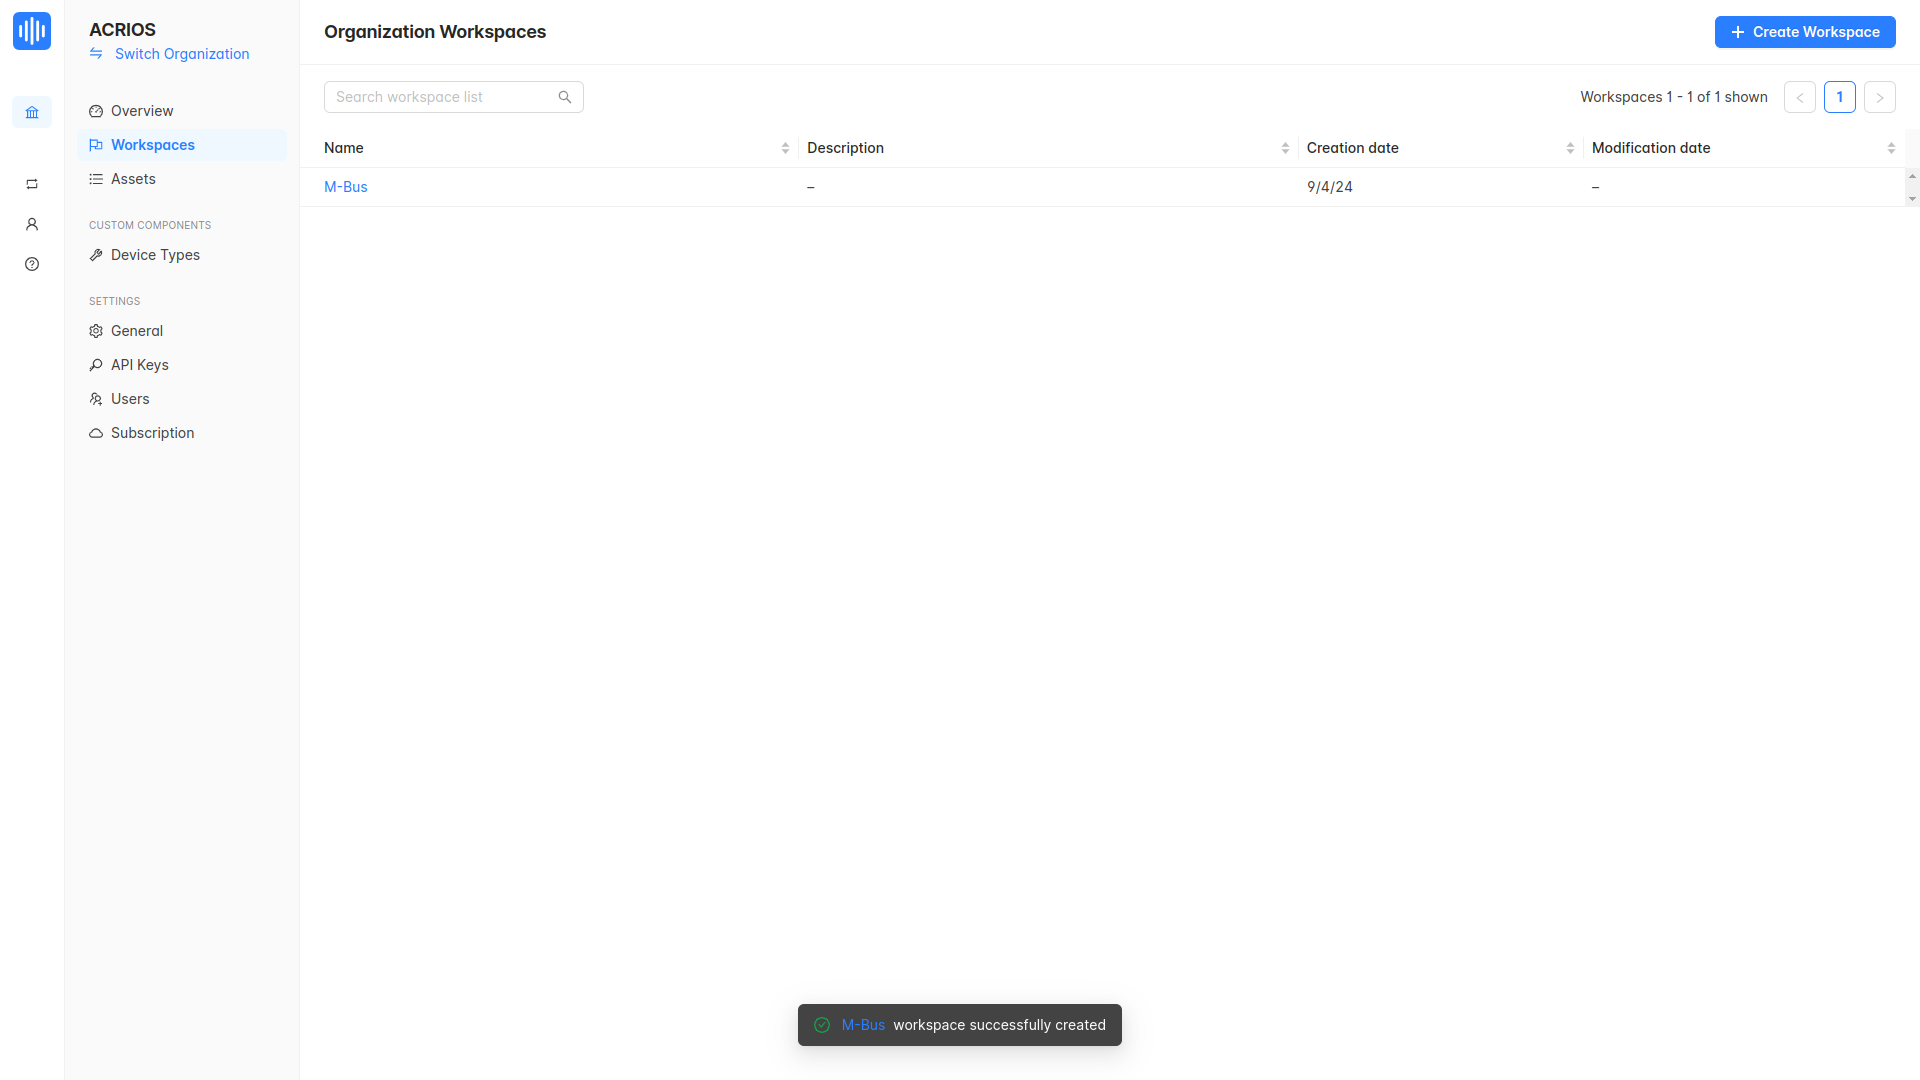
- Name your Workspace and click on the Create Workspace button.
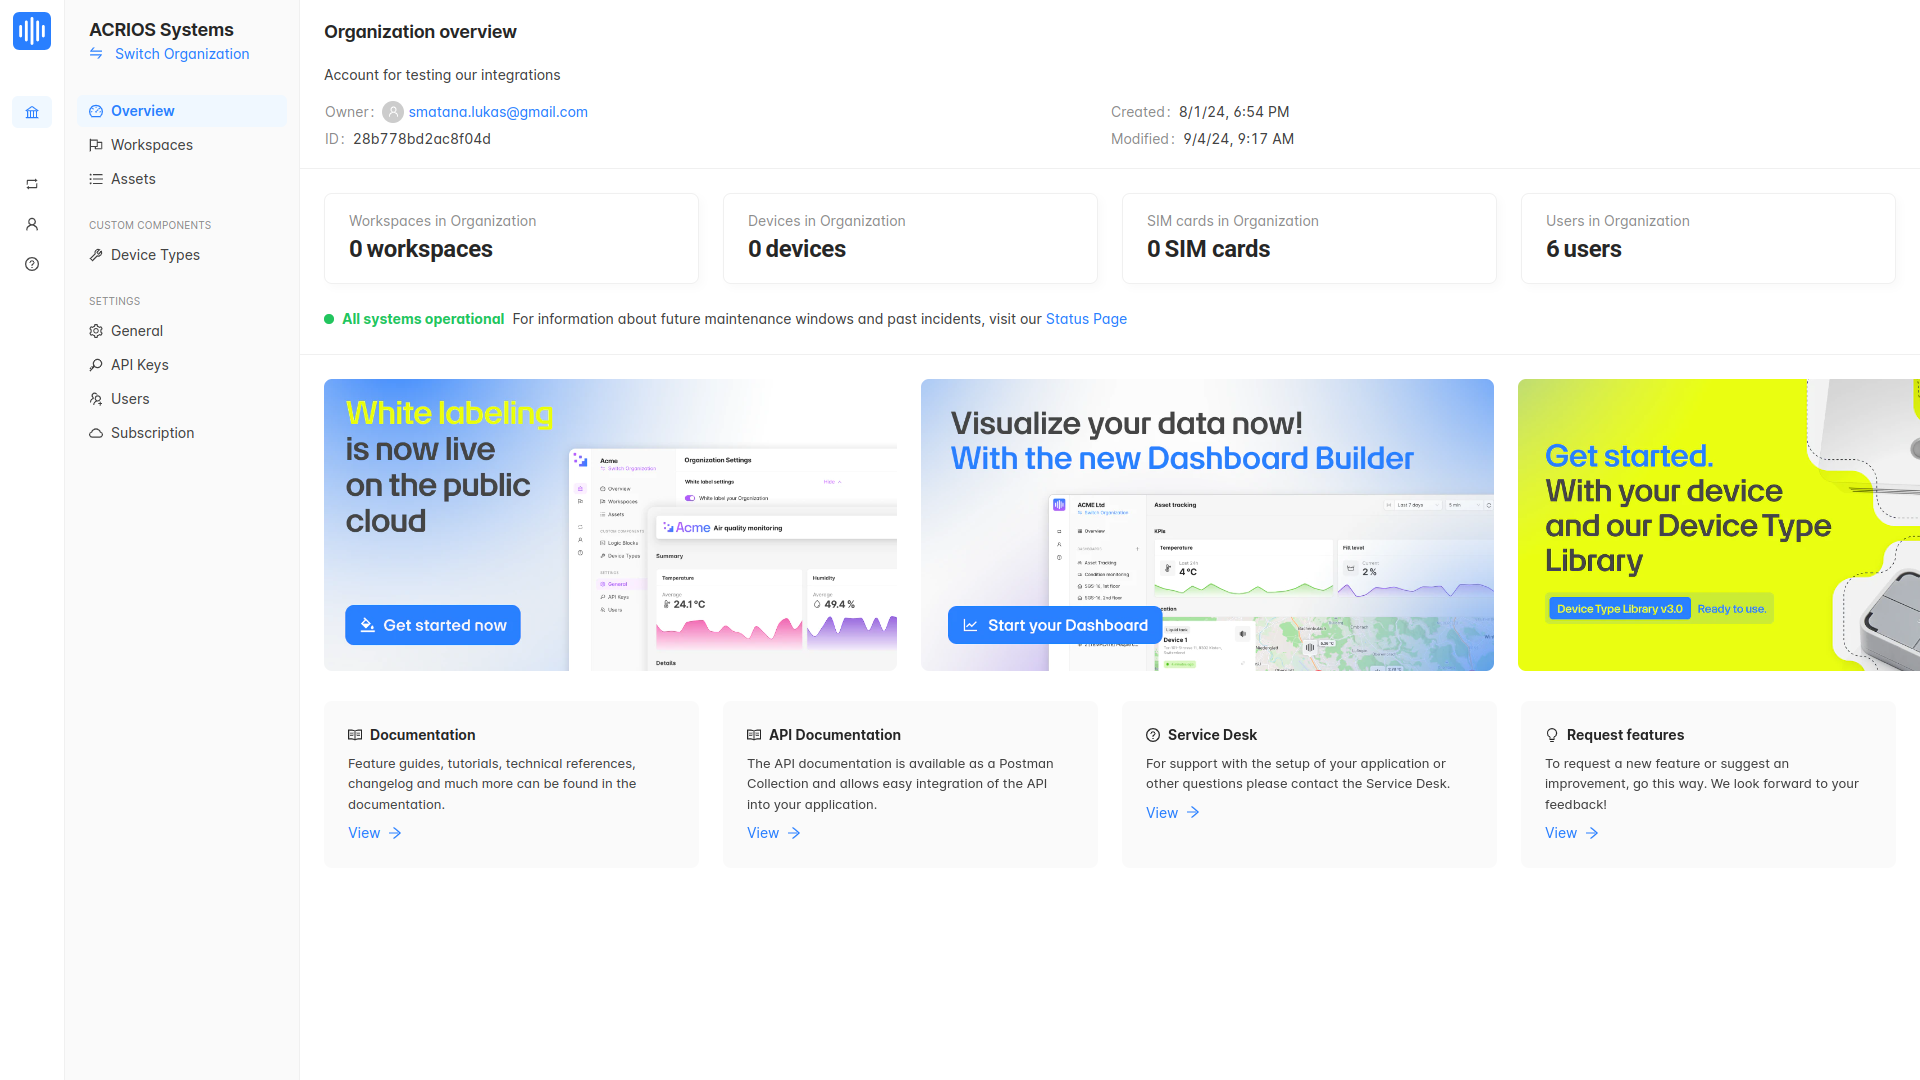
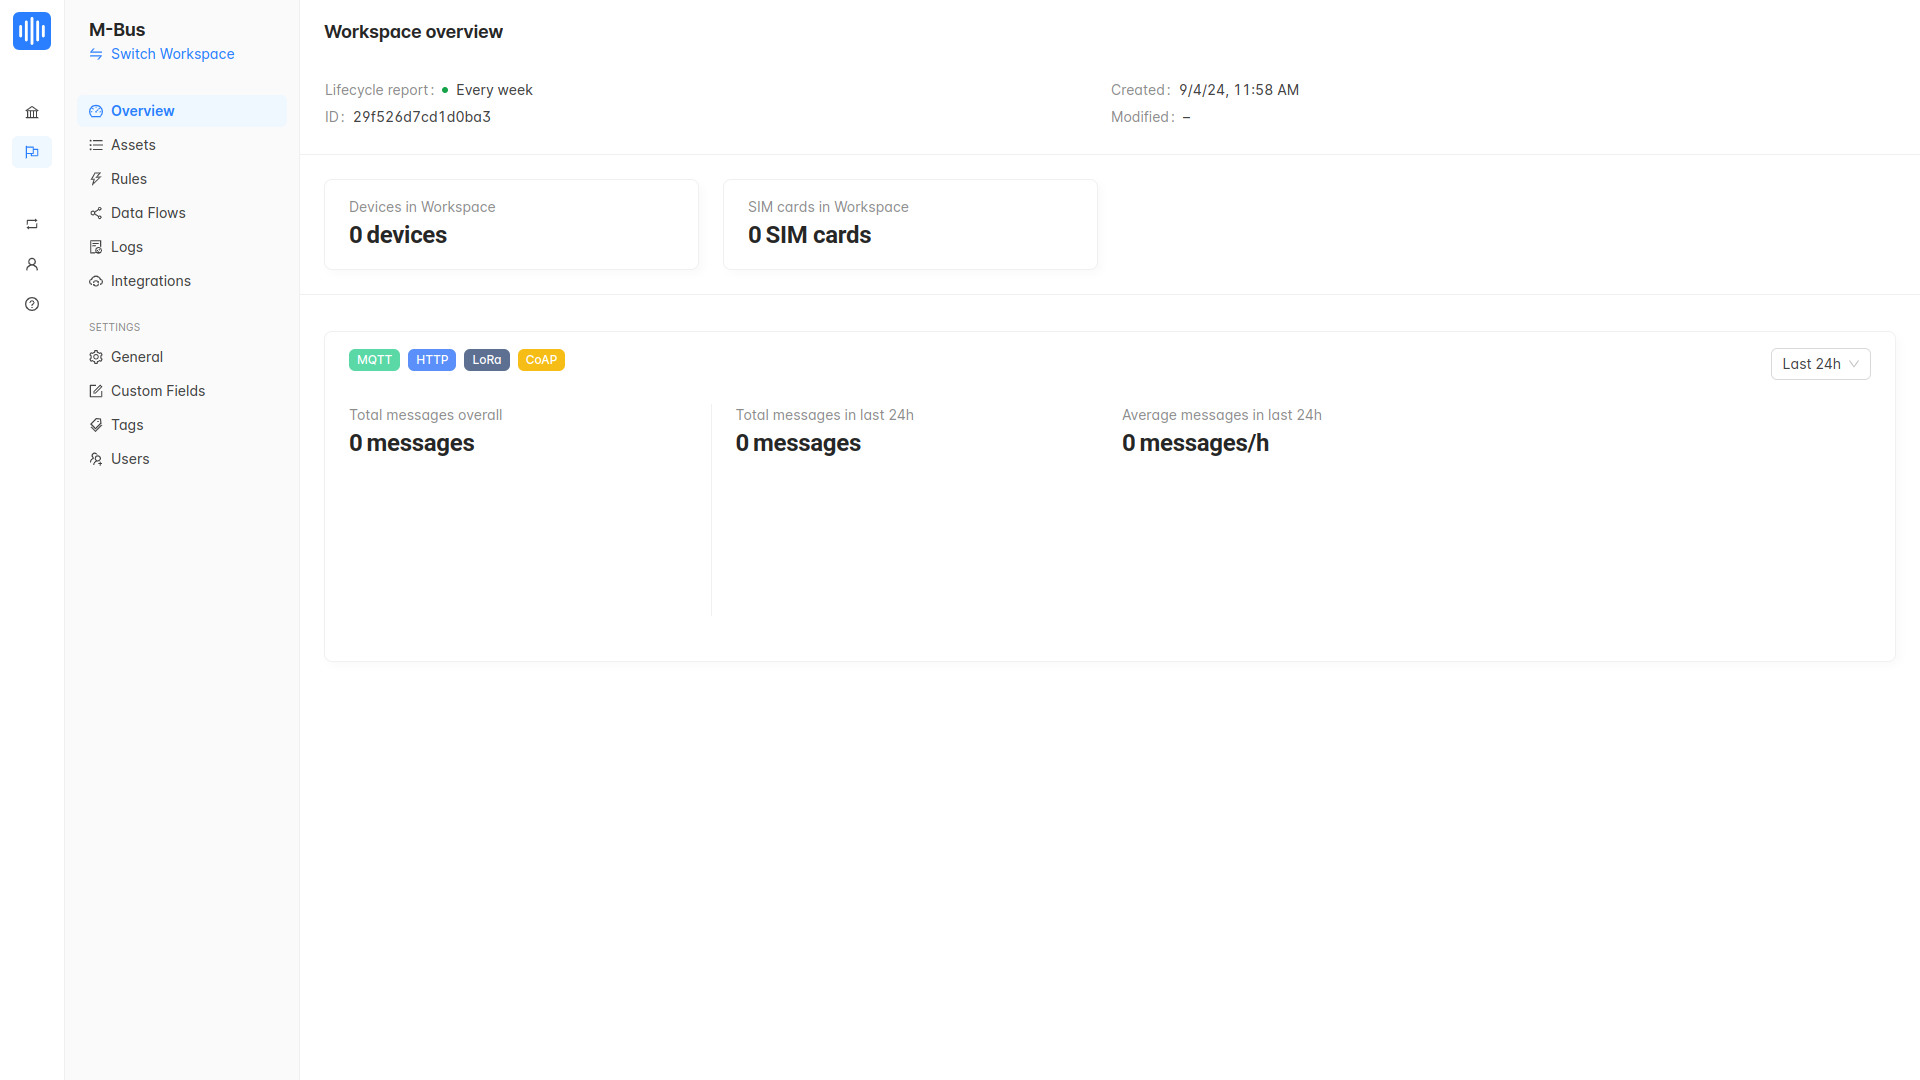
- Navigate to your workspace.
- Here you can see the workspace overview and manage your integrations, dataflows, and assets.
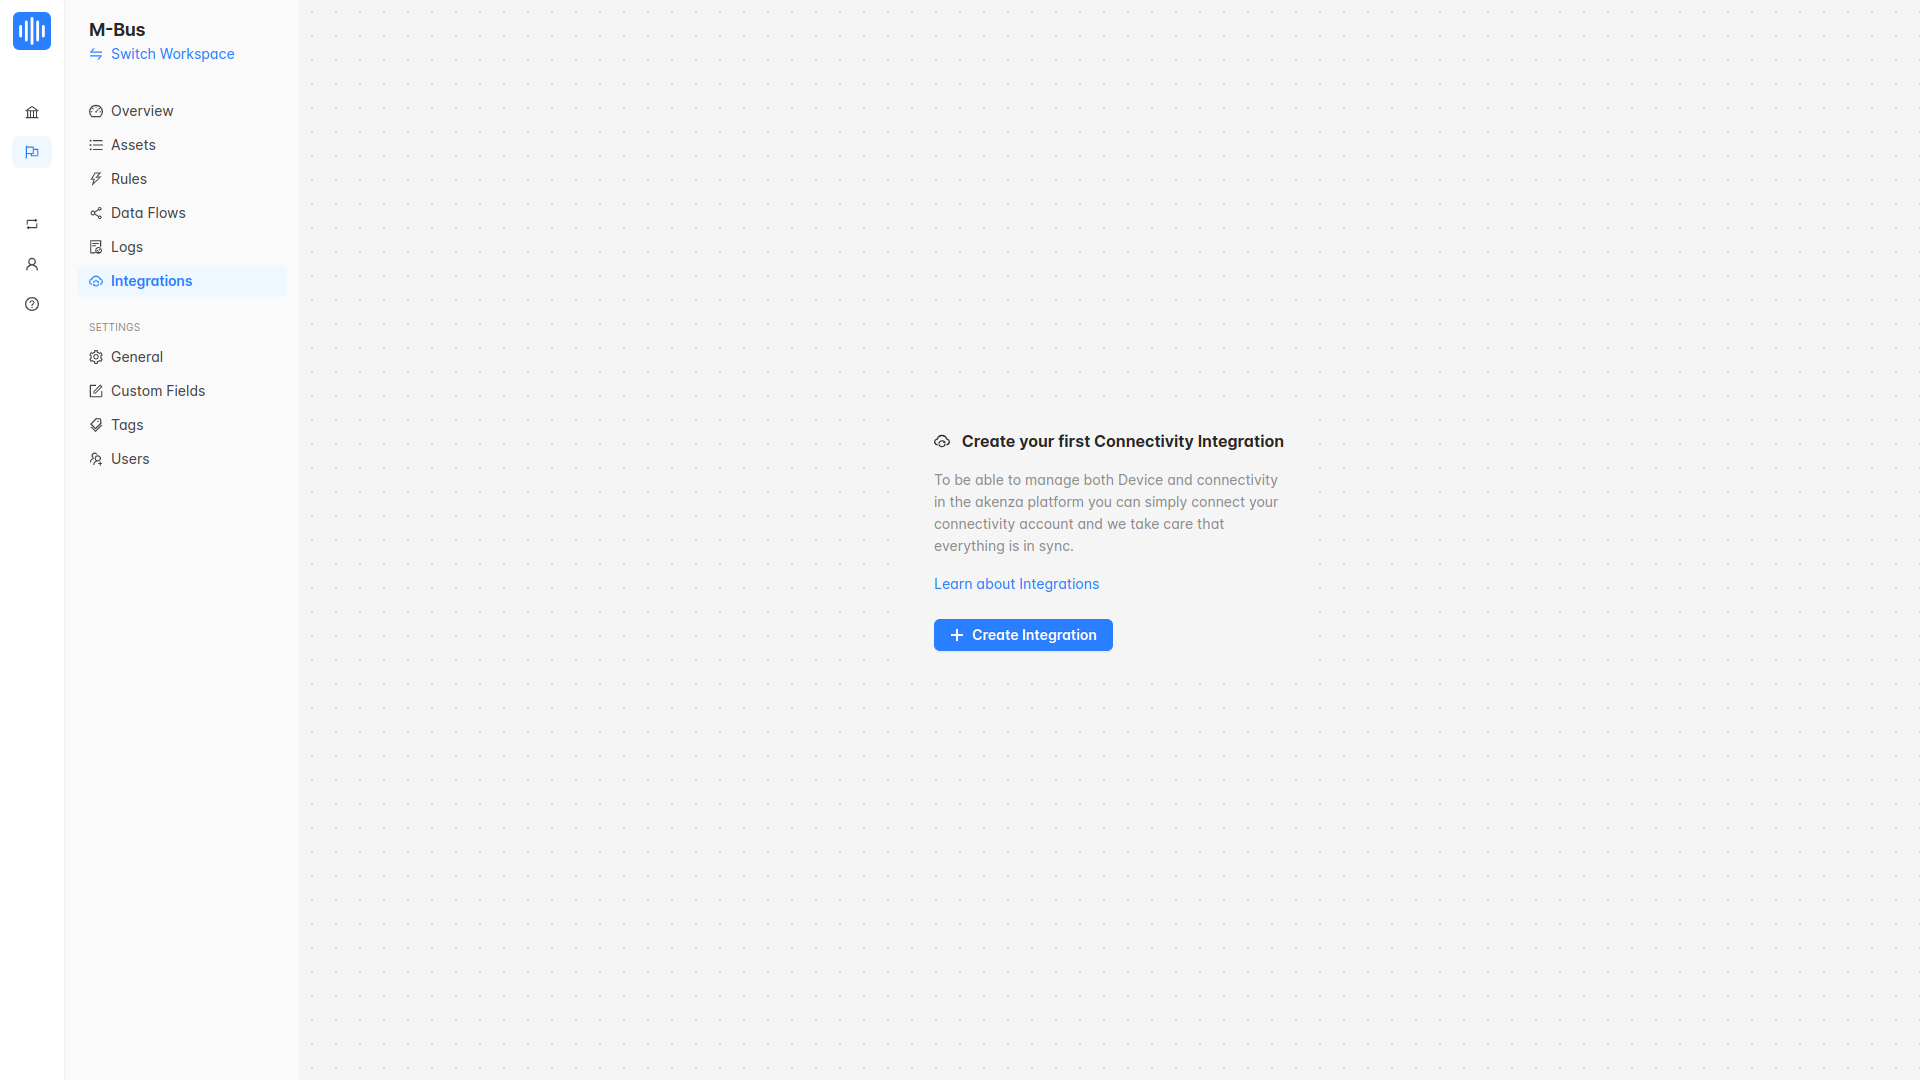
2. Creating Integration
- Navigate to the Integration tab on the left side of the screen and click on the Create Integration button to create a new integration.
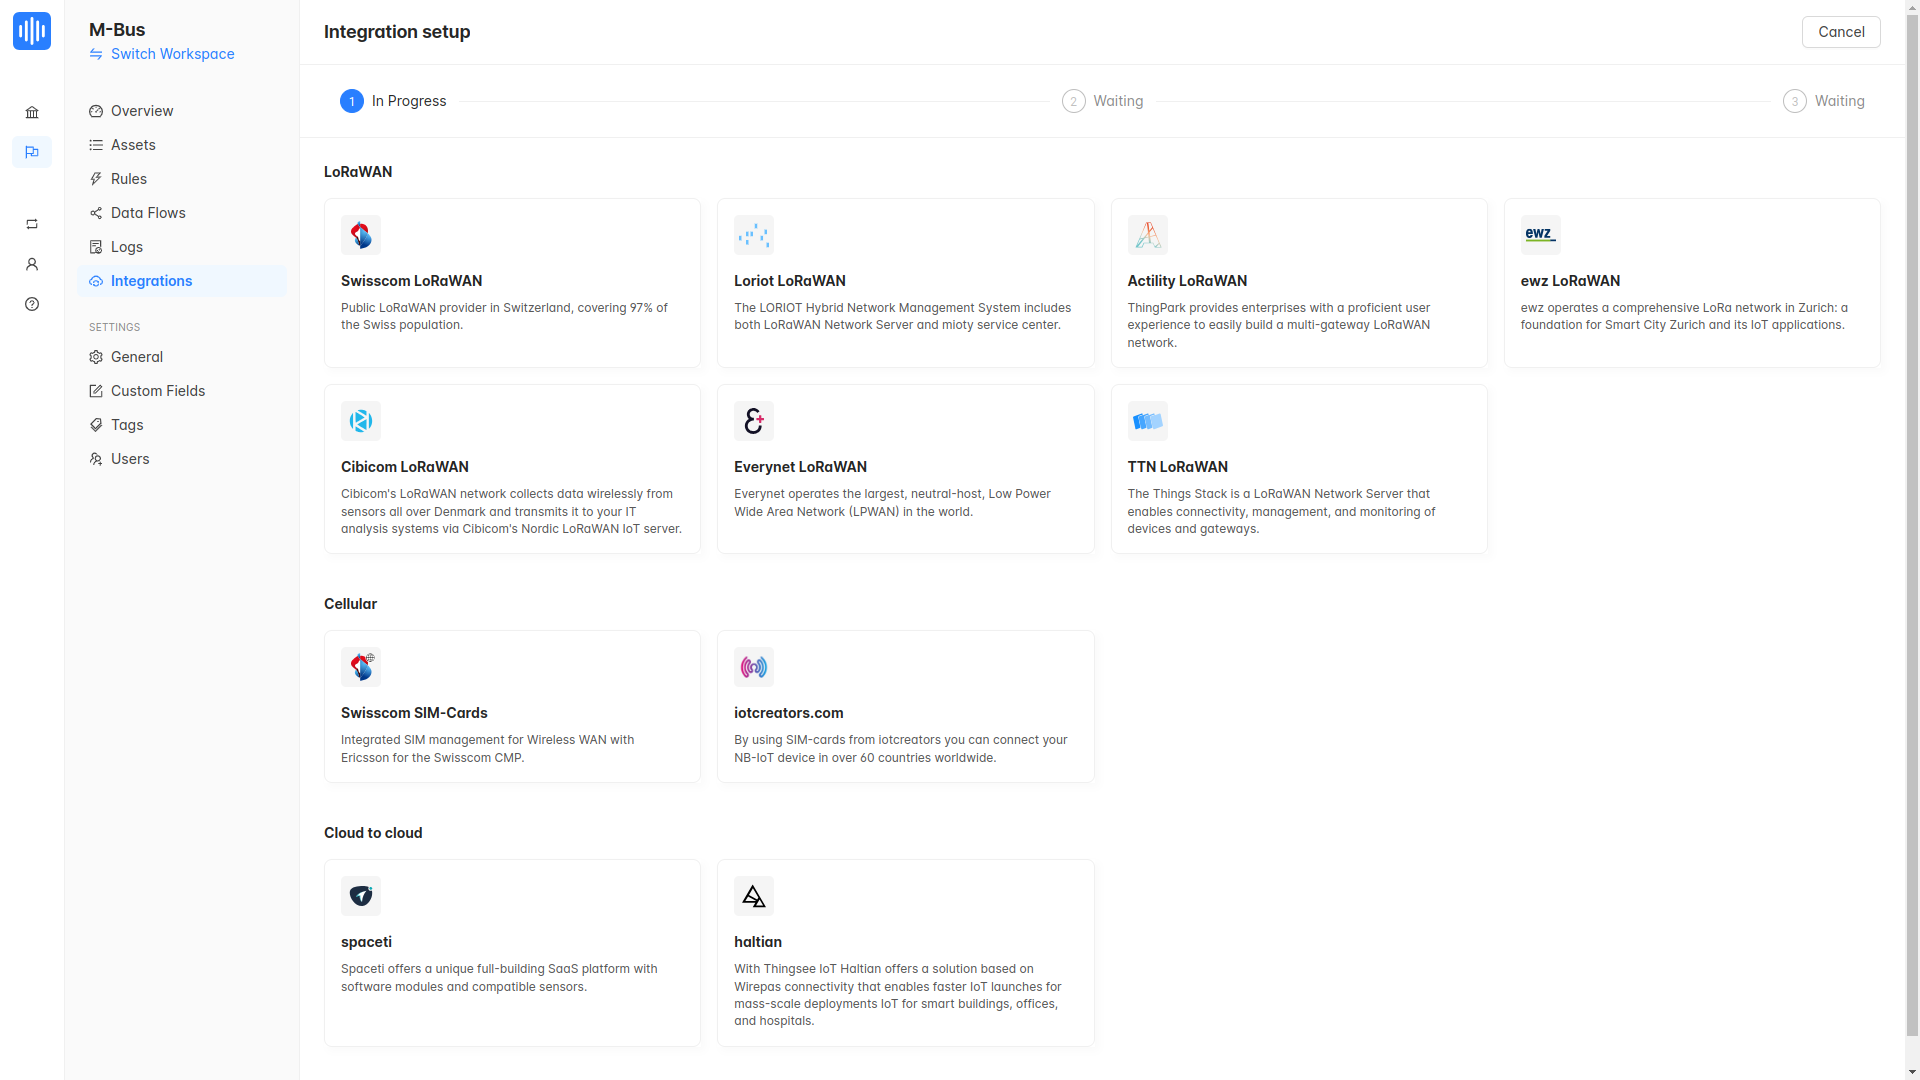
- Select the TTN LoRaWAN integration.
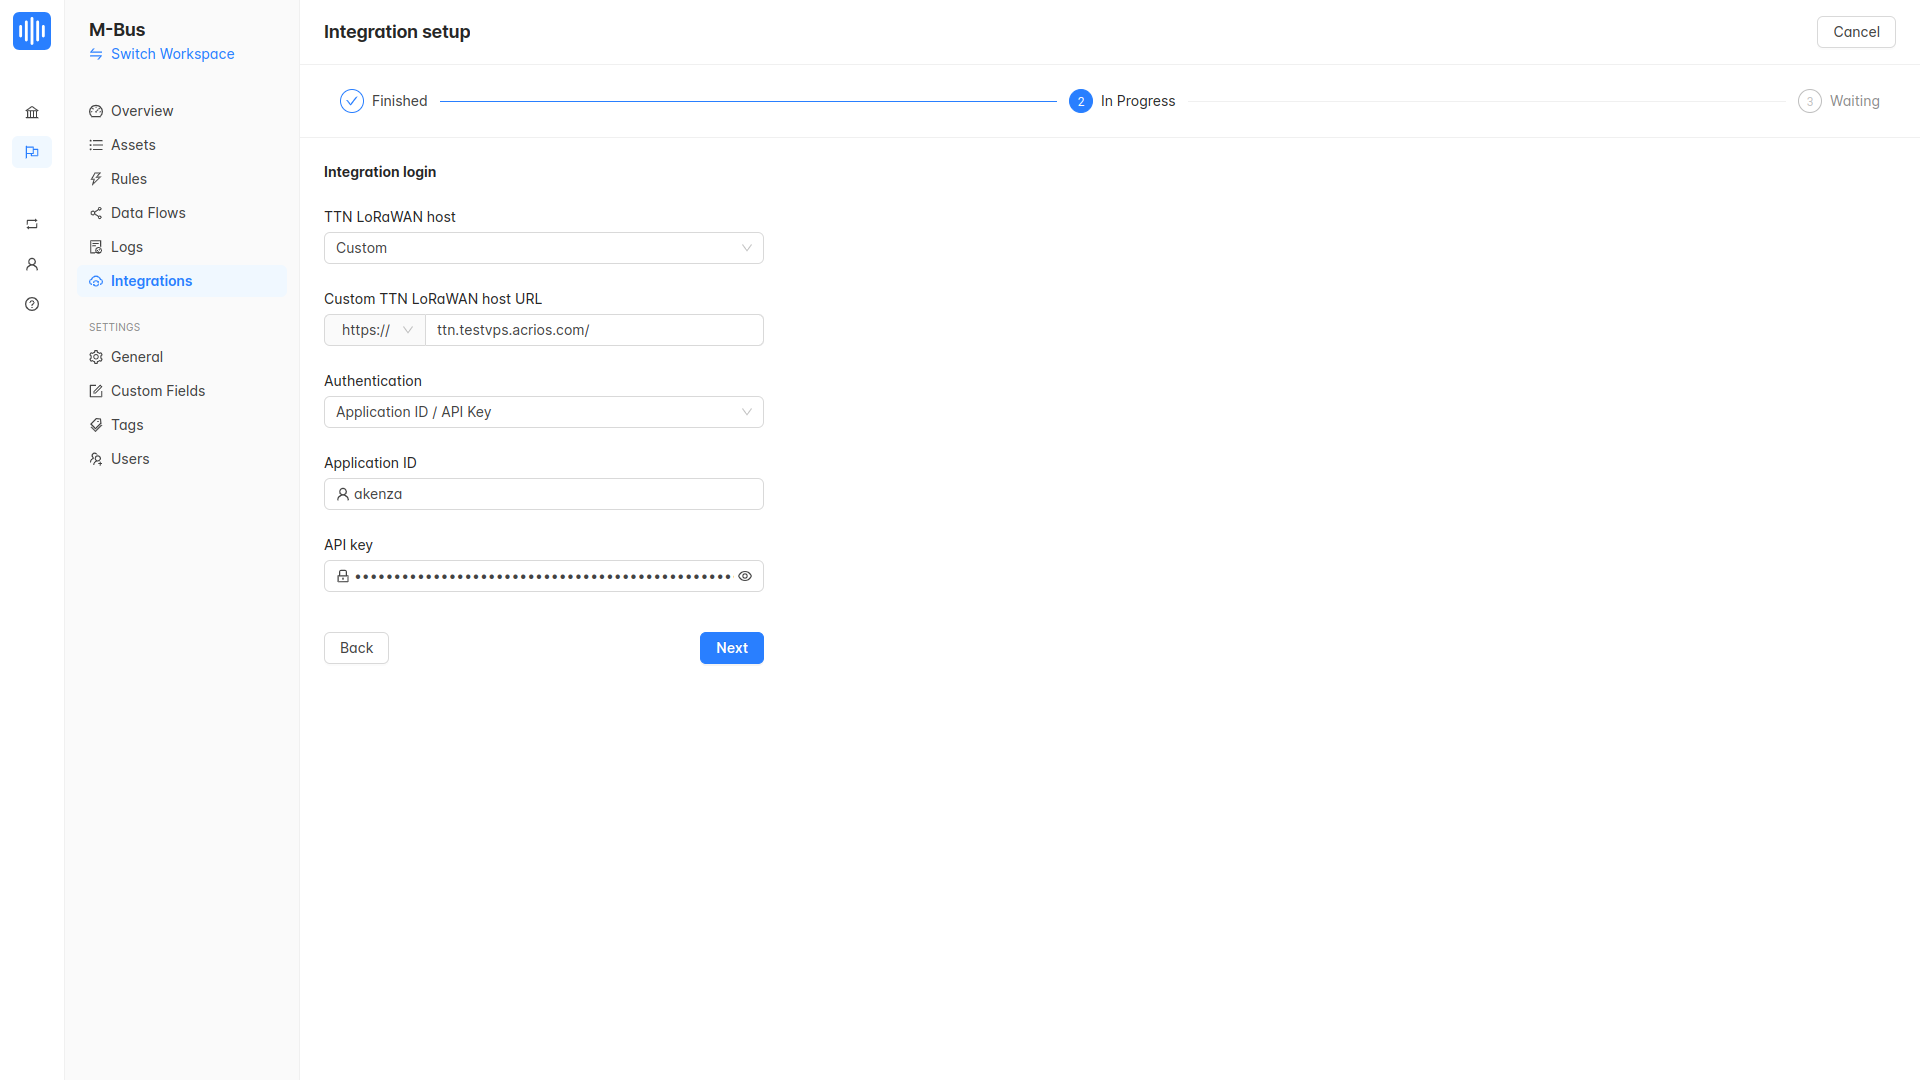
- Fill in the required fields and click on the Next button. (Since we are using our own TTS LoRaWAN host, we also need to provide the server address.)
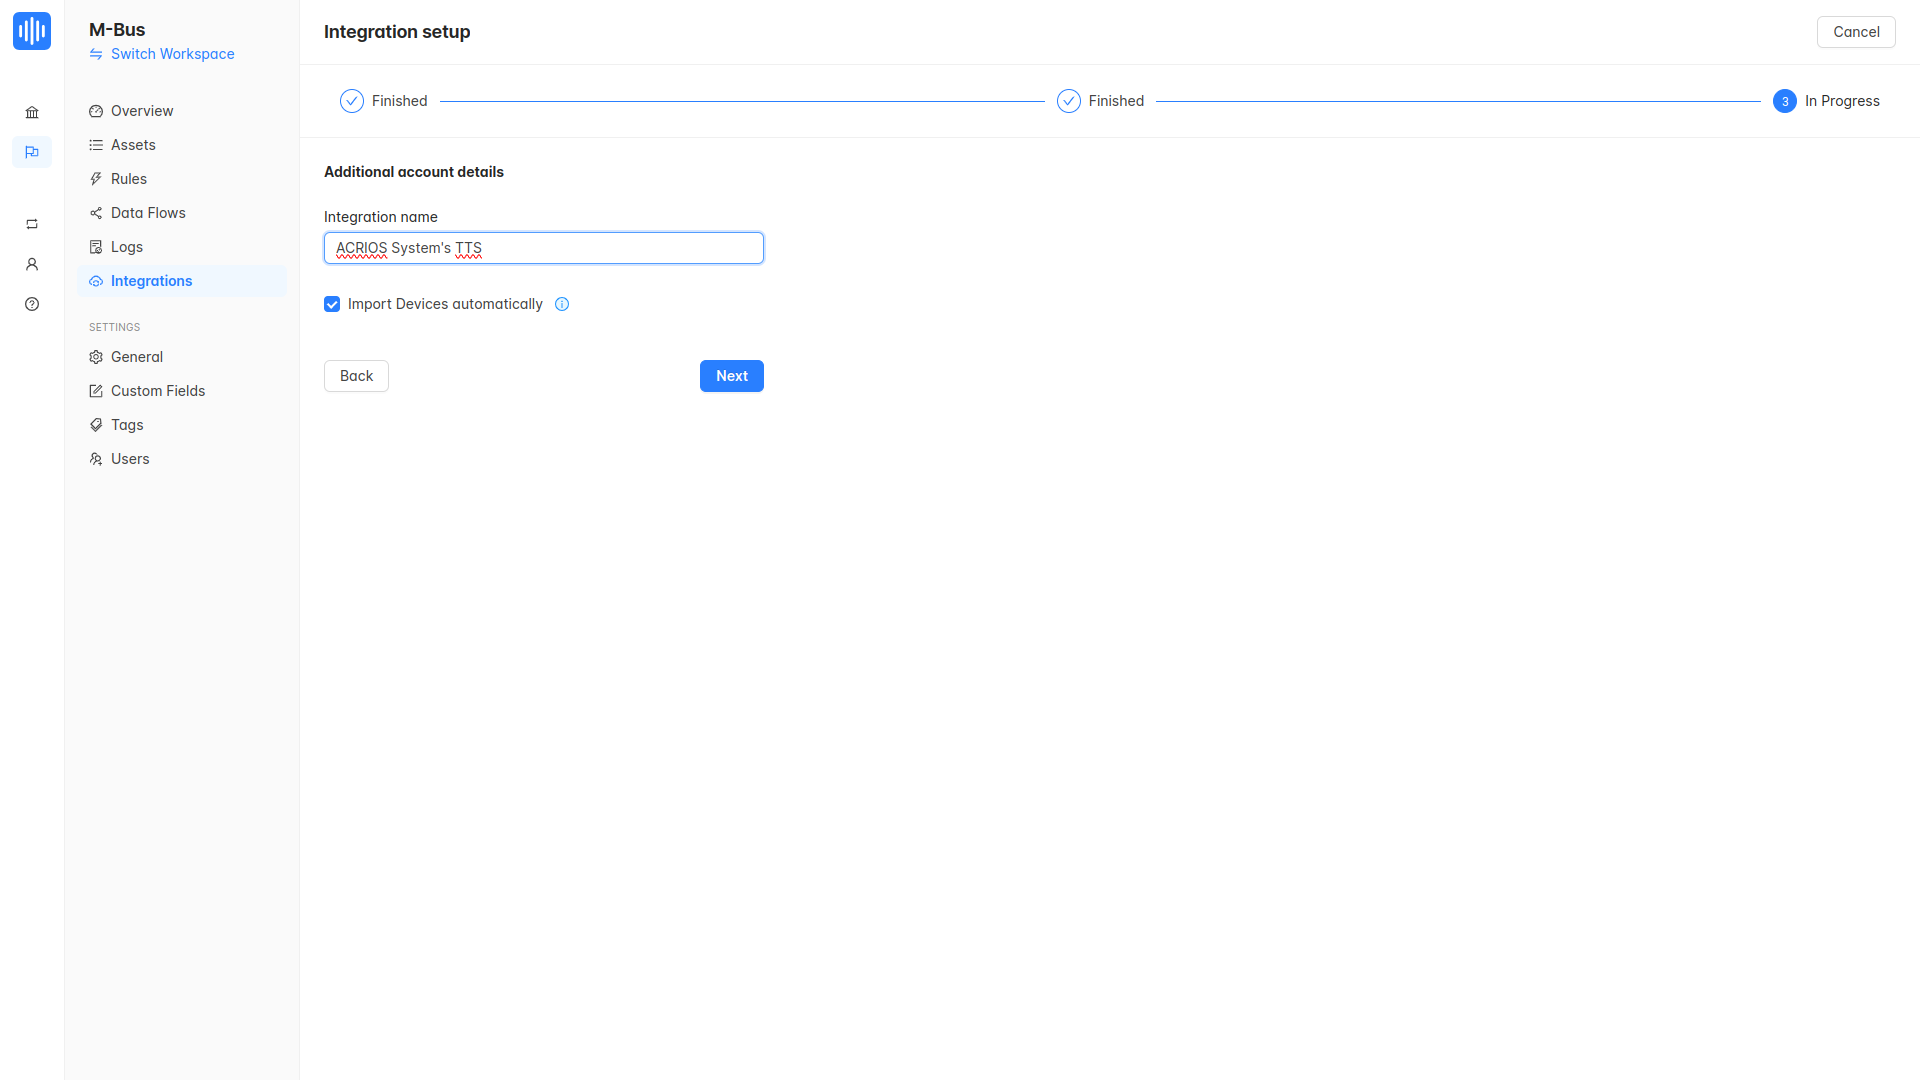
- Name your integration and click on the Next button.
- Wait for the integration to be created and then click on the Done button.
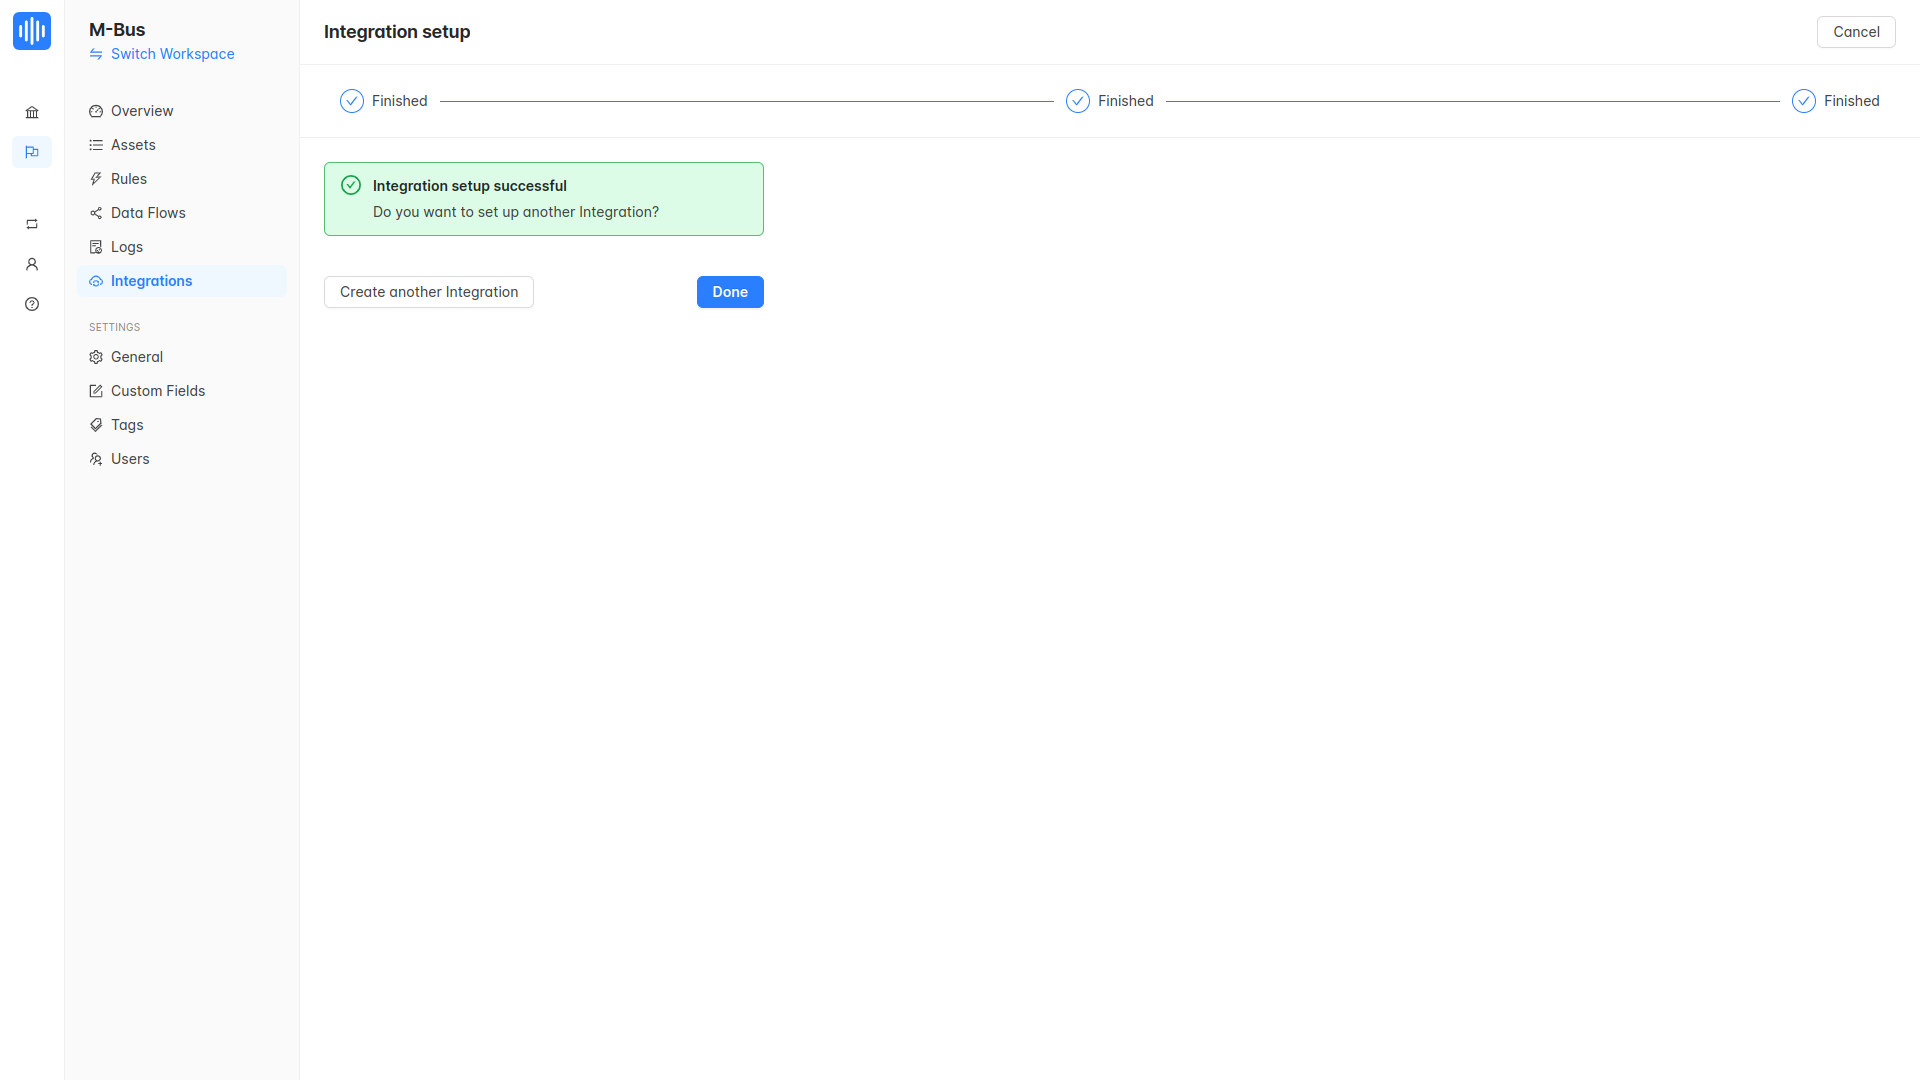
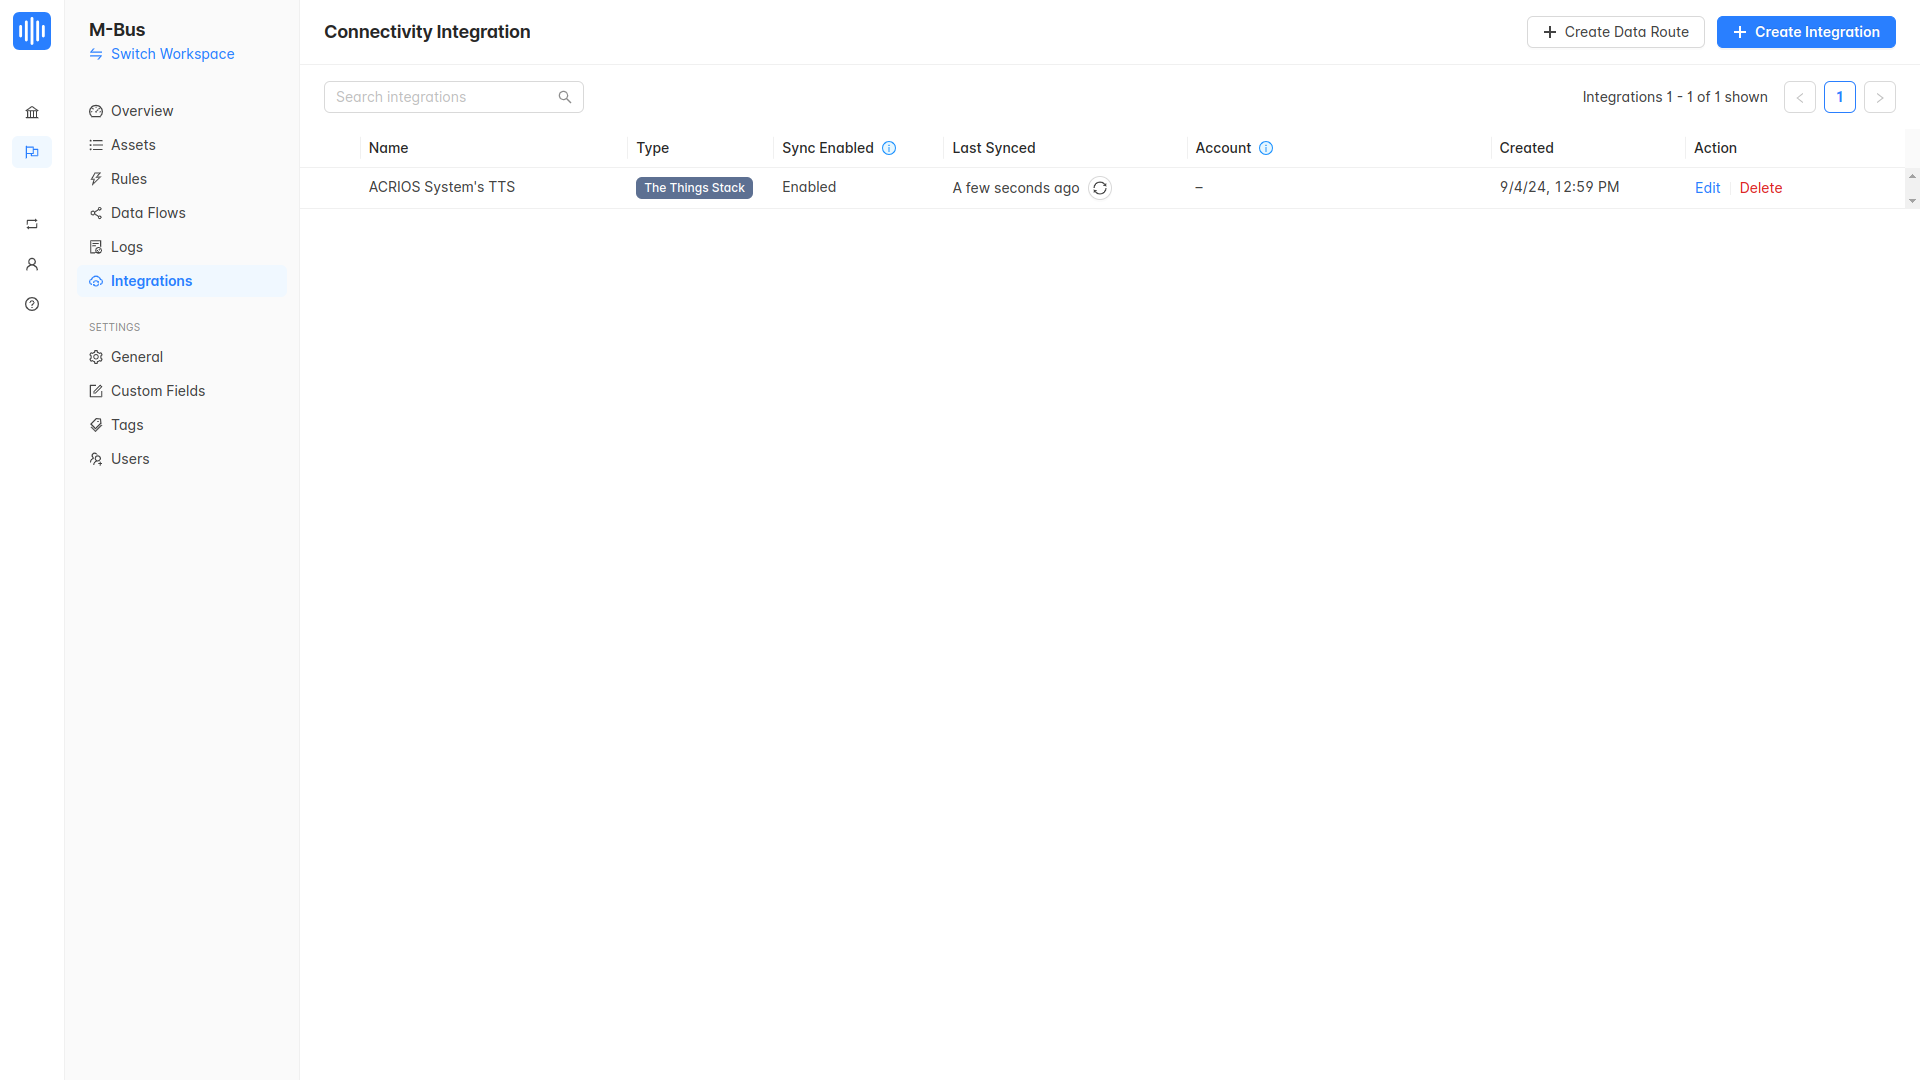
- Your integration is now created and ready to be used.
3. Creating Dataflow
- Navigate to the Dataflow tab on the left side of the screen and click on the Create Dataflow button to create a new dataflow.
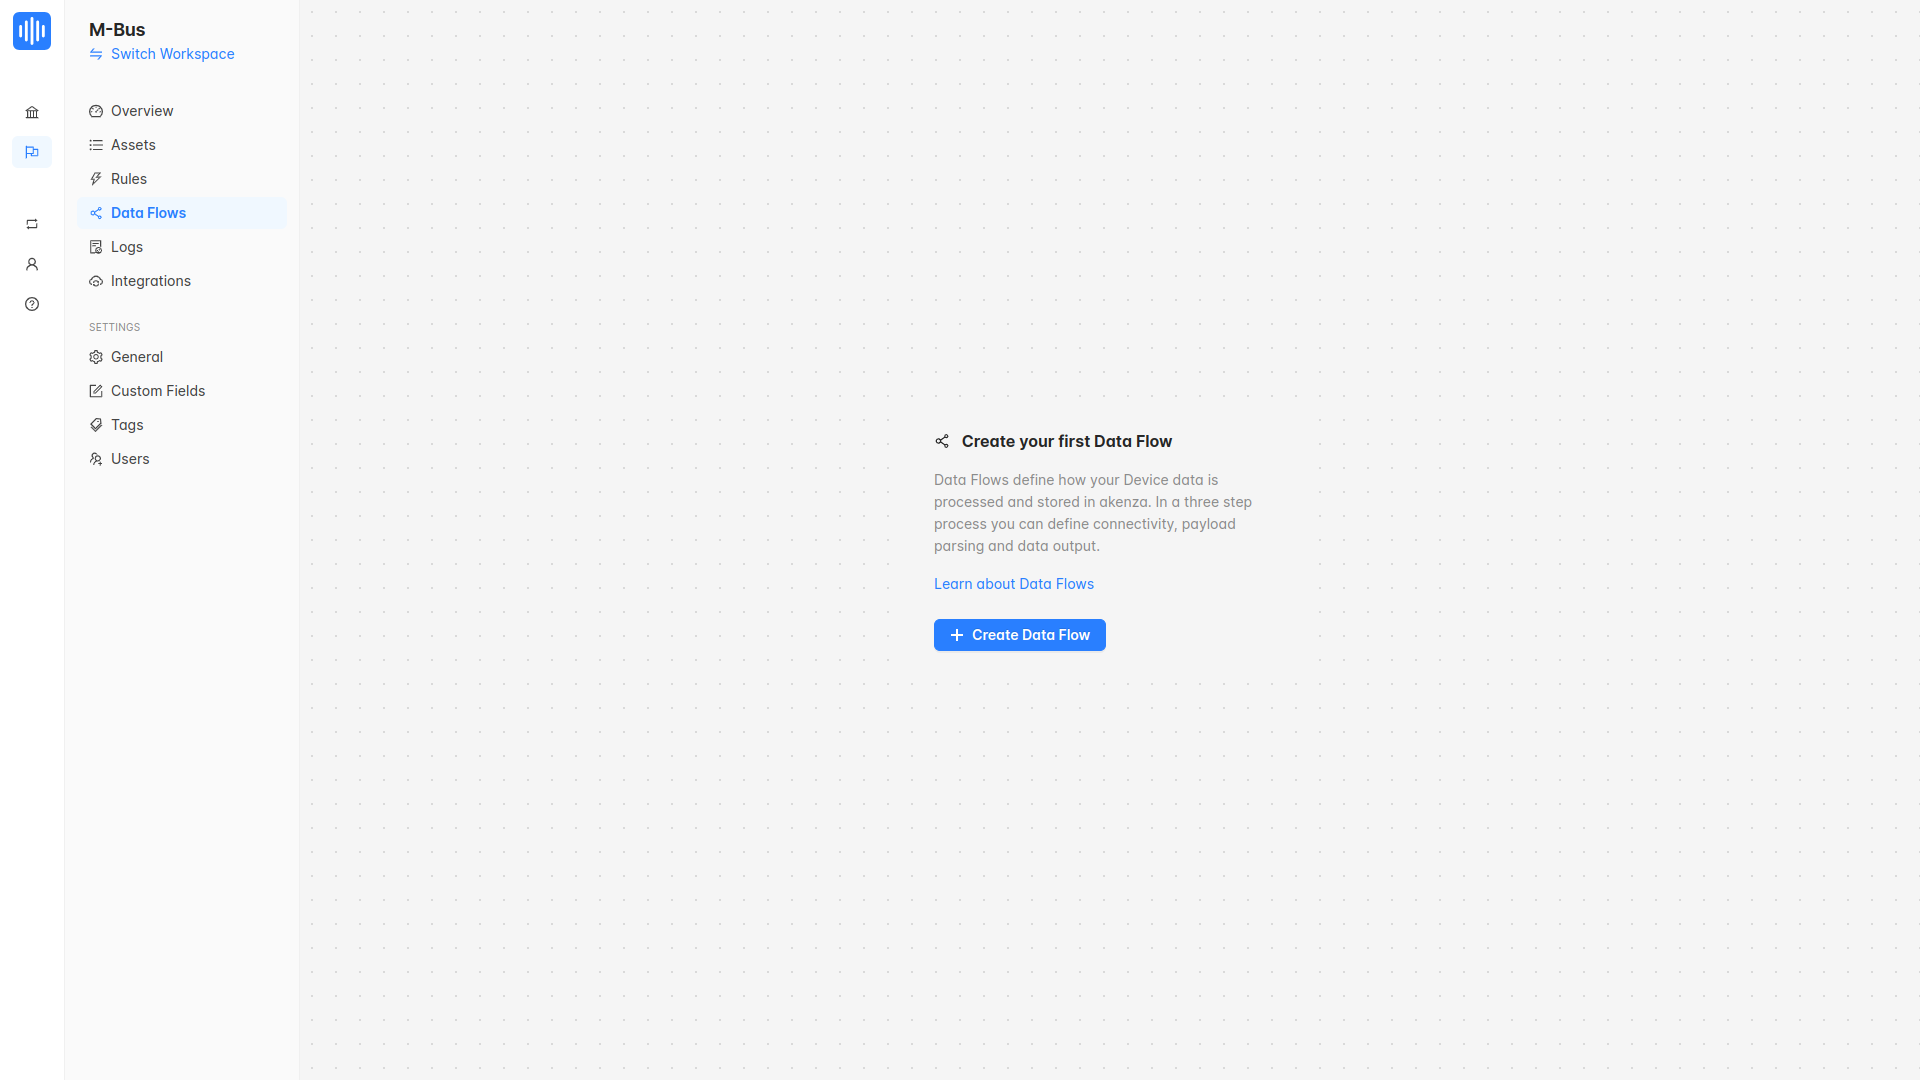
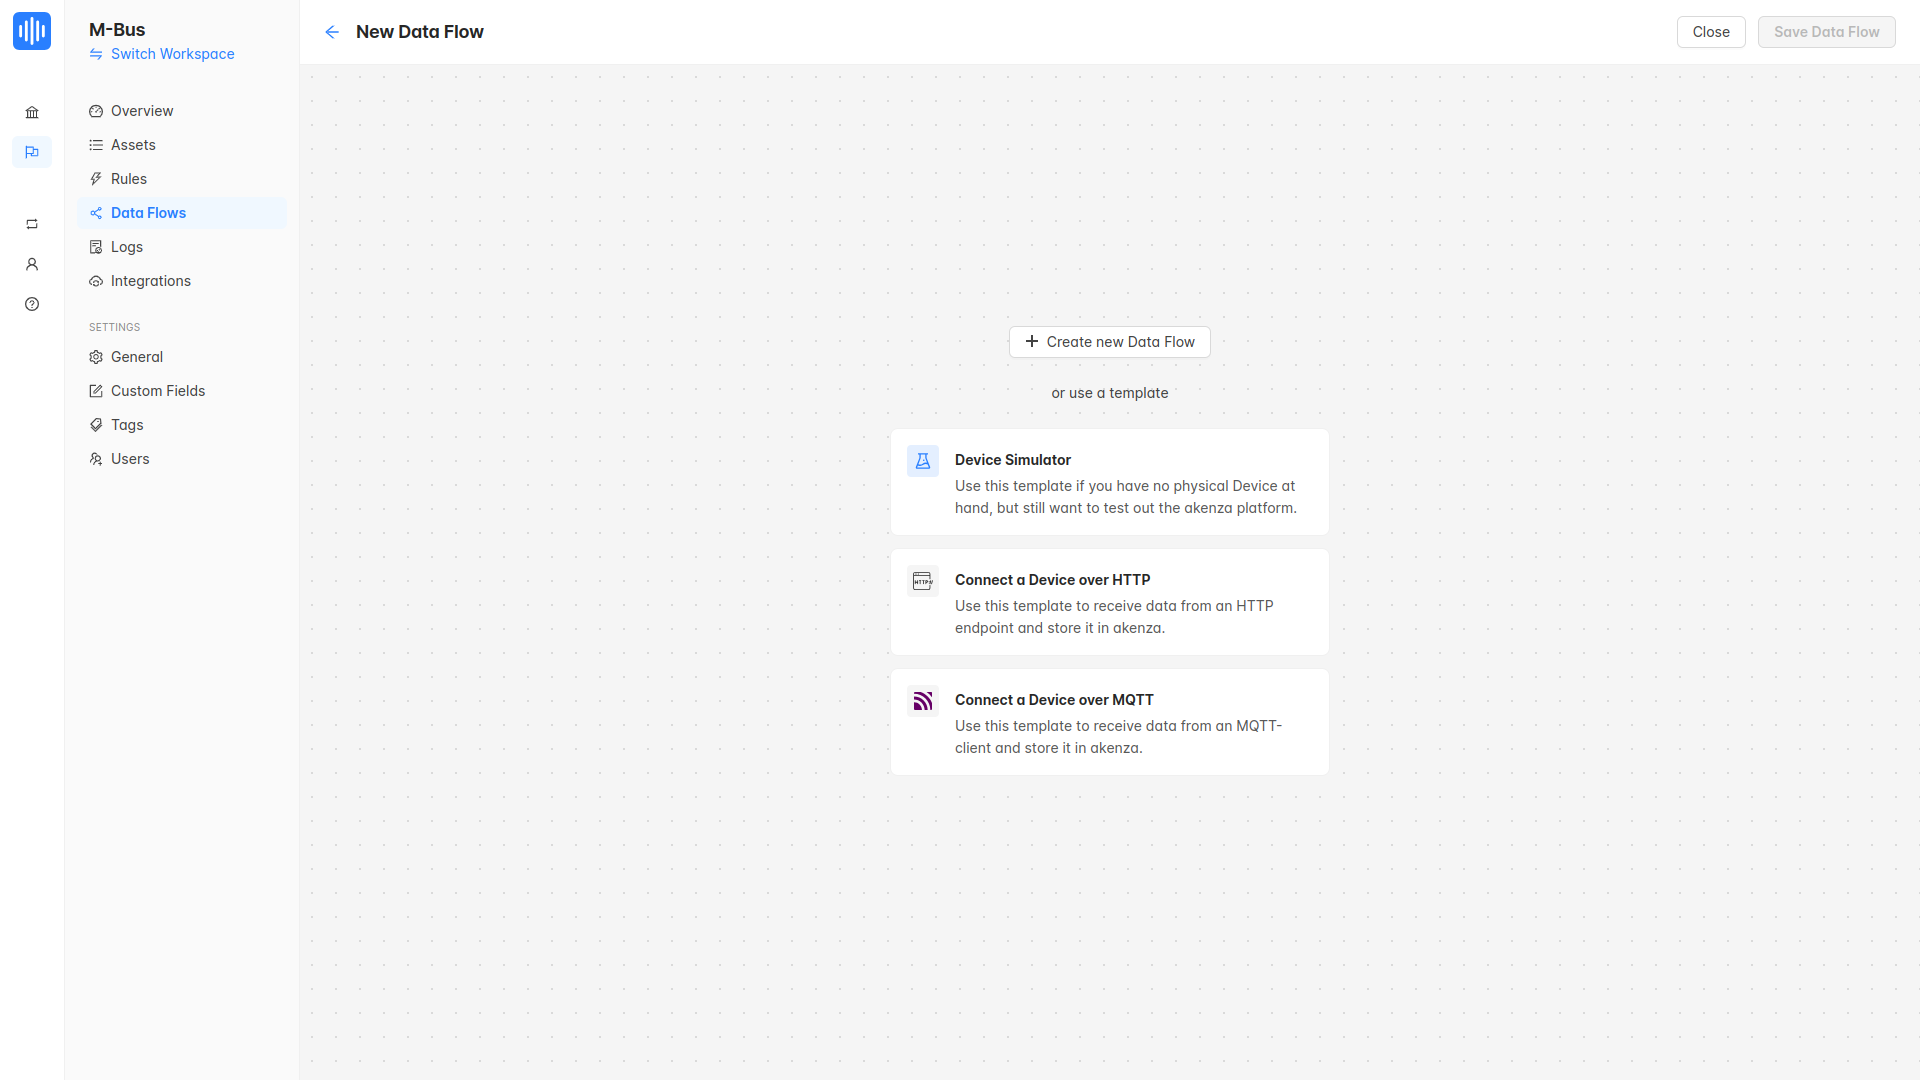
- Click on the Create new Data Flow button.
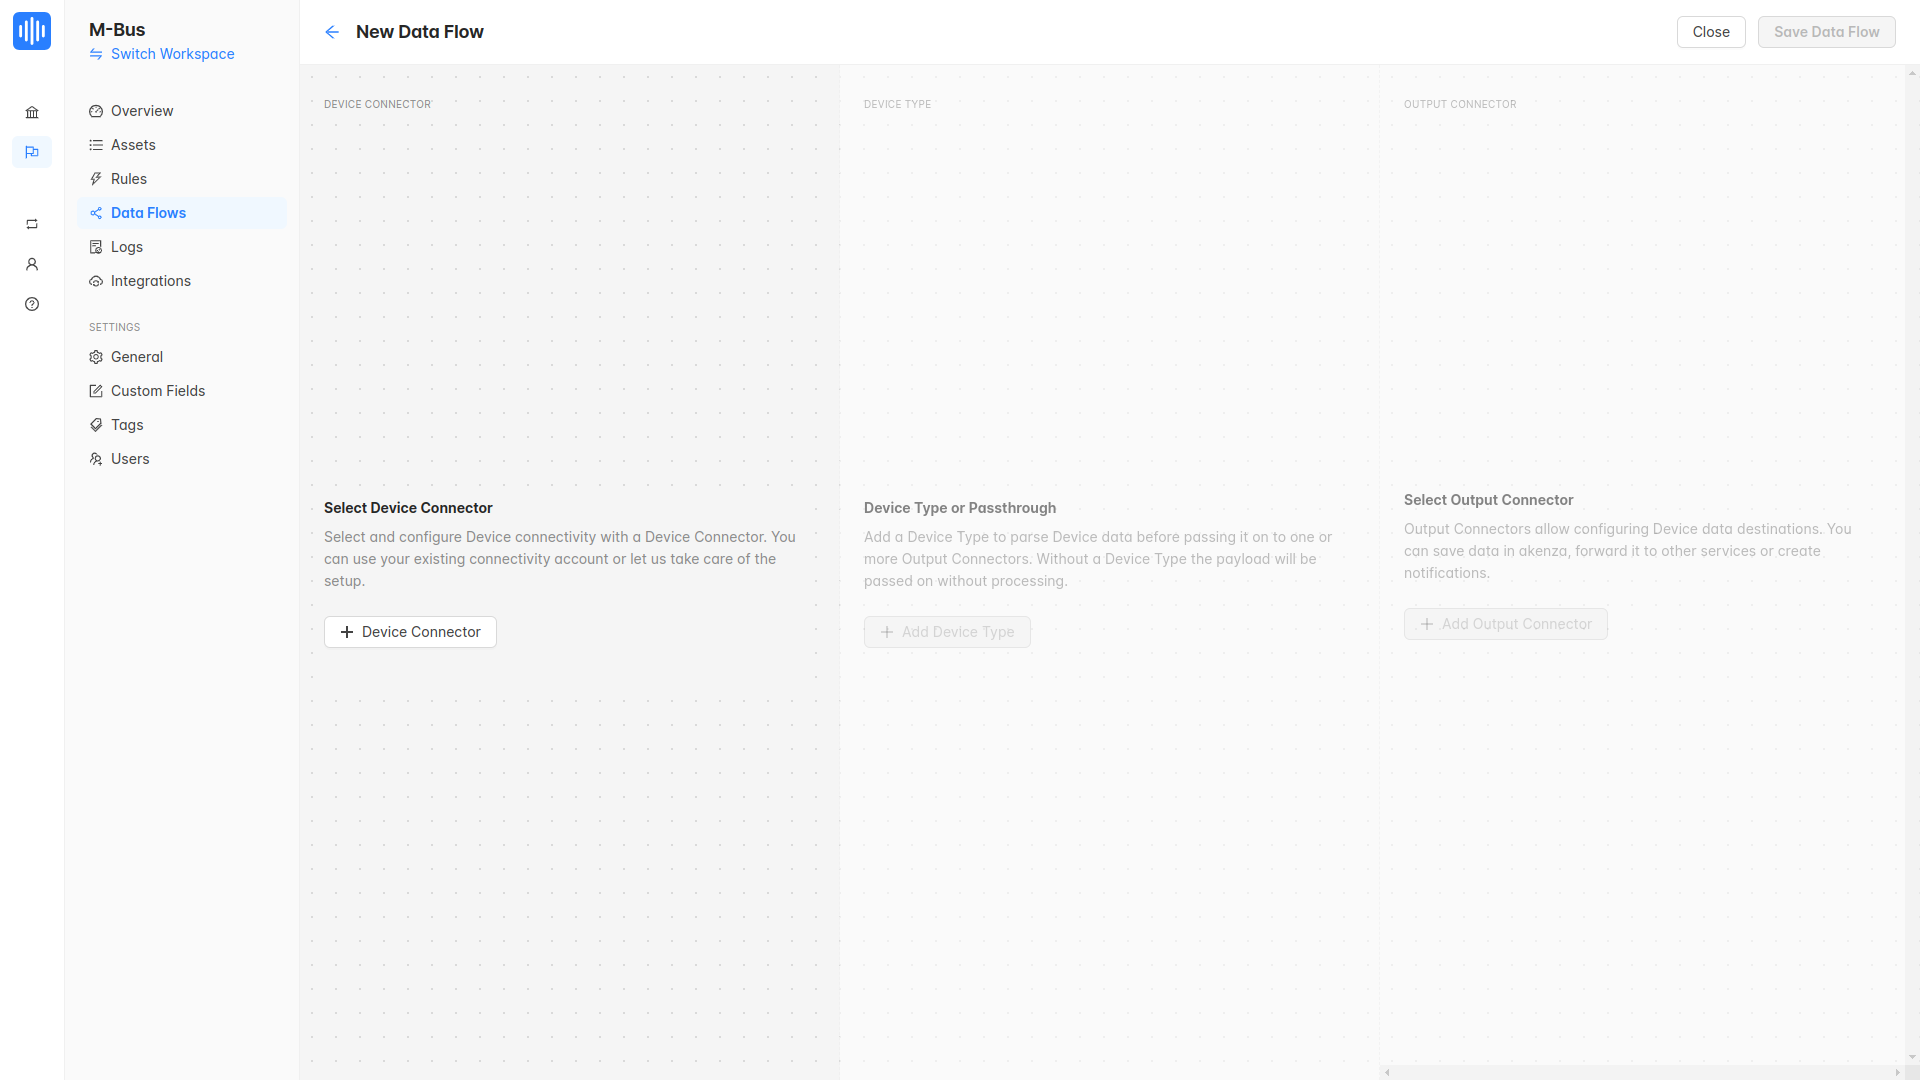
- Click on the Device Connector button to add a device connector to the dataflow.
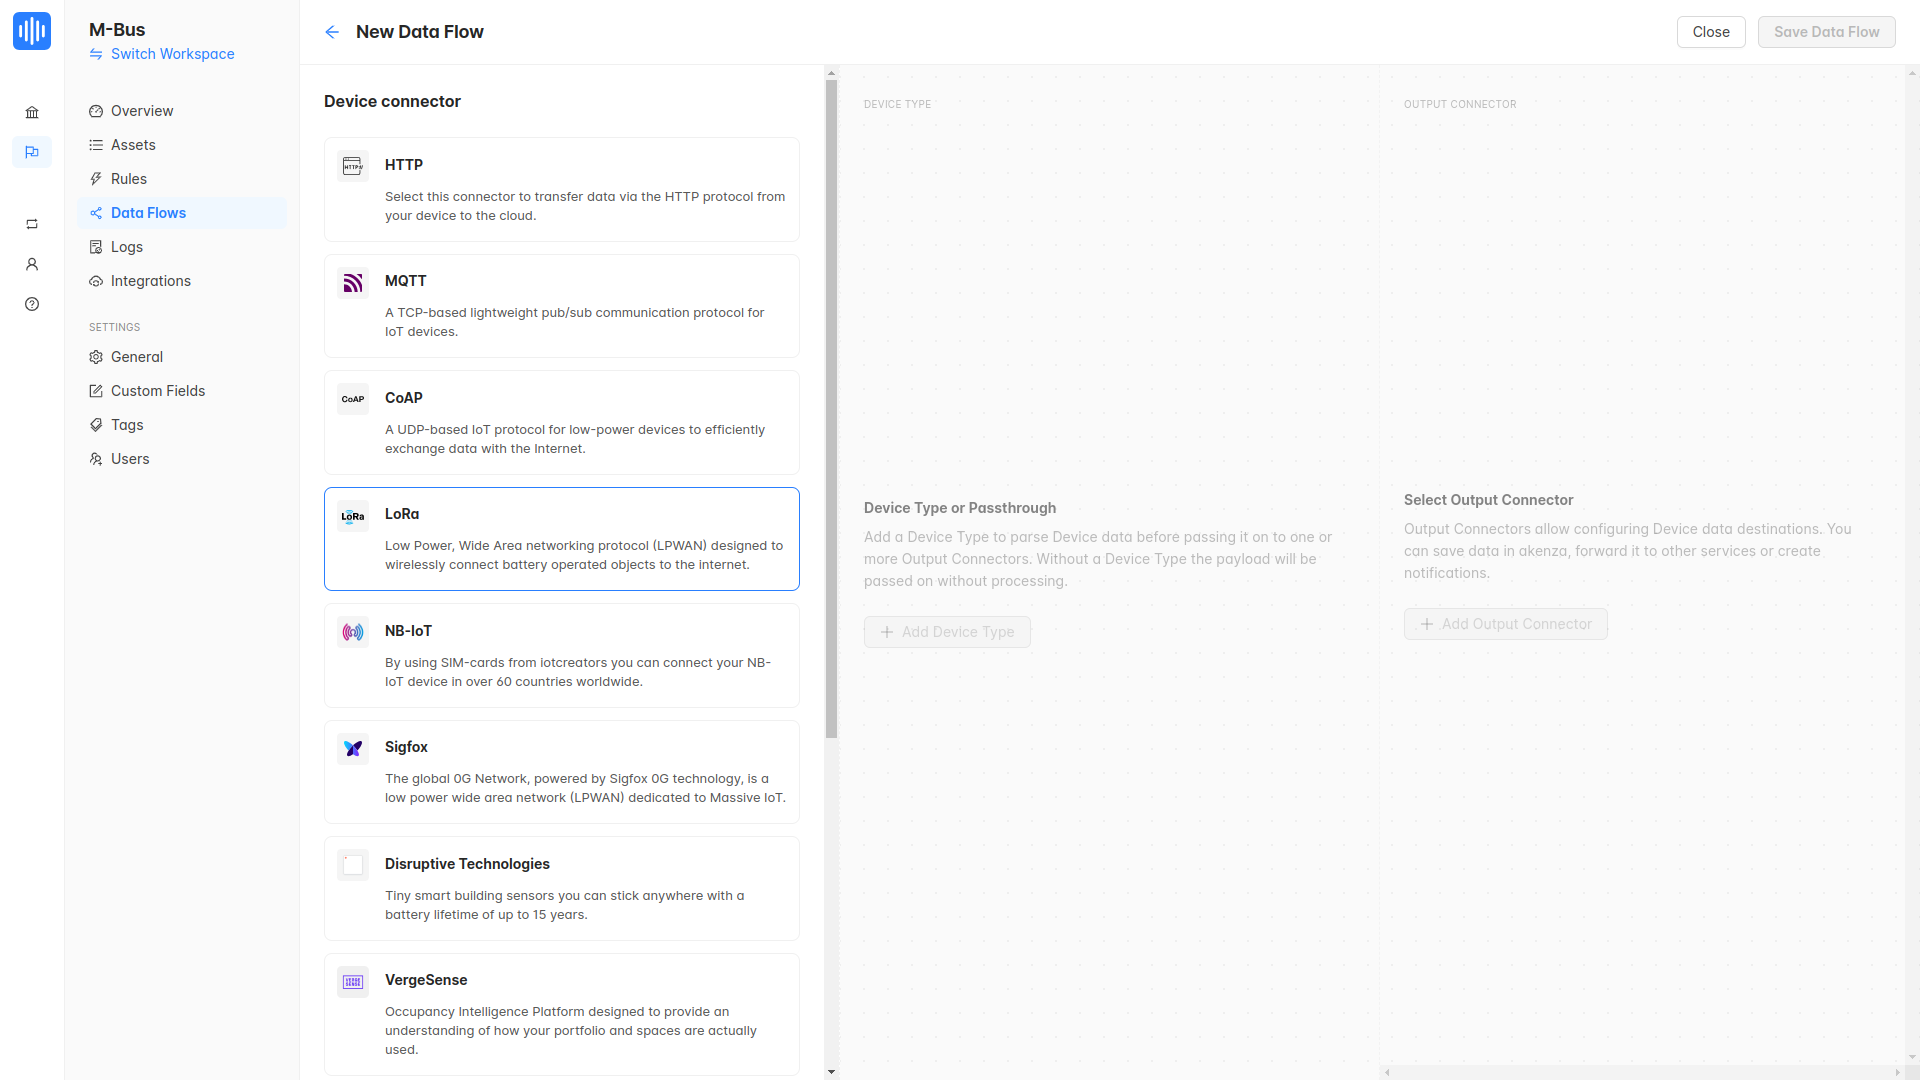
- Select LoRa.
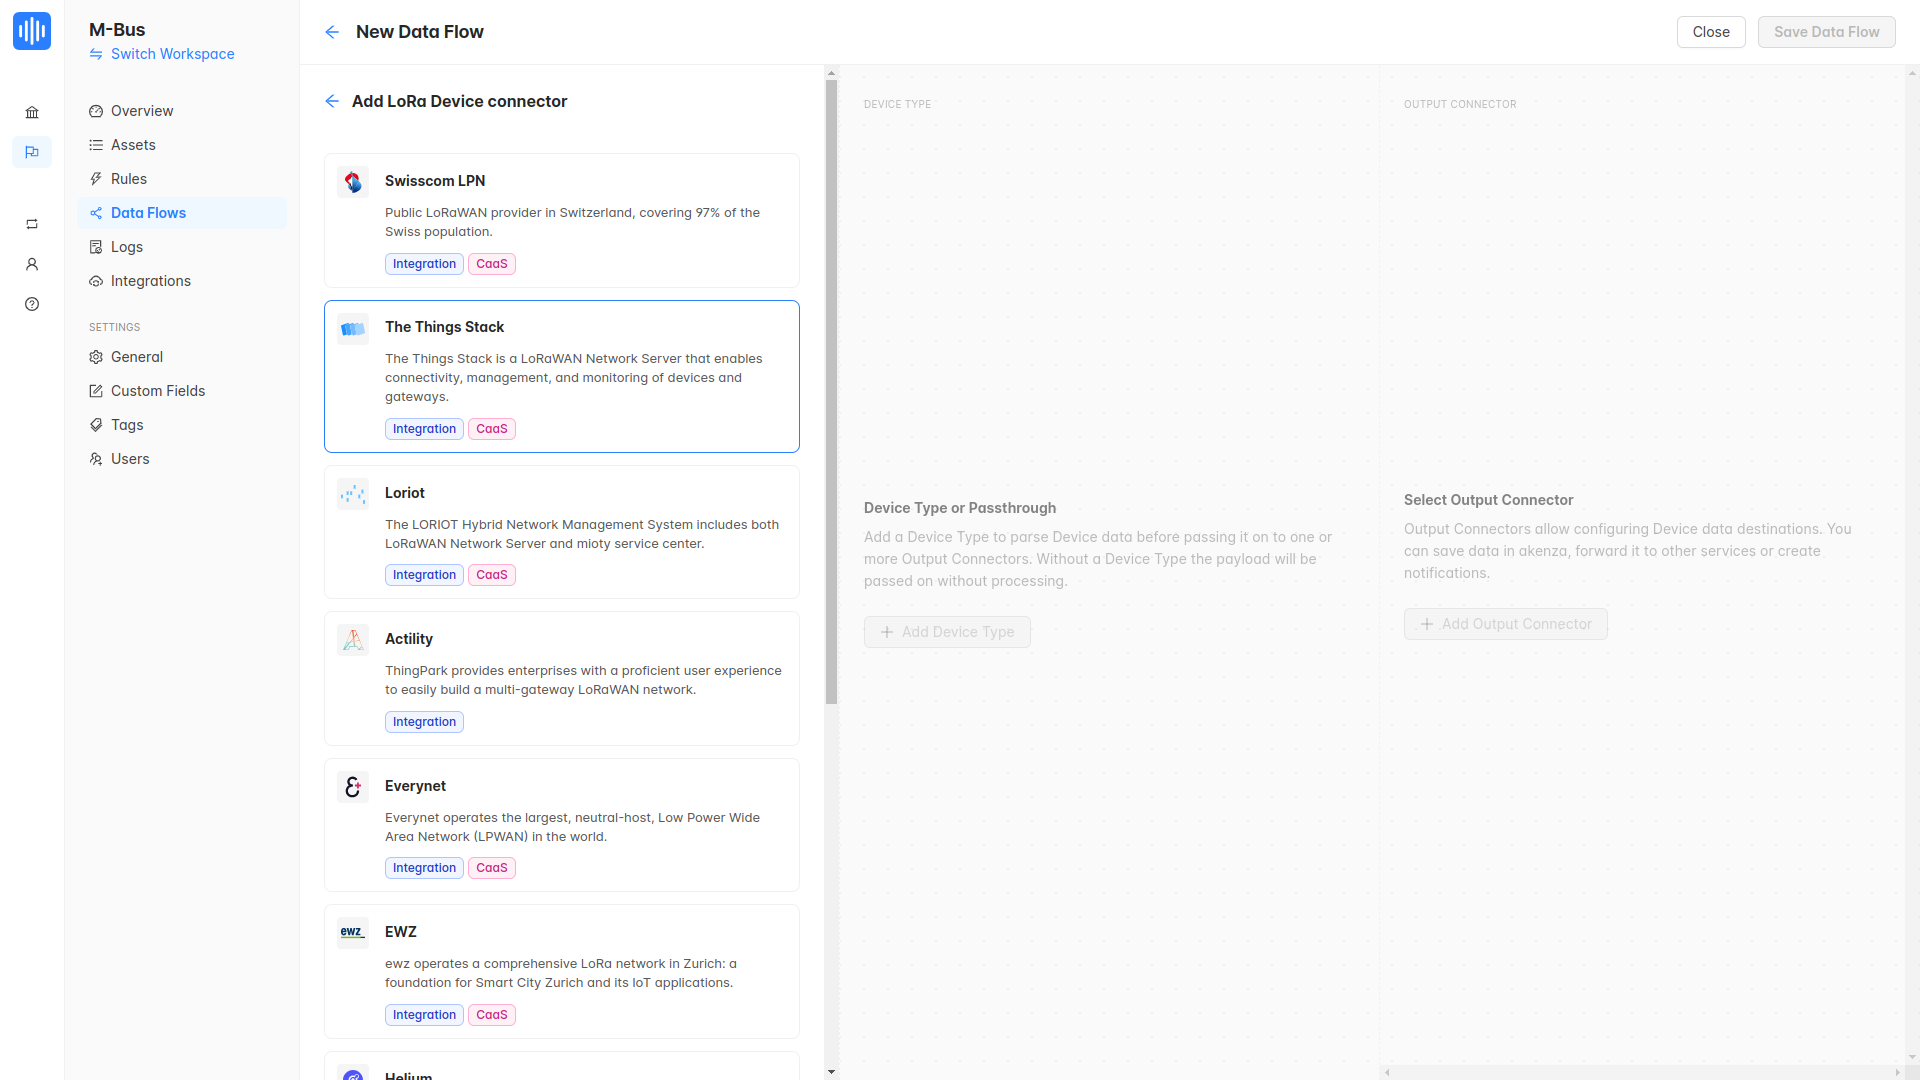
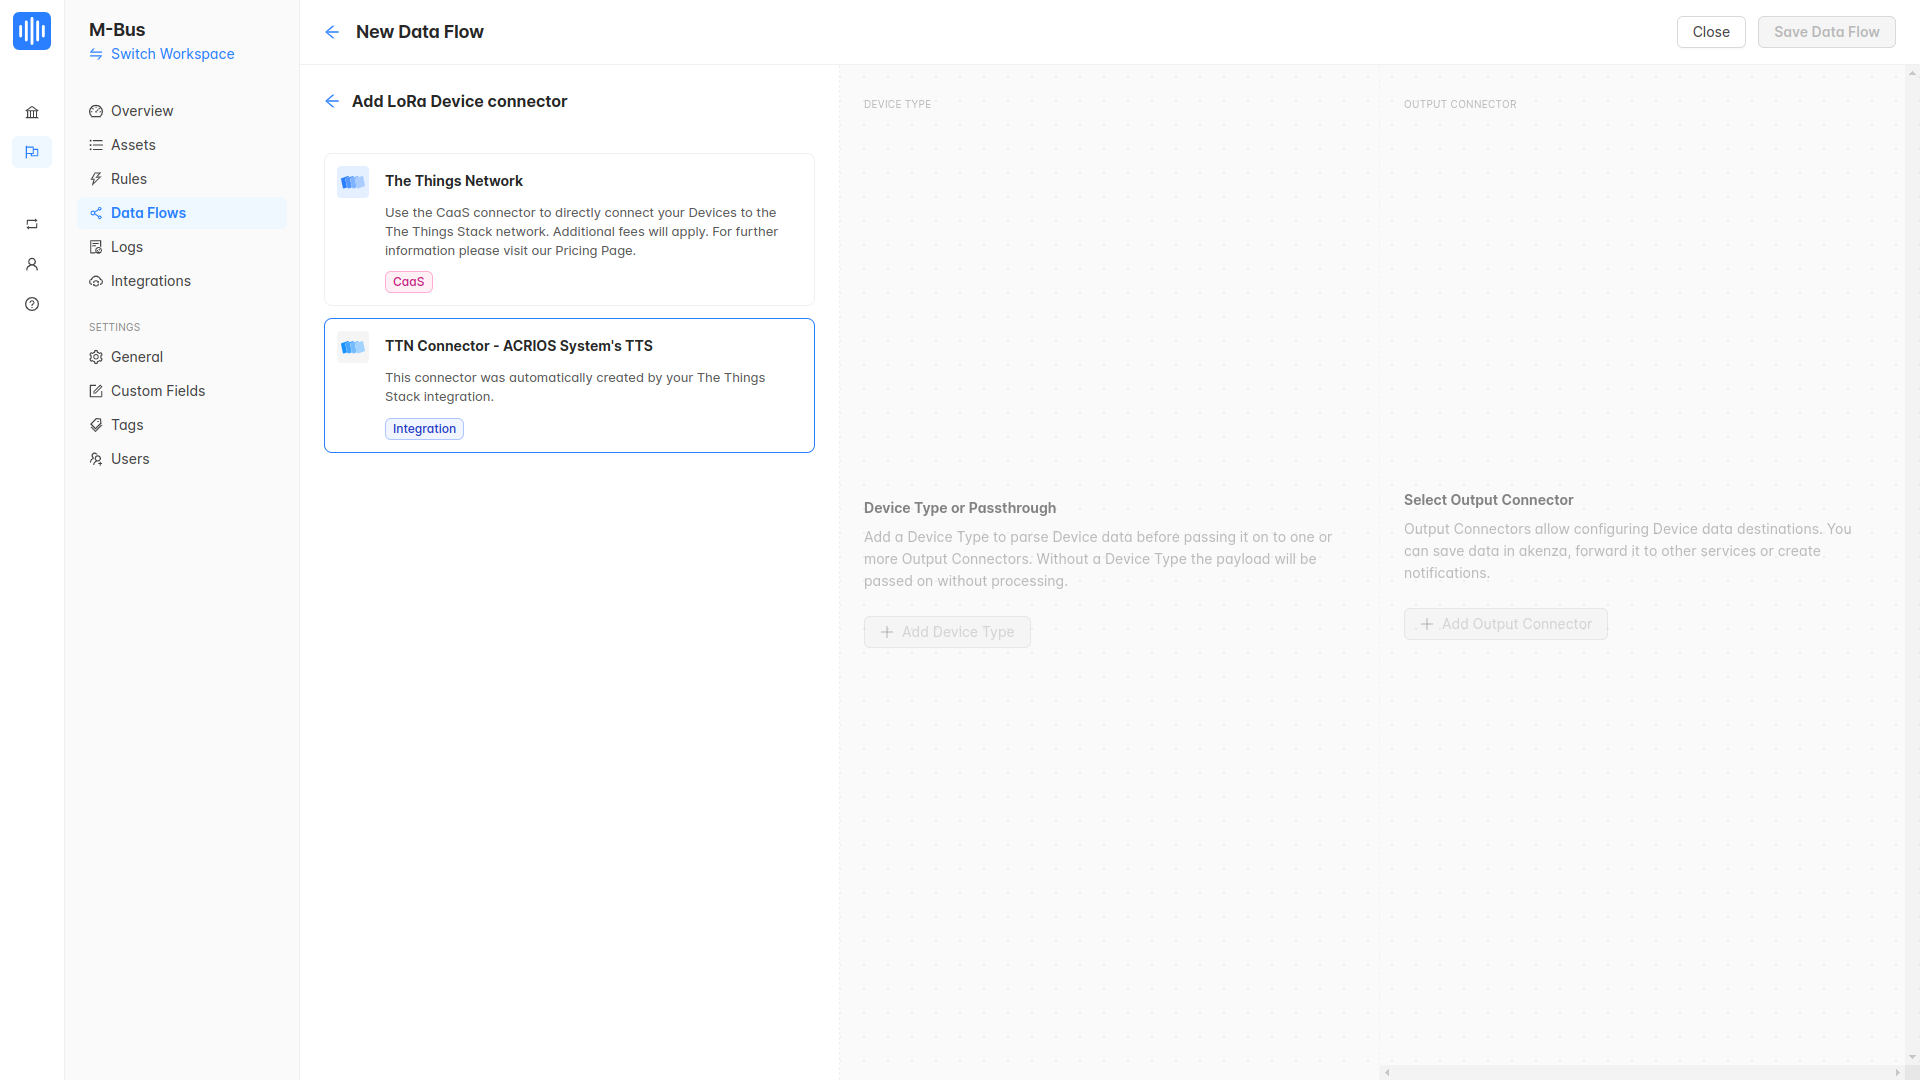
- Select The Things Stack.
- Select appropriate connector.
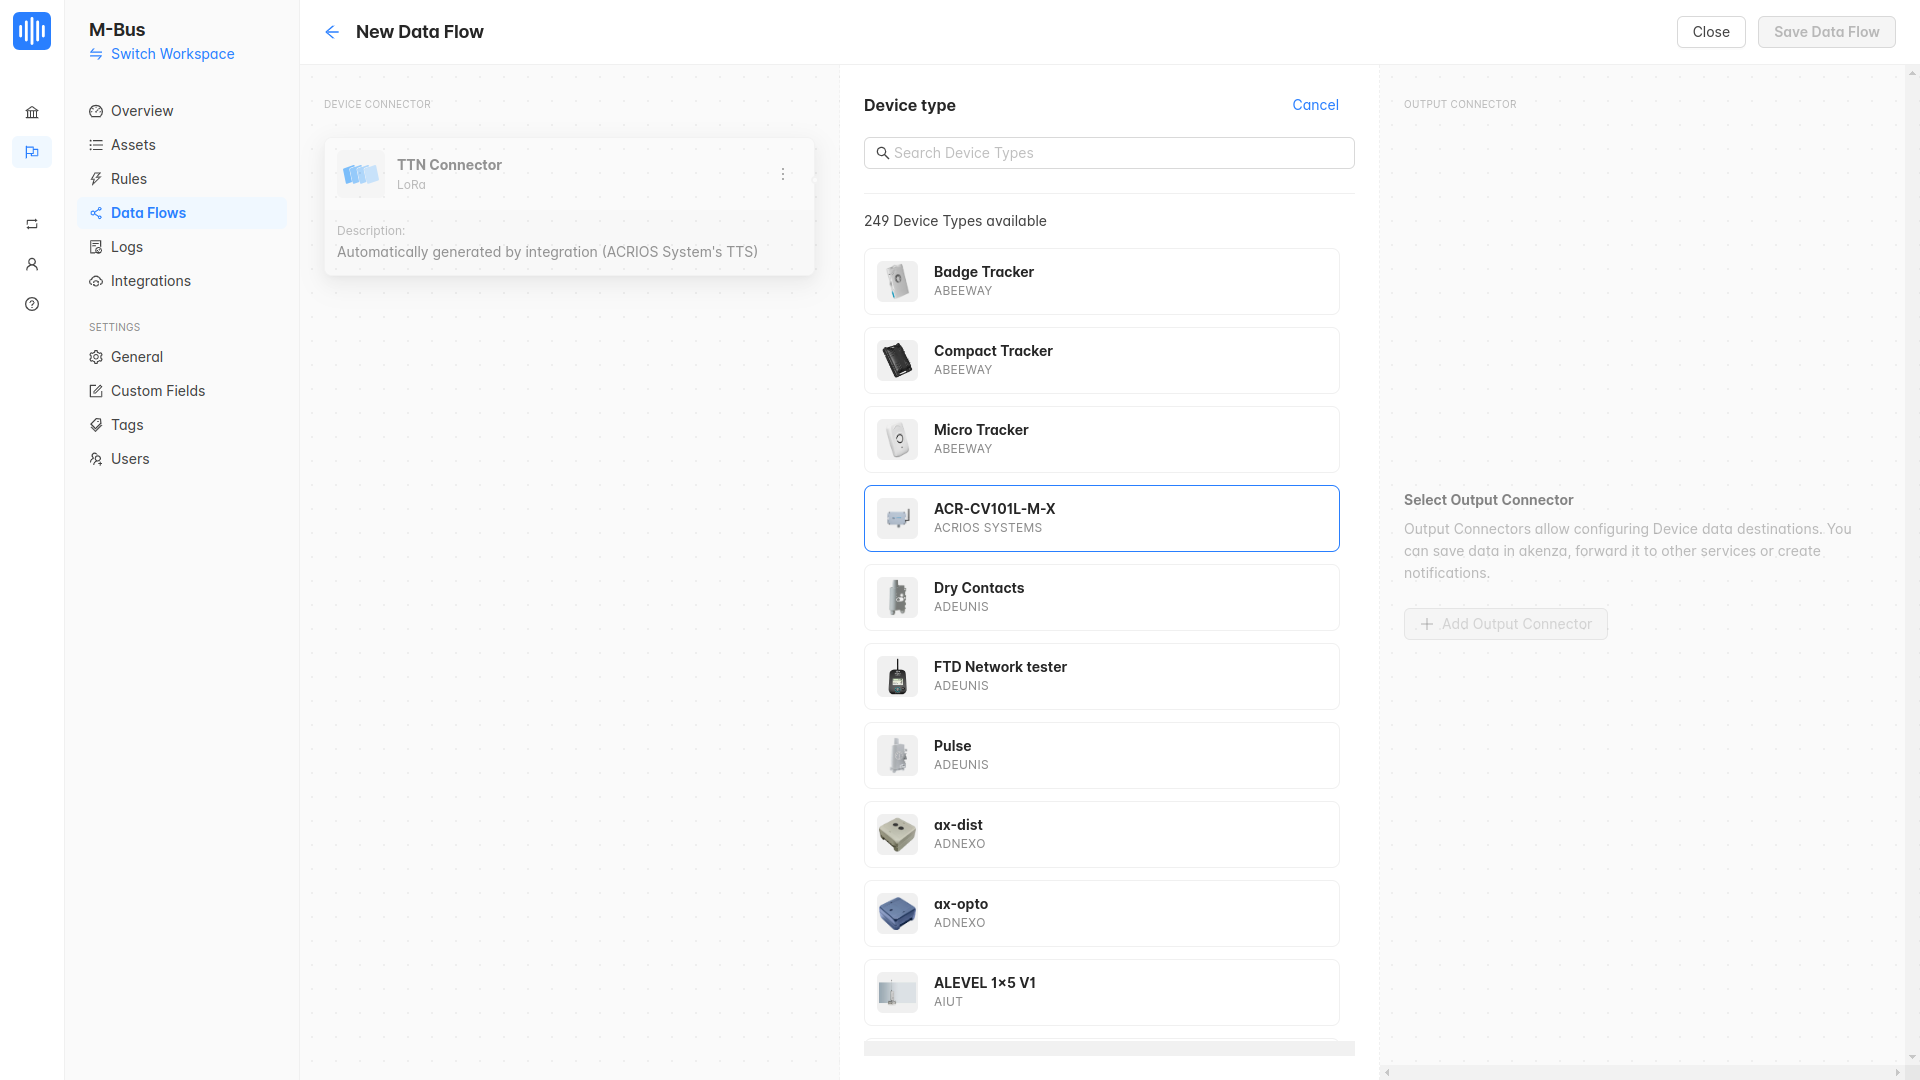
- Click on the Add Device Type and select ACR-CV-101L-M-X device type.
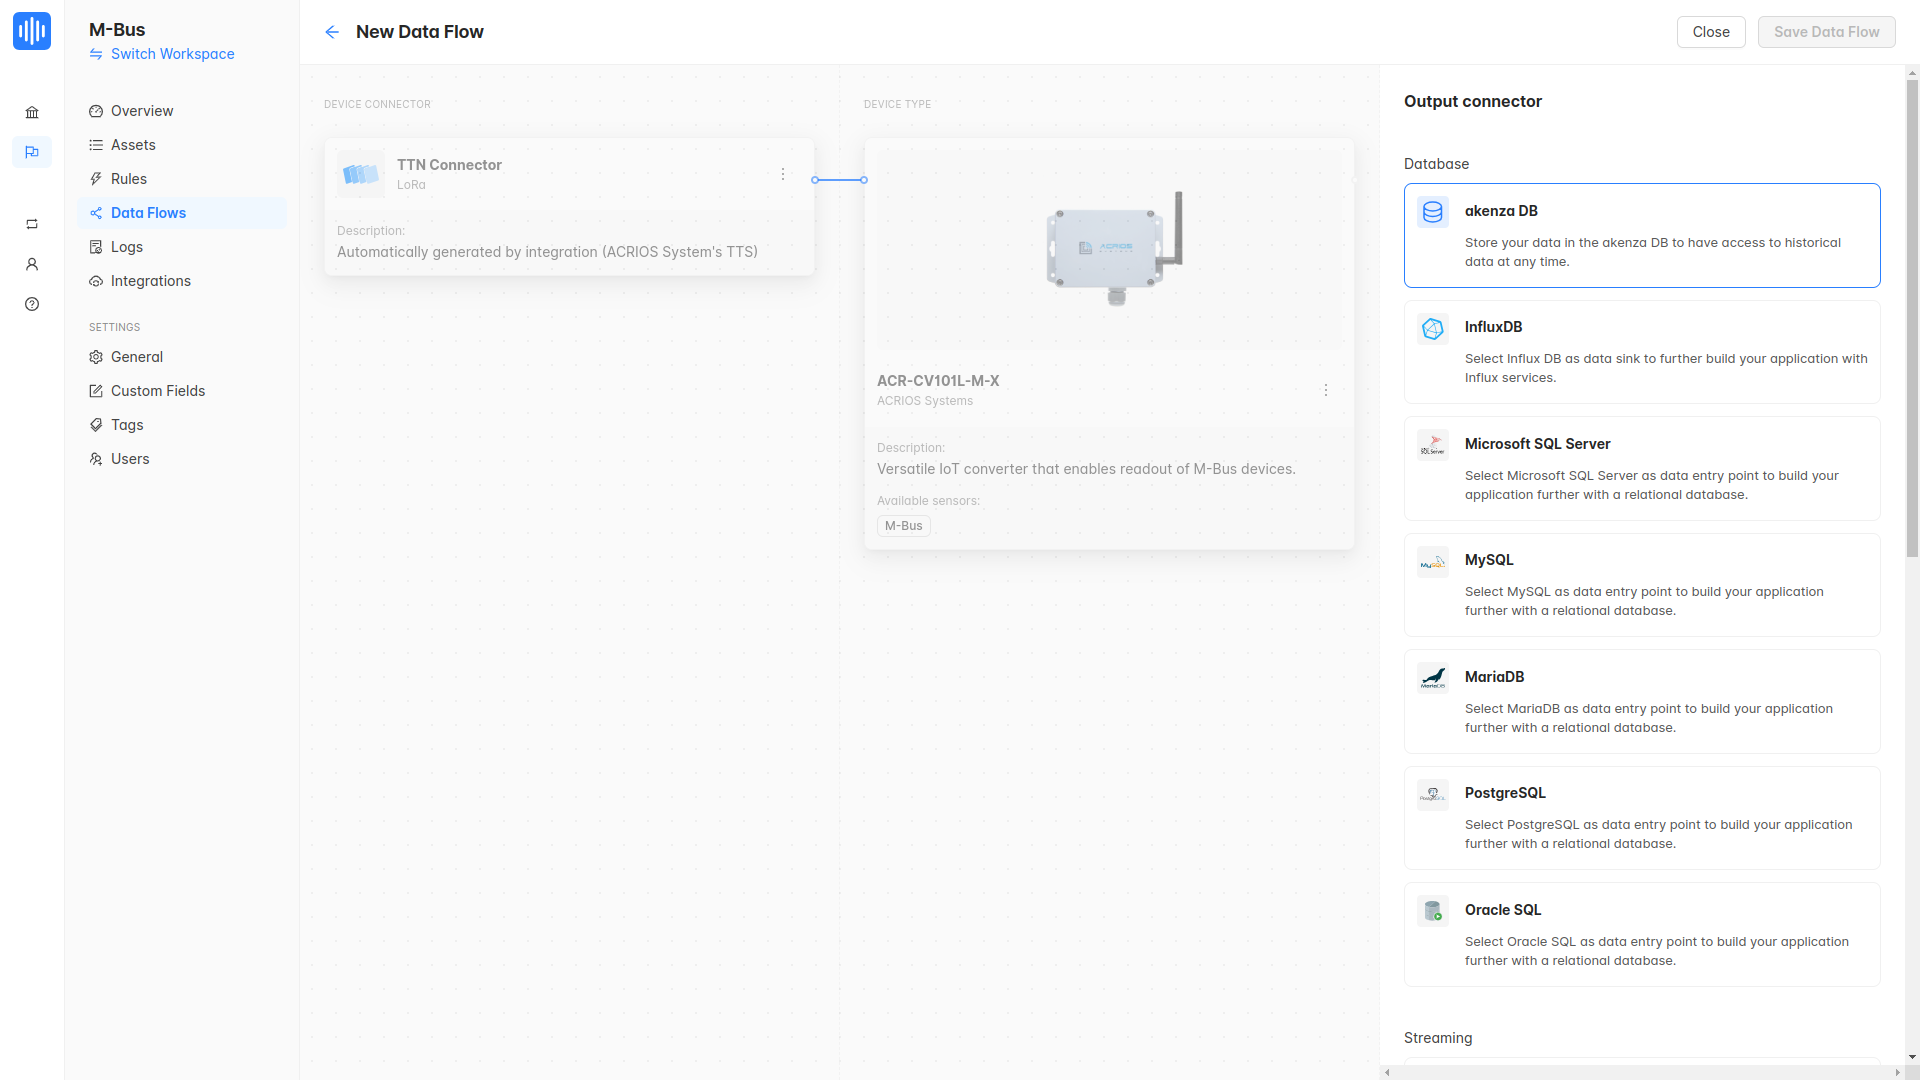
- Click on the Add Output Connector and select akenza DB.
- Configured dataflow should look like this. You can add multiple output connectors if needed.
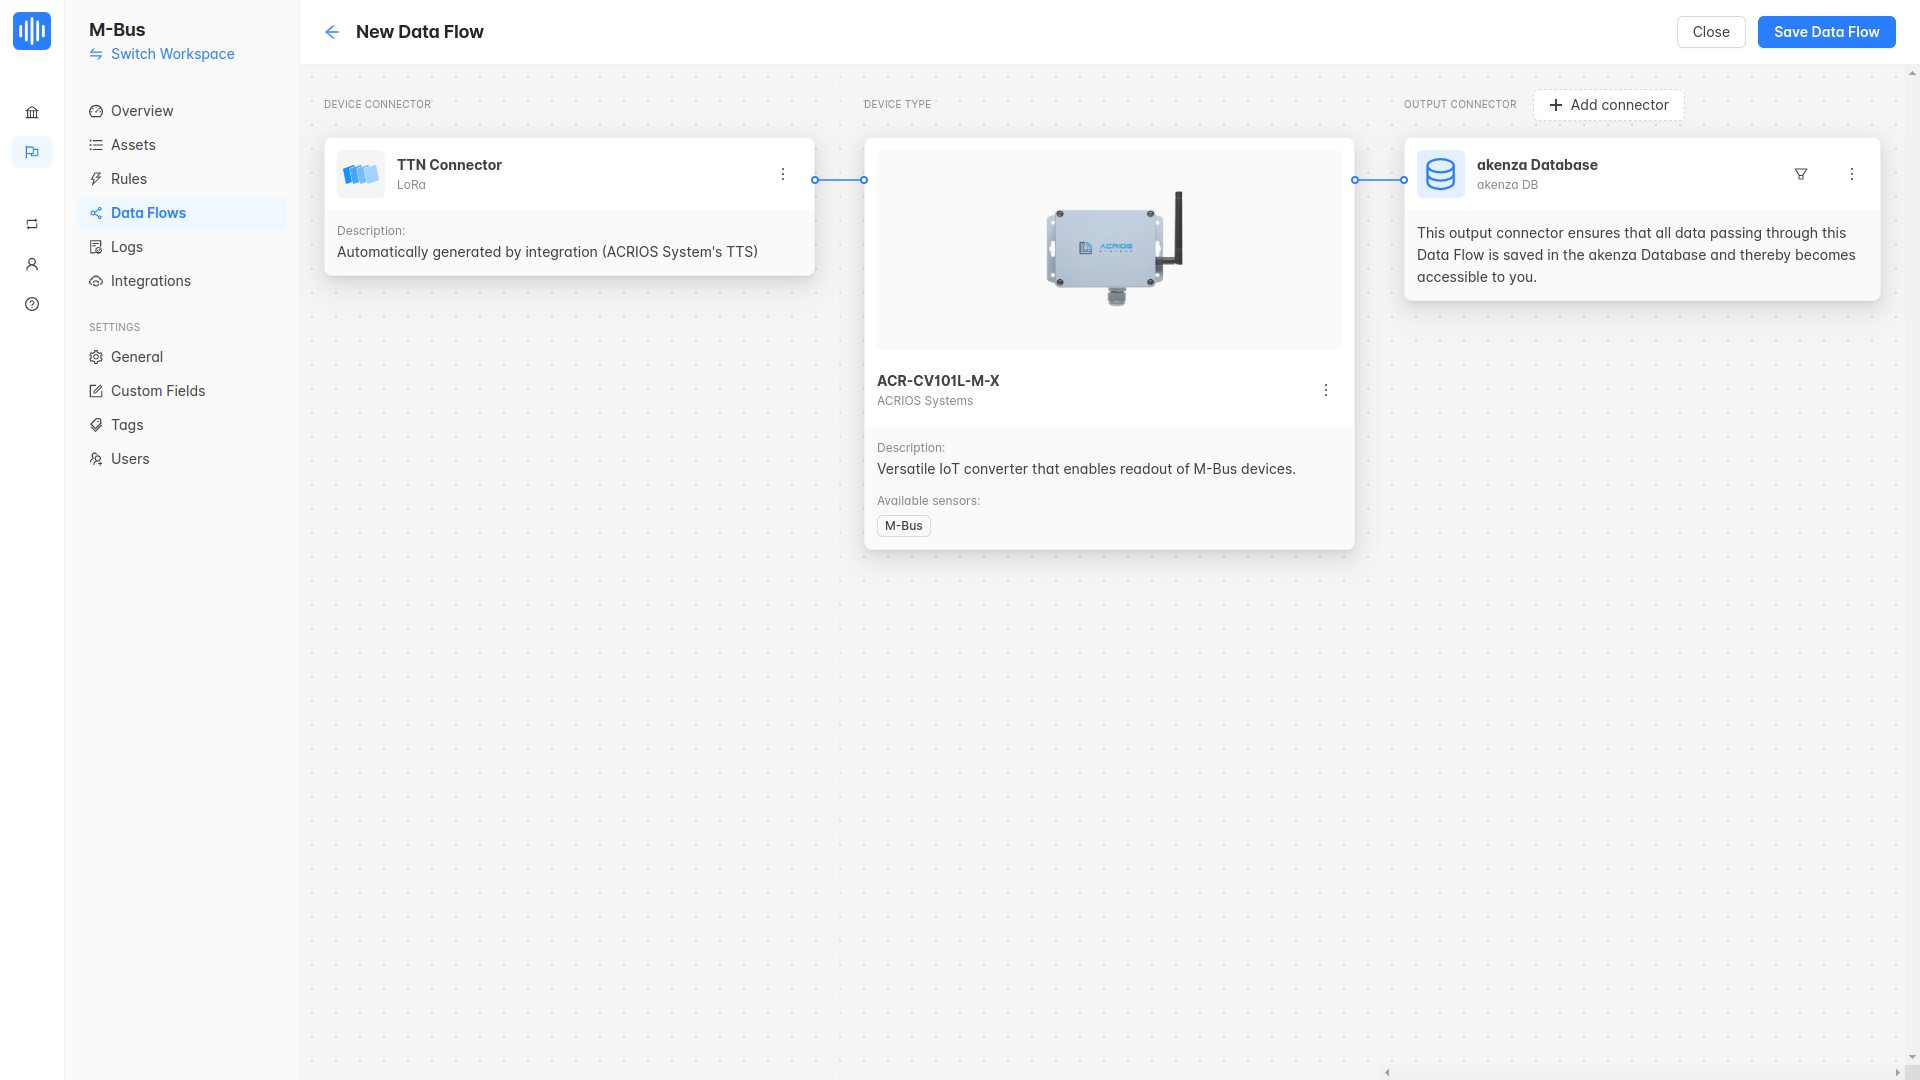
- Click on the Save Data Flow button to save the dataflow.
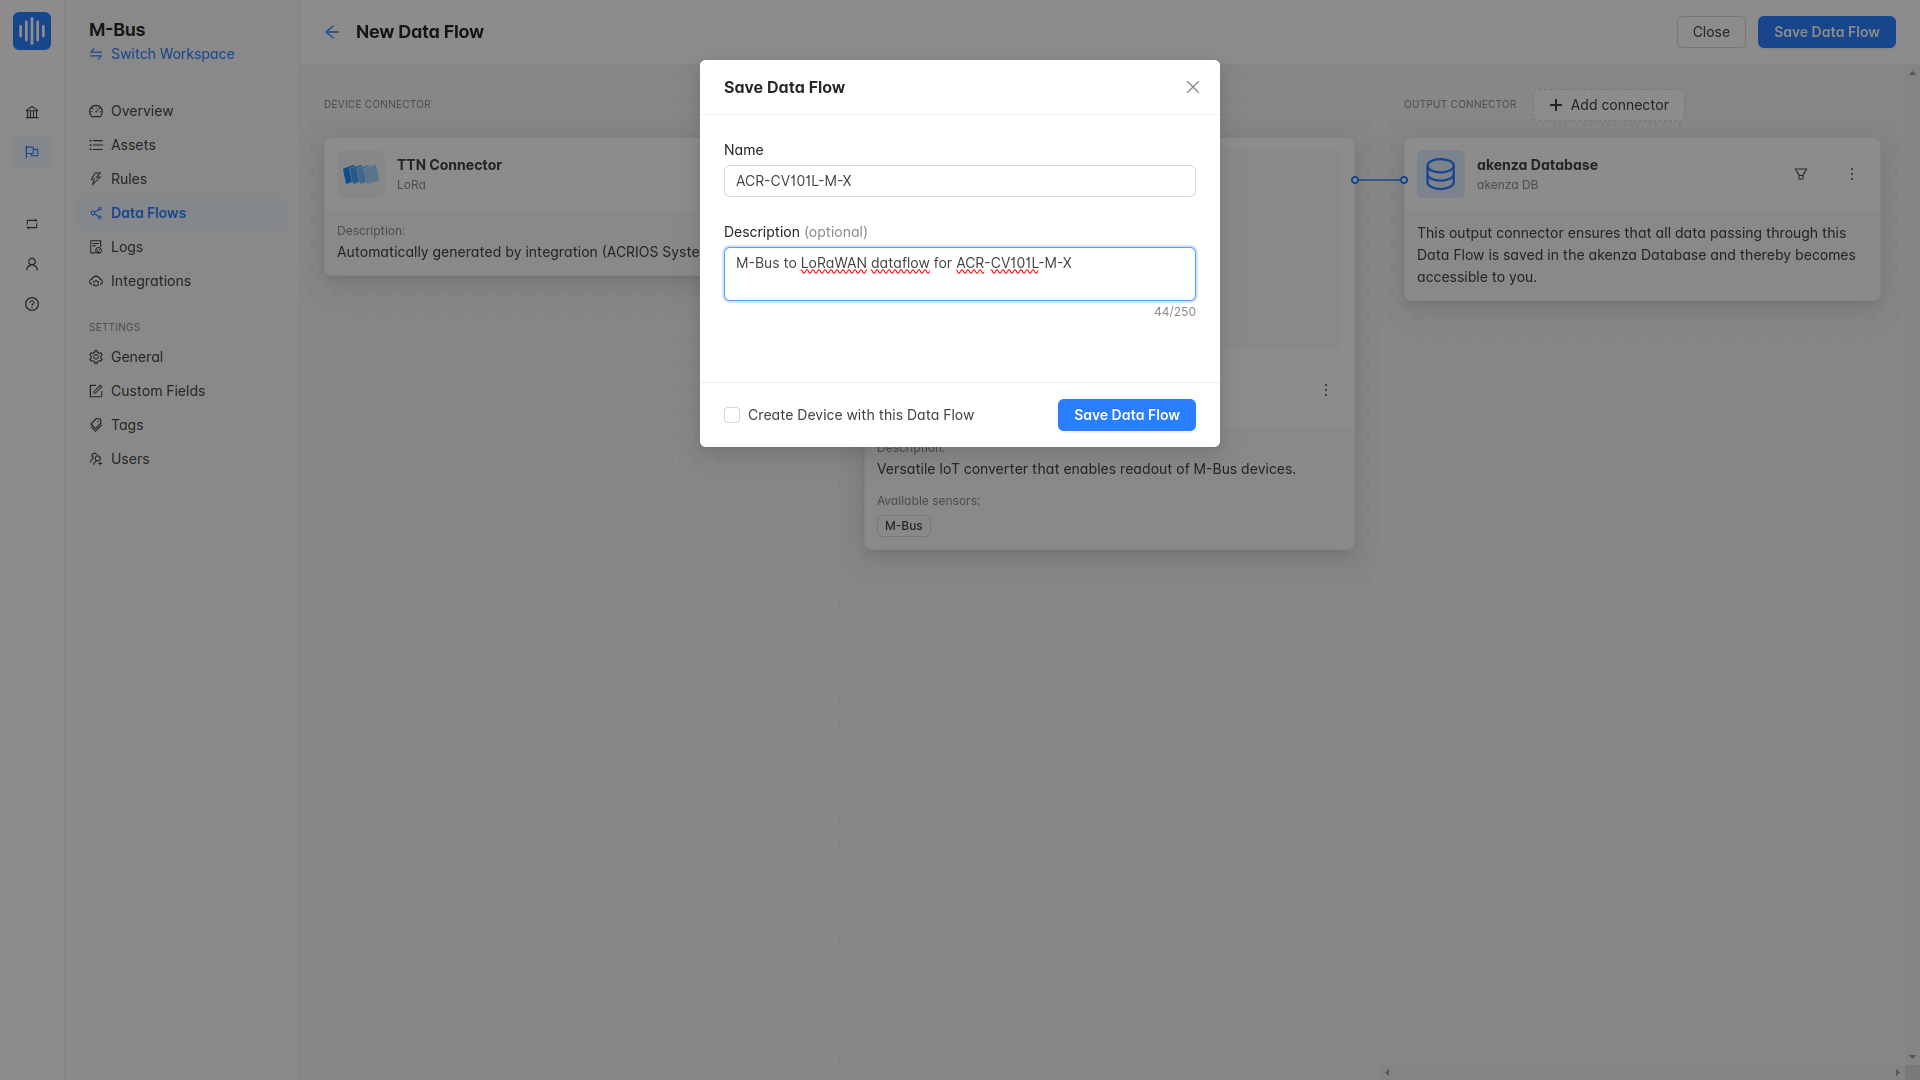
- Your dataflow is now created and ready to be used.
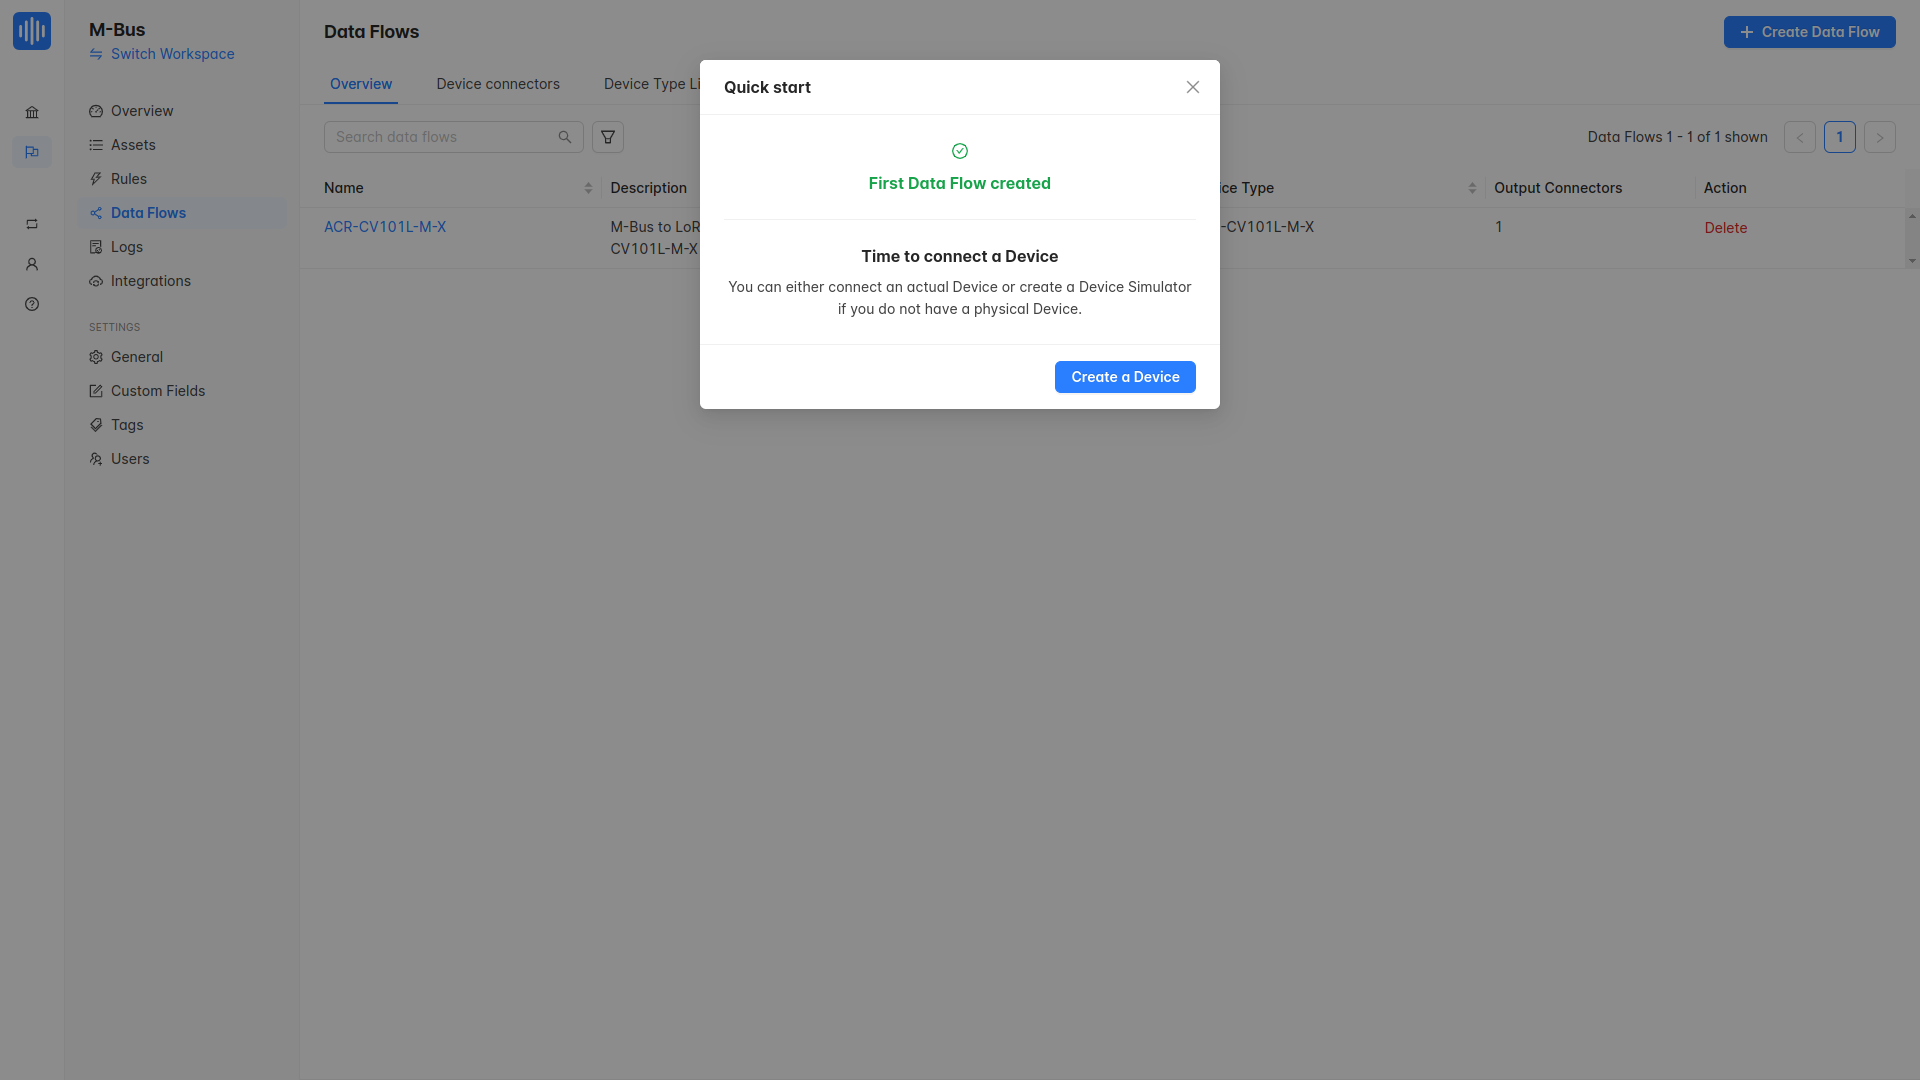
4. Creating Asset (device)
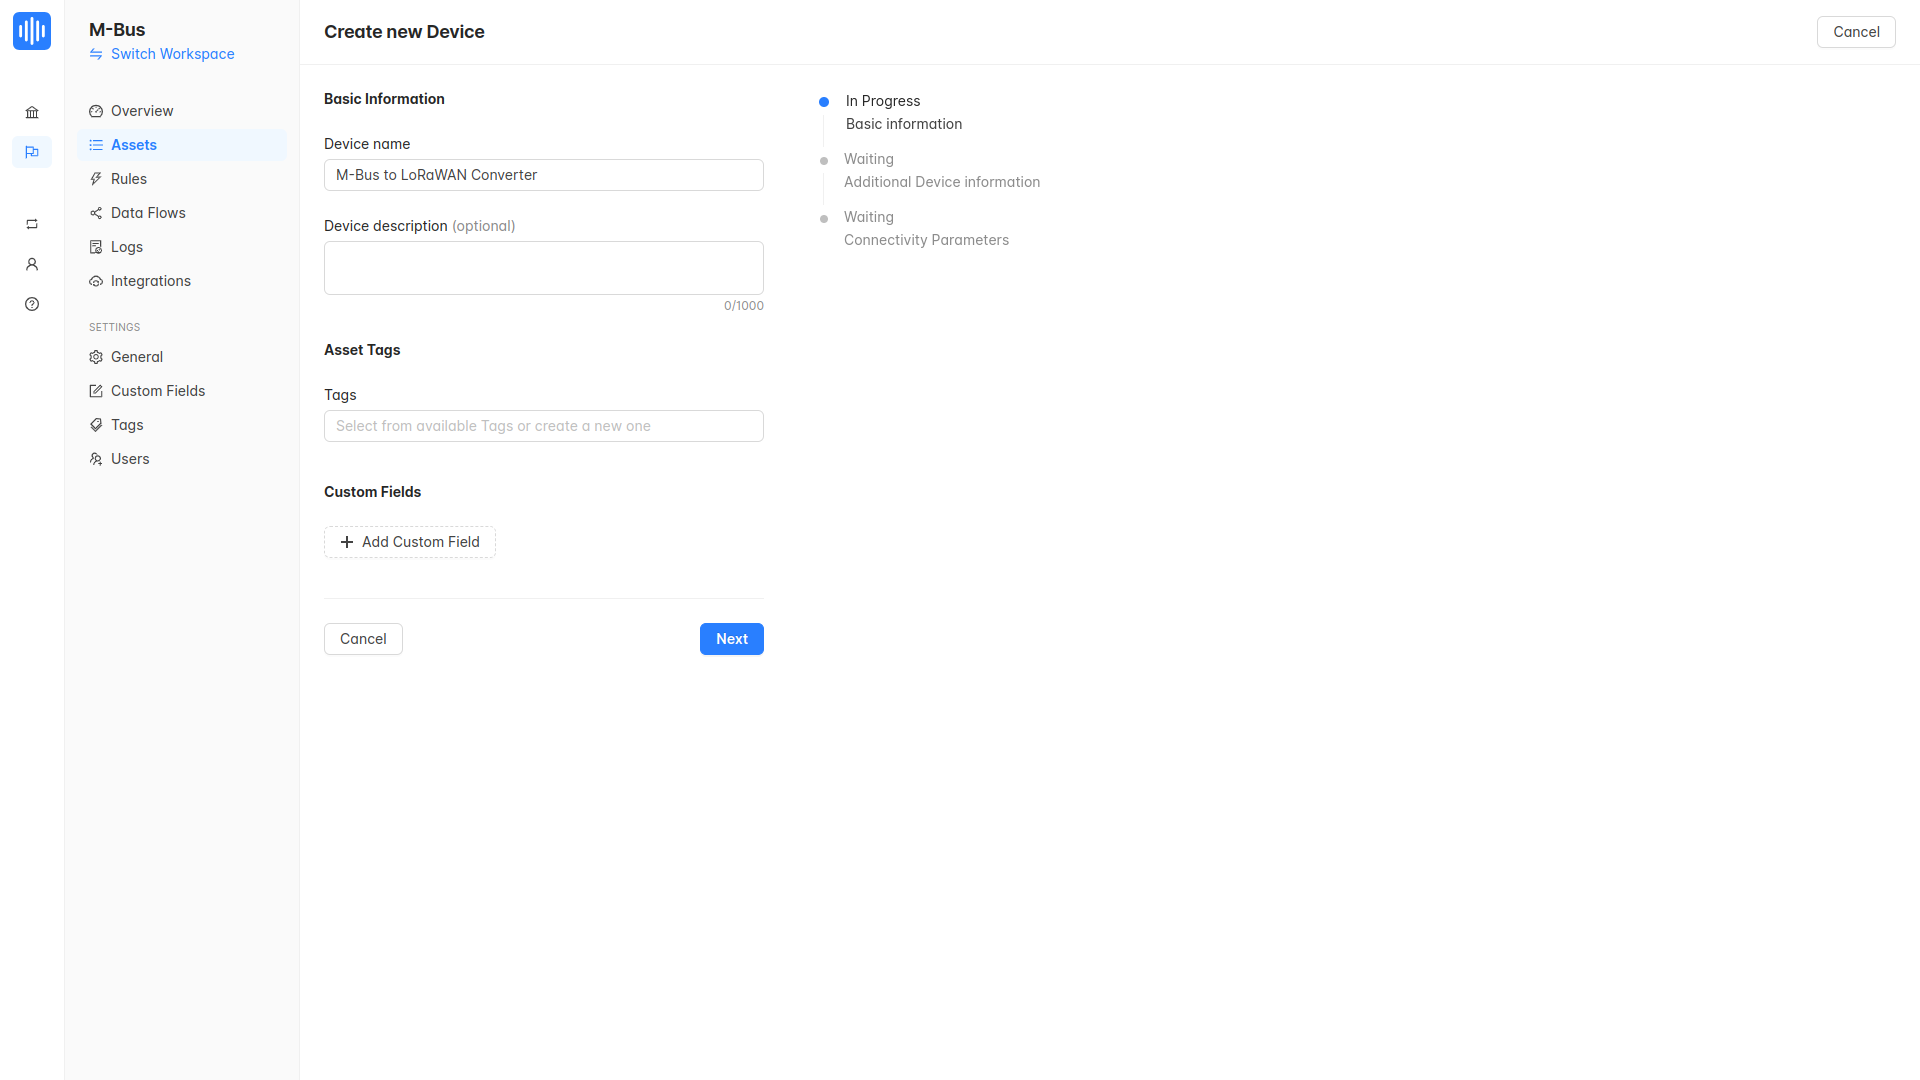
- Navigate to the Asset tab on the left side of the screen and click on the Create Device button to create a new device.

- Name your device and click on the Next button.
- Configure data processing and click on the Next button.
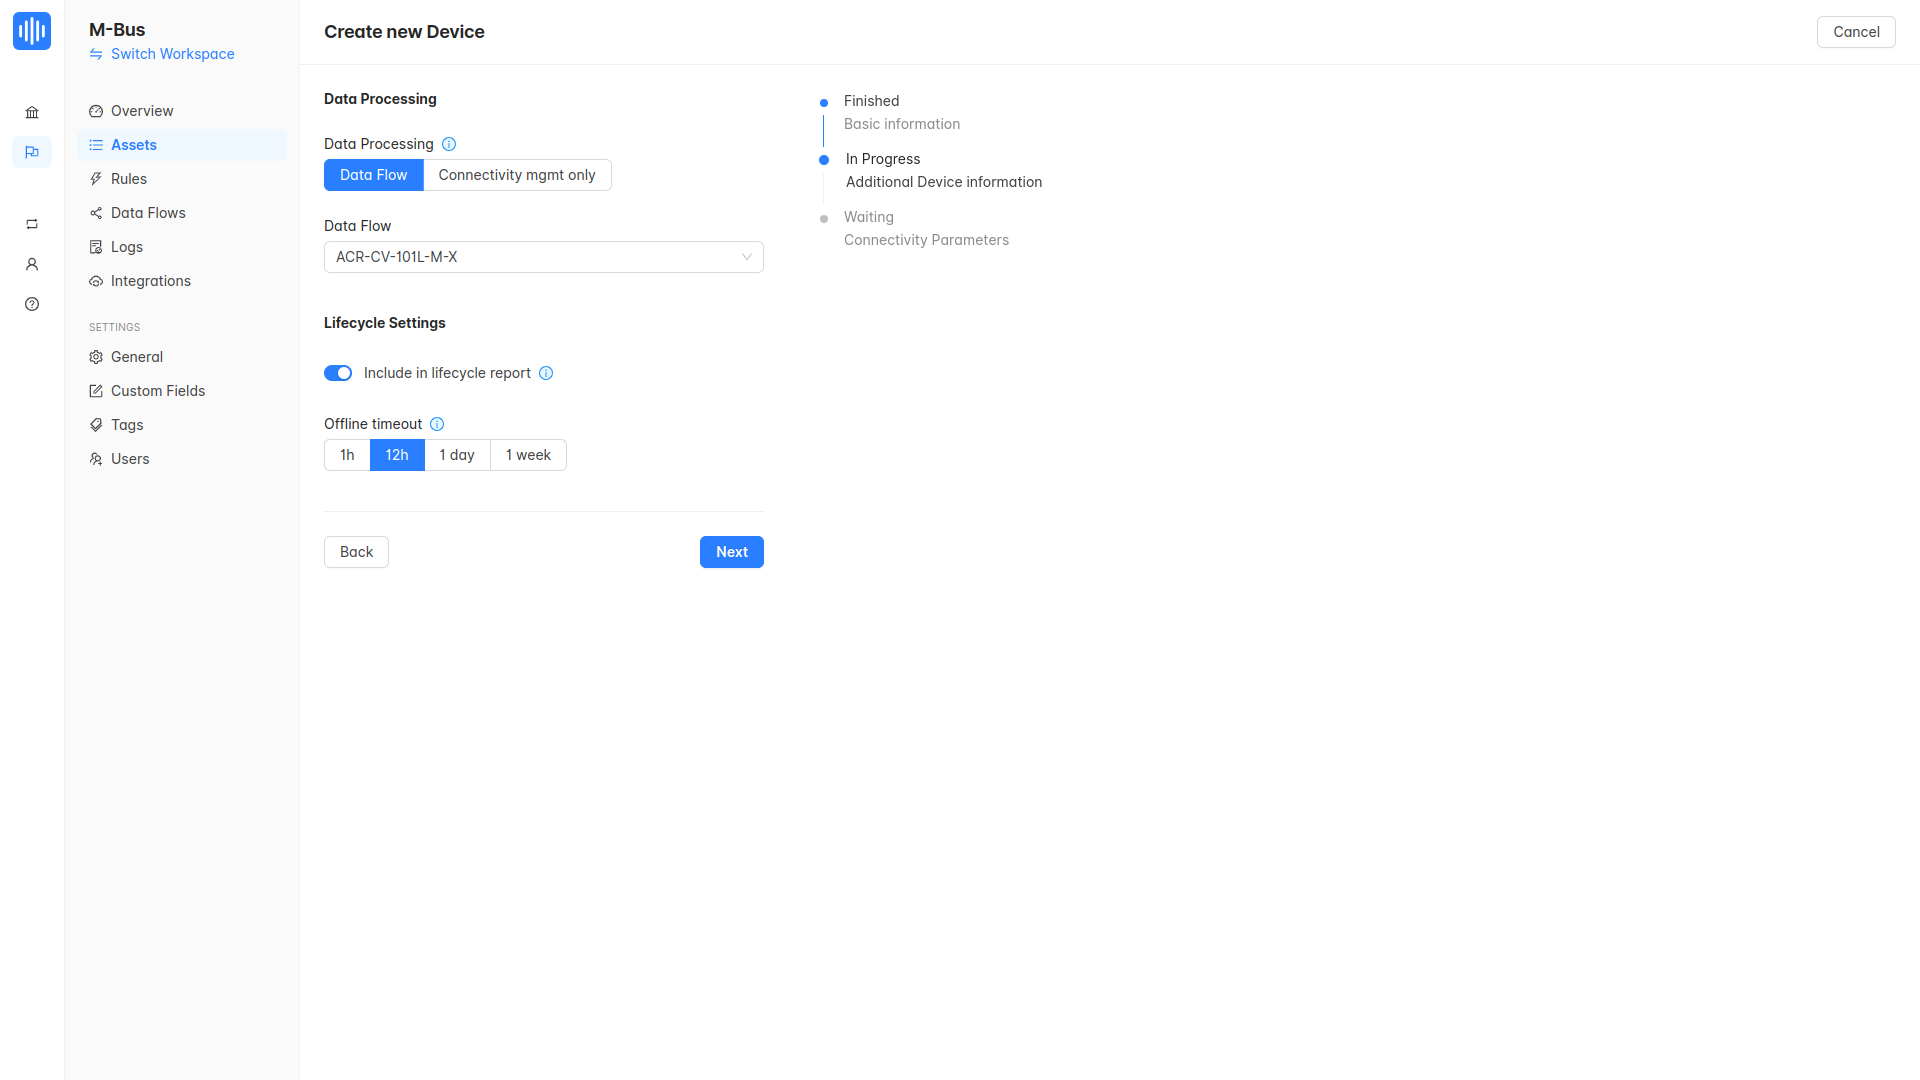
- Fill in the required fields and click on the Create Device button.
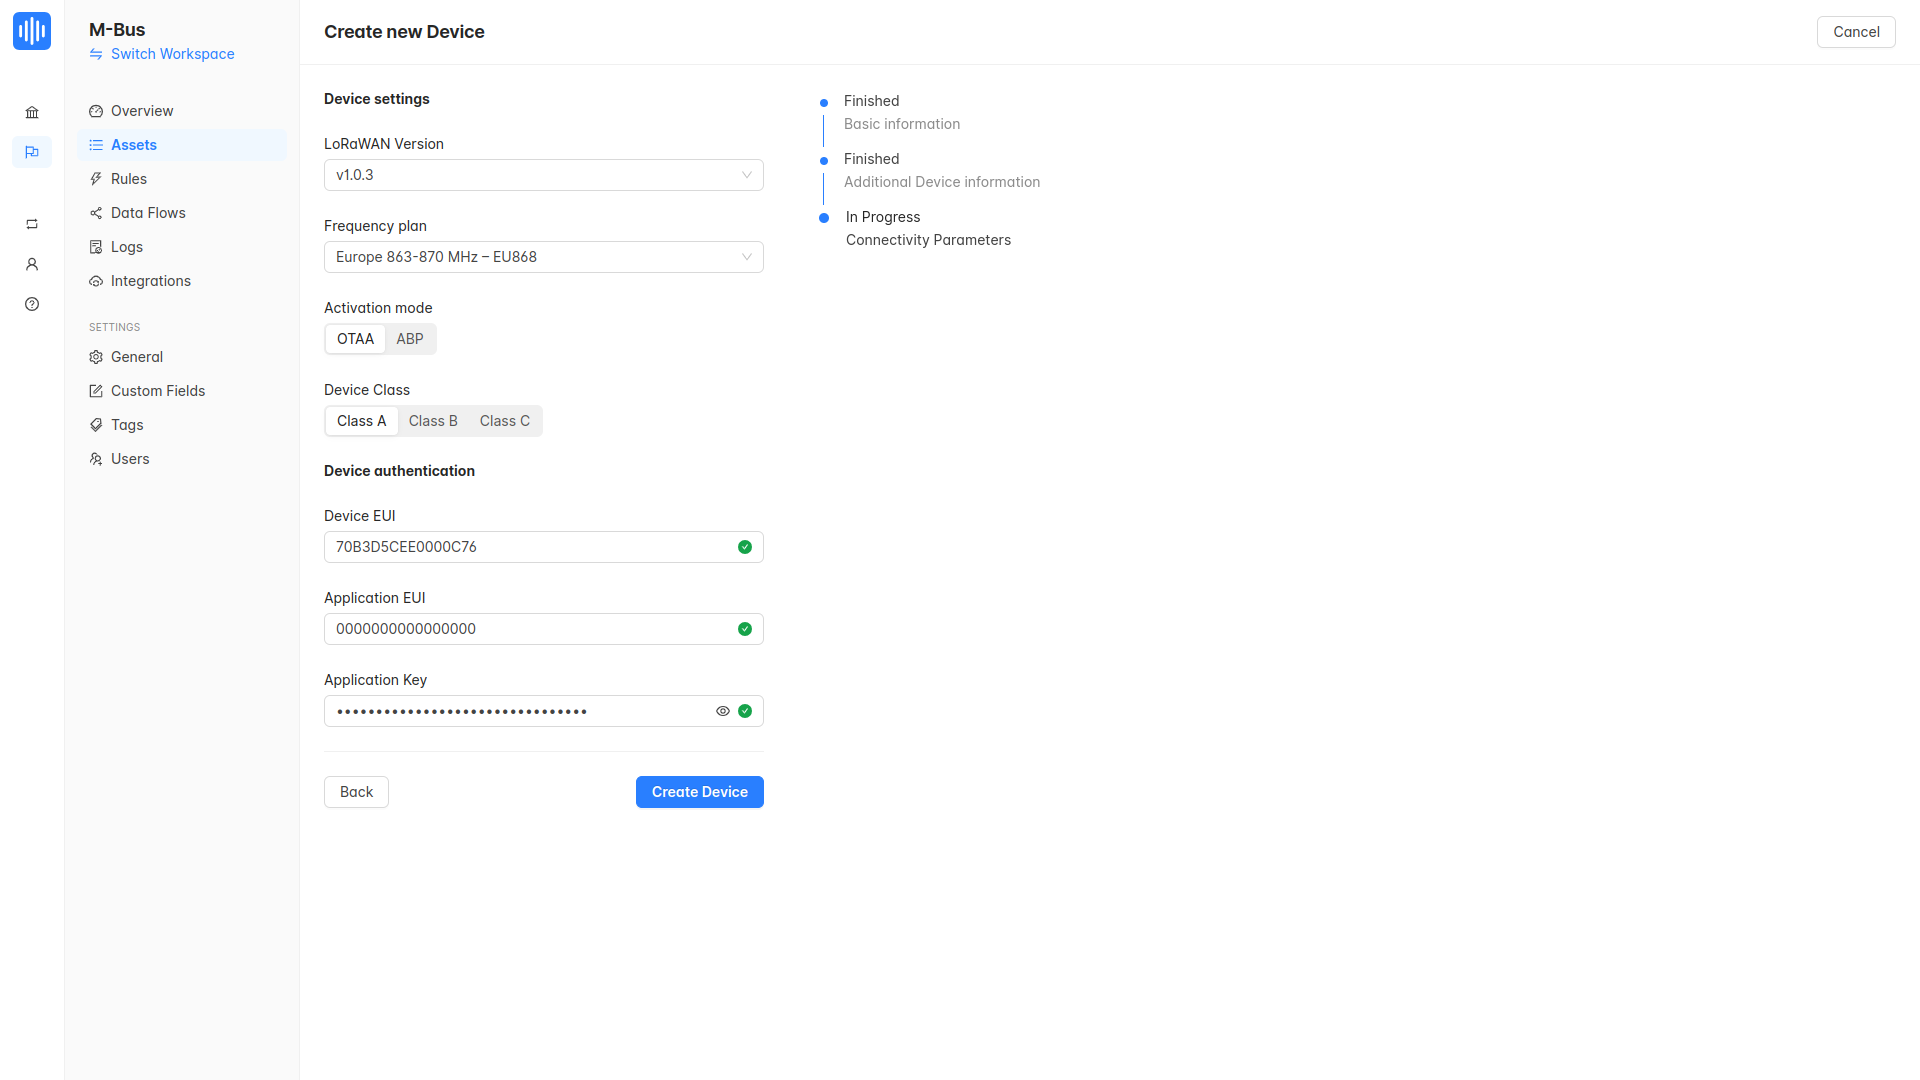
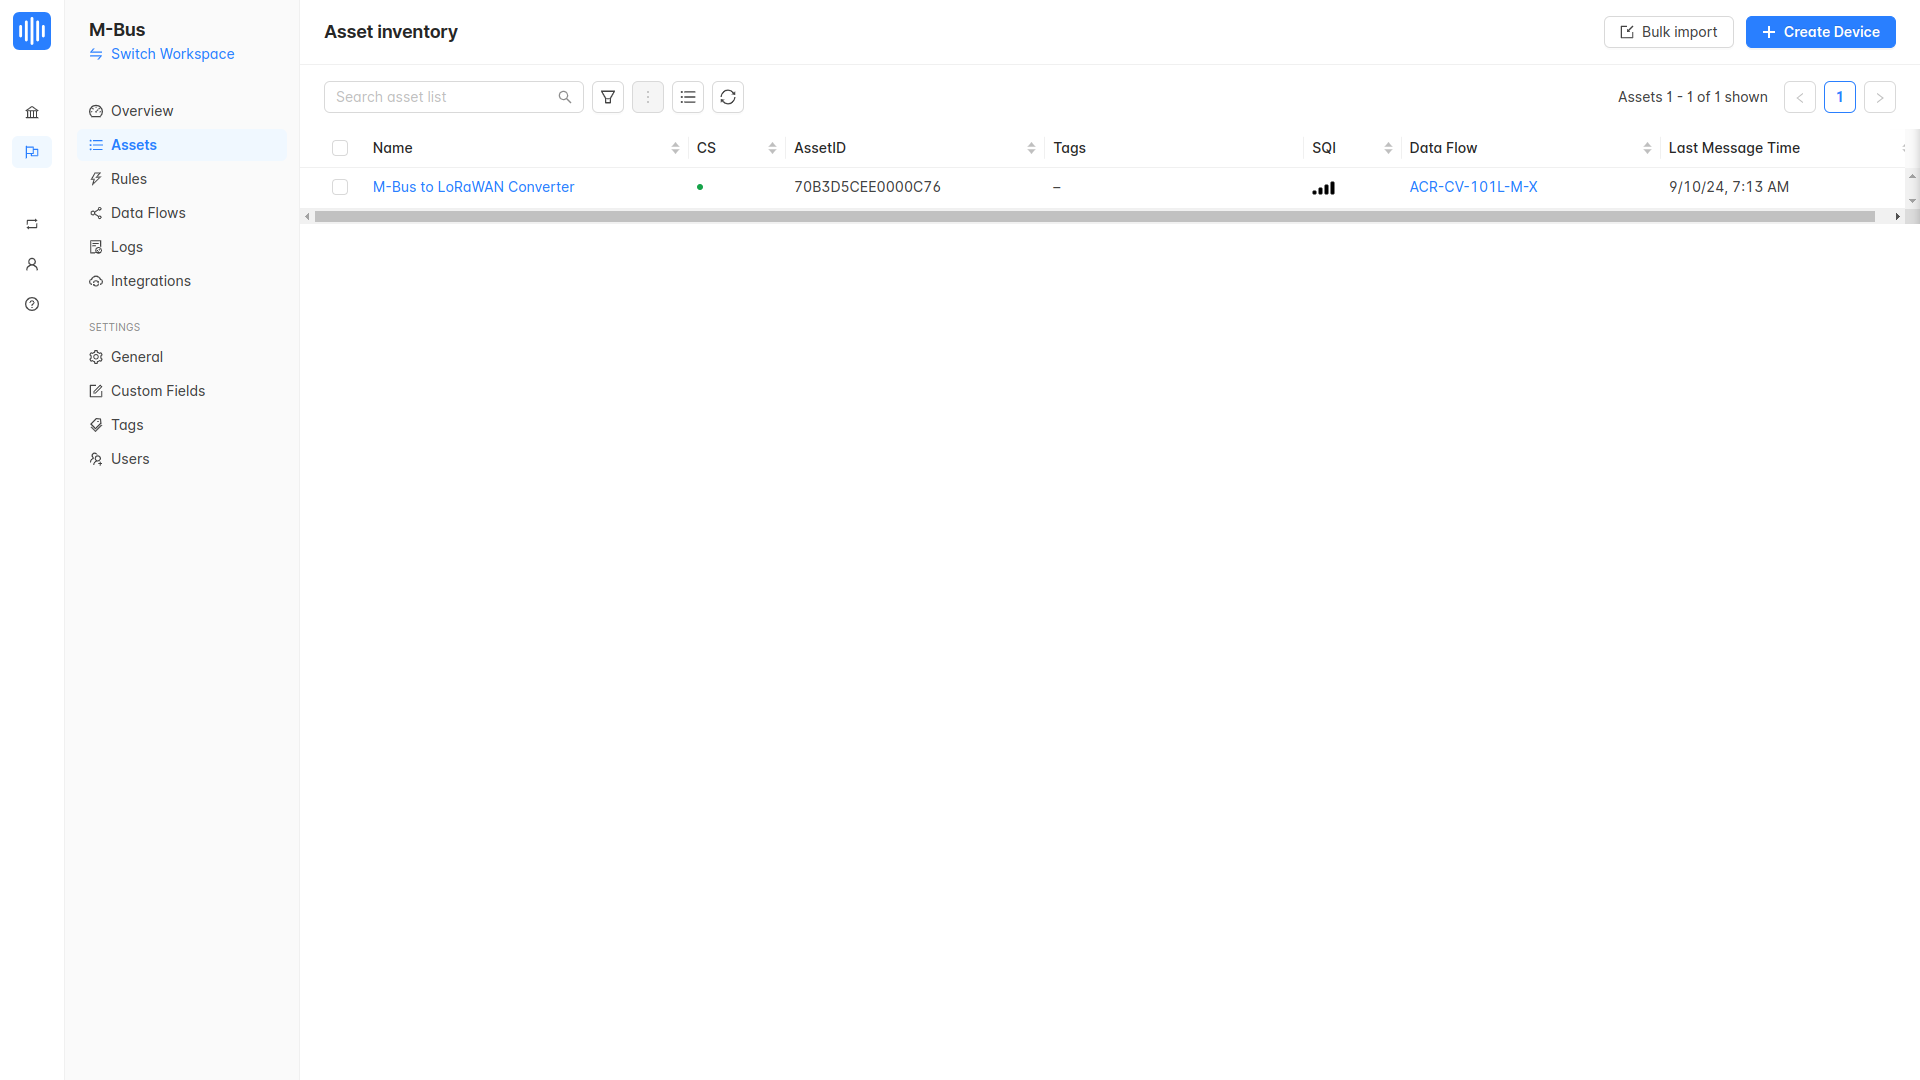
- Your device is now created and ready to join the network.
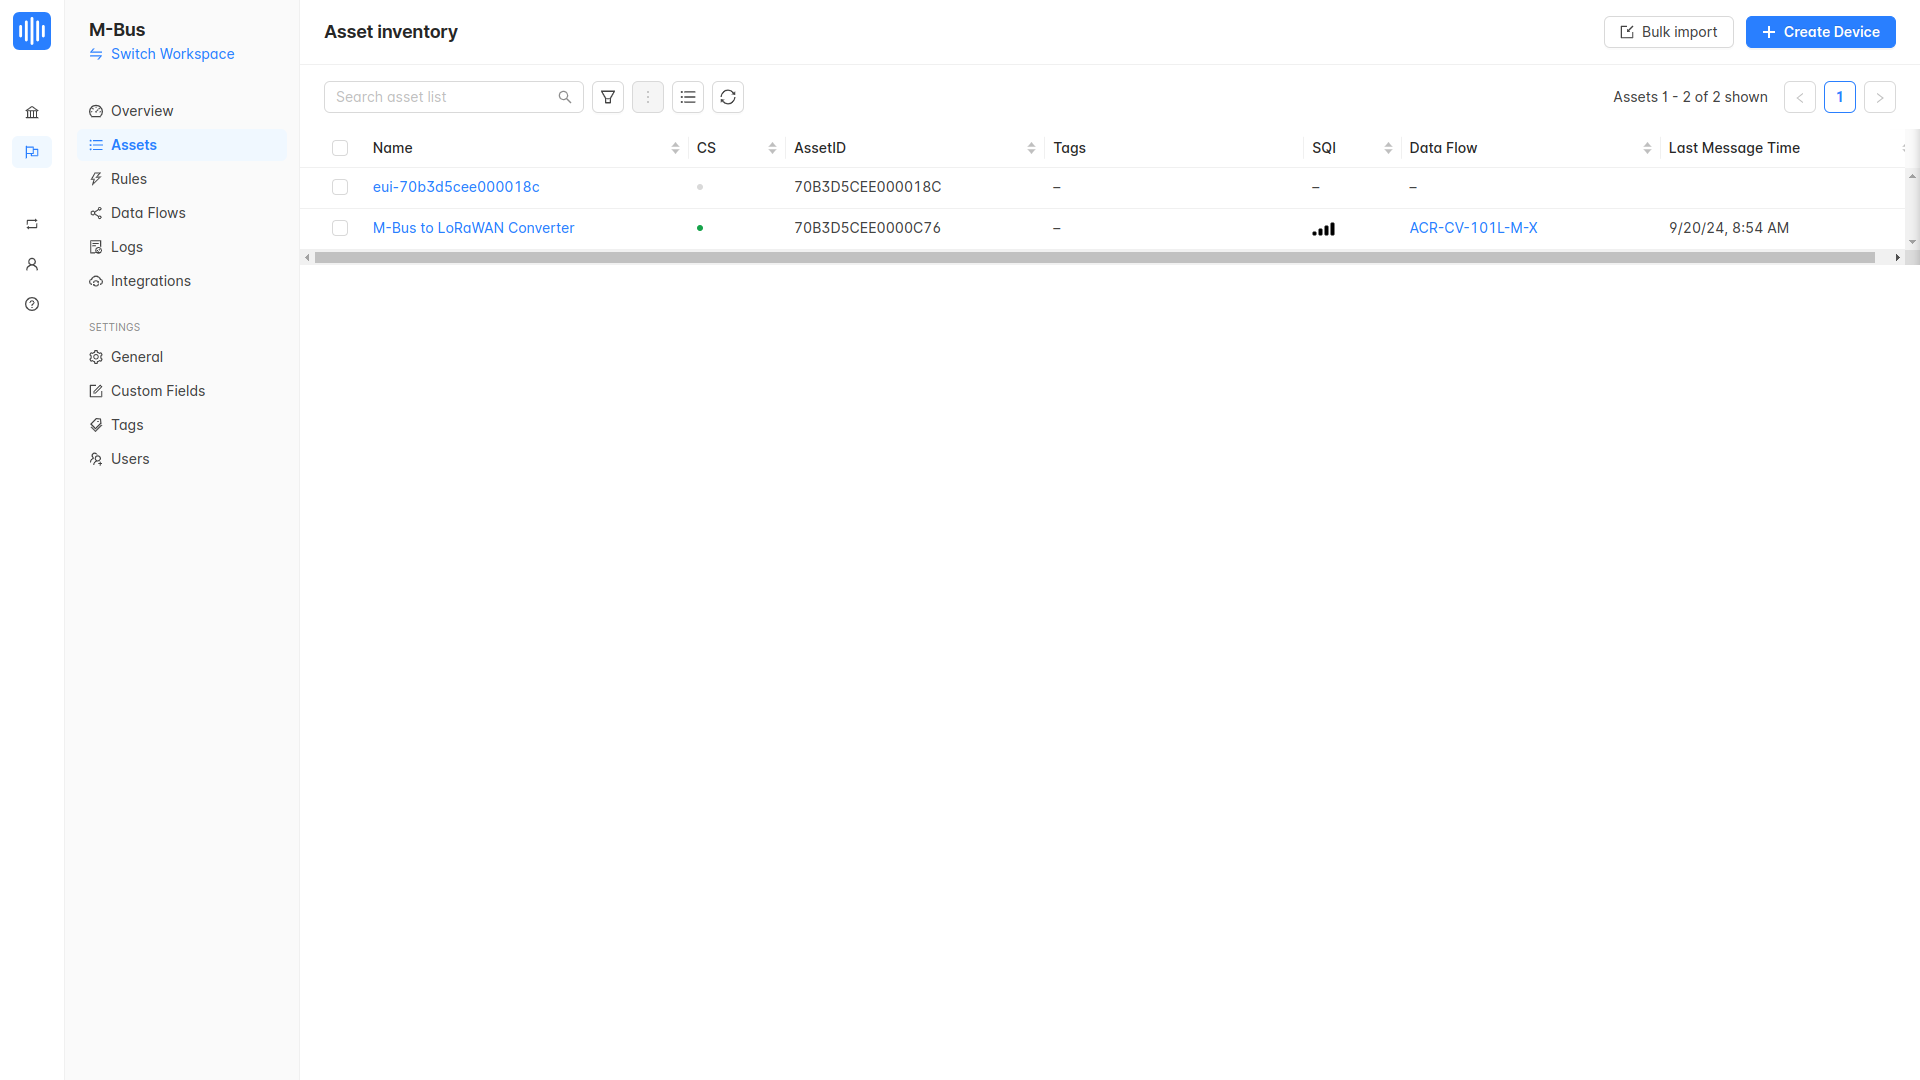
5. Confirming Your Setup
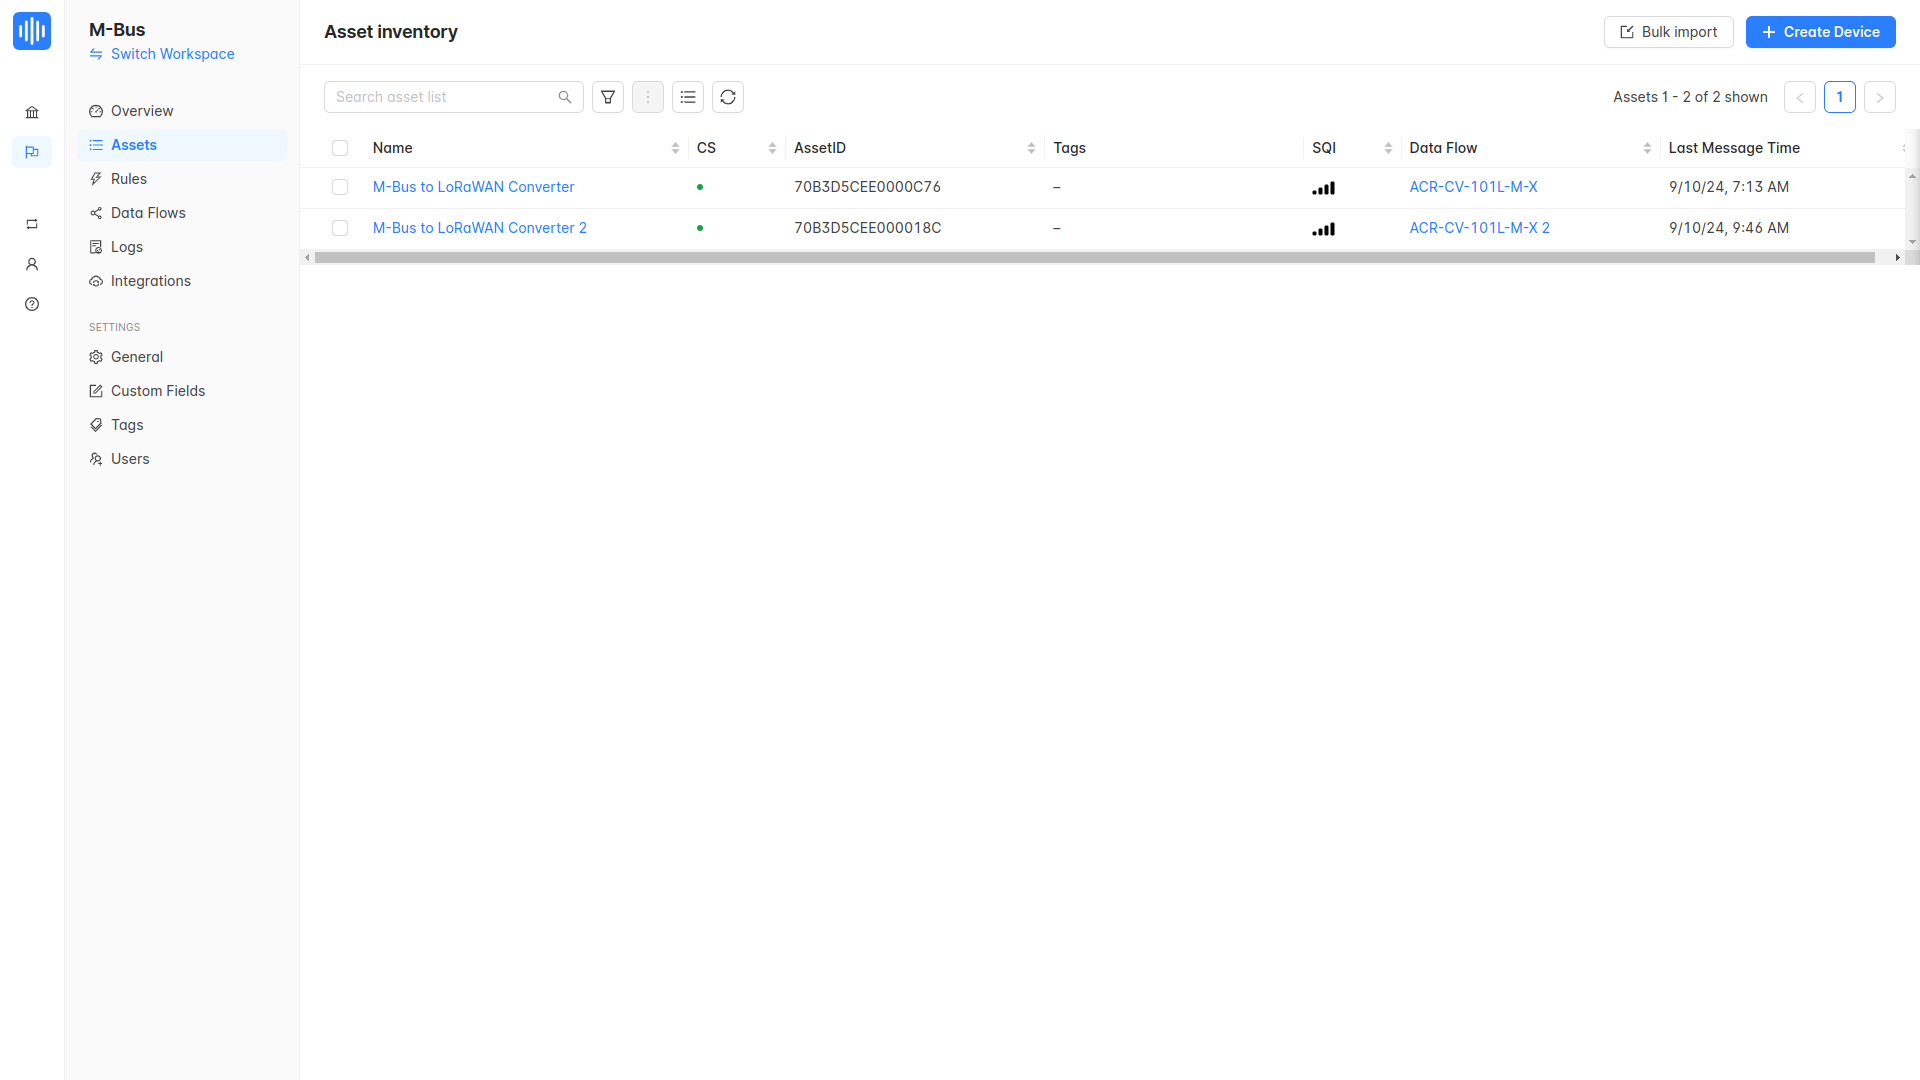
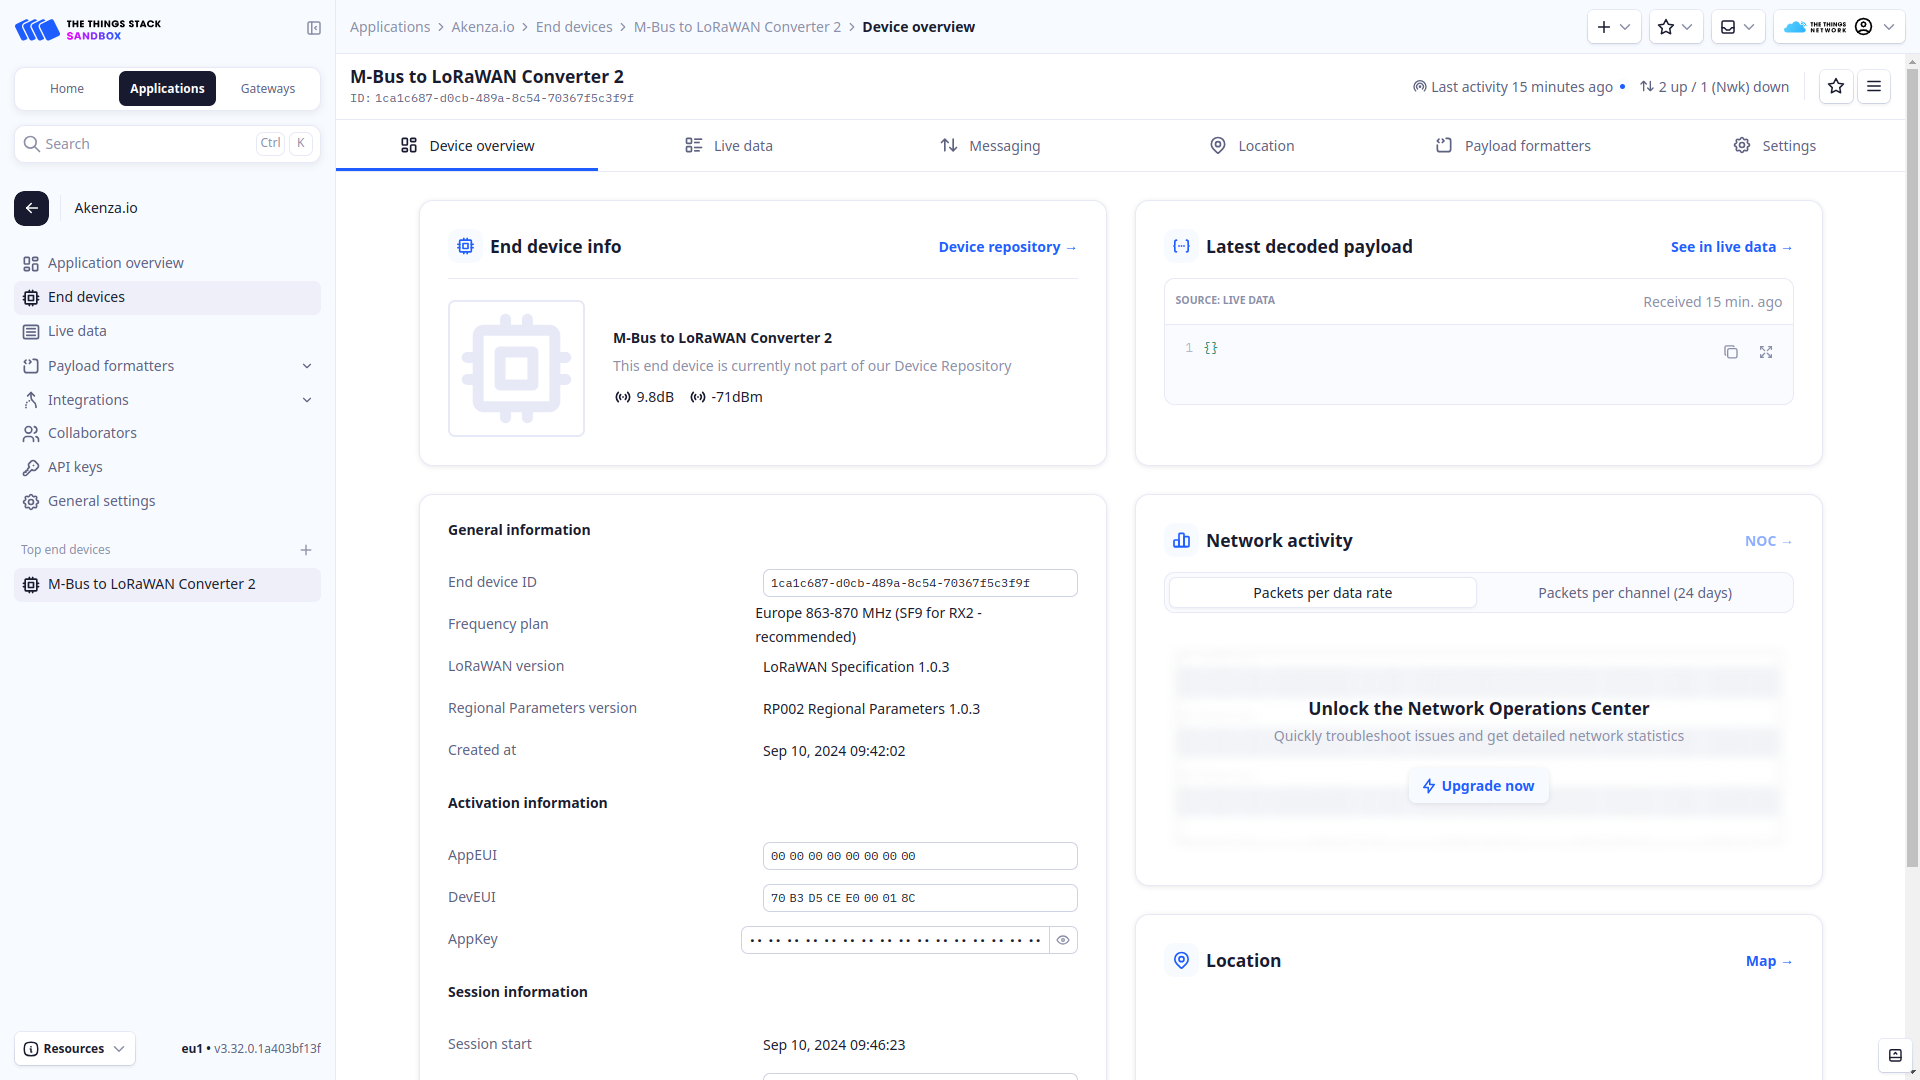
- You can also add your EU1 integration, dataflow, and assets in the same way as described for the open-source setup. The image below shows two assets successfully added to Akenza.io
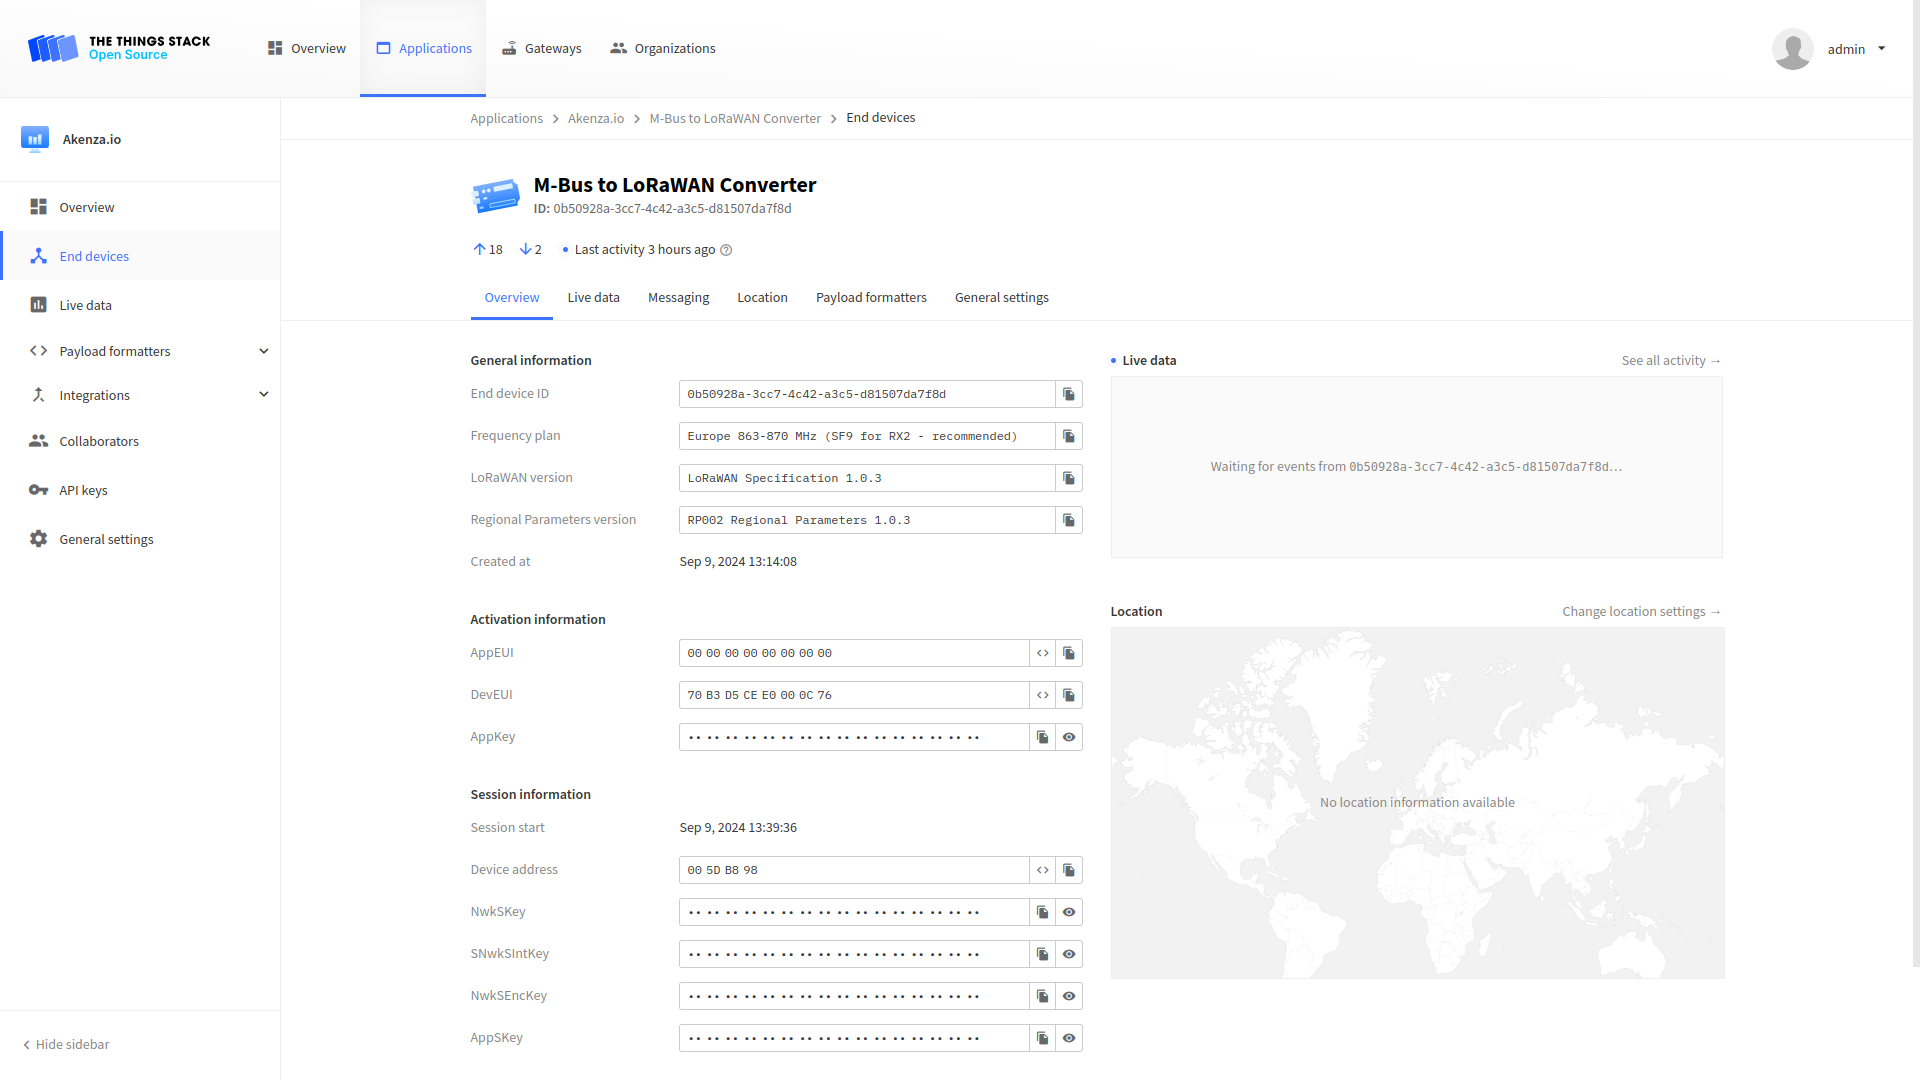
If you have followed all the steps correctly and completed the setup in Akenza.io, your device should also appear in TTS with its general and activation settings properly configured. This includes information such as the DevEUI, AppKey, AppEUI, and other LoRaWAN-specific settings.
- Open-source TTS server:
- EU1 TTS server:
You can further verify the setup by monitoring the communication logs in TTS to ensure that data is being transmitted to Akenza.io as expected. This confirmation step ensures that the integration between your devices, The Things Stack, and Akenza.io is functioning correctly.
Data Overview
Once your devices are successfully integrated with Akenza.io, you can monitor and visualize the data transmitted by your devices on the platform.
In this setup, we are not using schemas due to the variations in M-Bus payloads between VIF/DIF filters and M-Bus devices. Akenza.io currently does not support nested properties, so any data that is parsed will be visualized at the top level.
Our parser has the capability to flatten the data array into top-level properties if it is sent to port 100, ensuring that the parsed data is fully visible and can be monitored effectively within Akenza.io (works for 2nd level).
-
Data overview with nested properties:
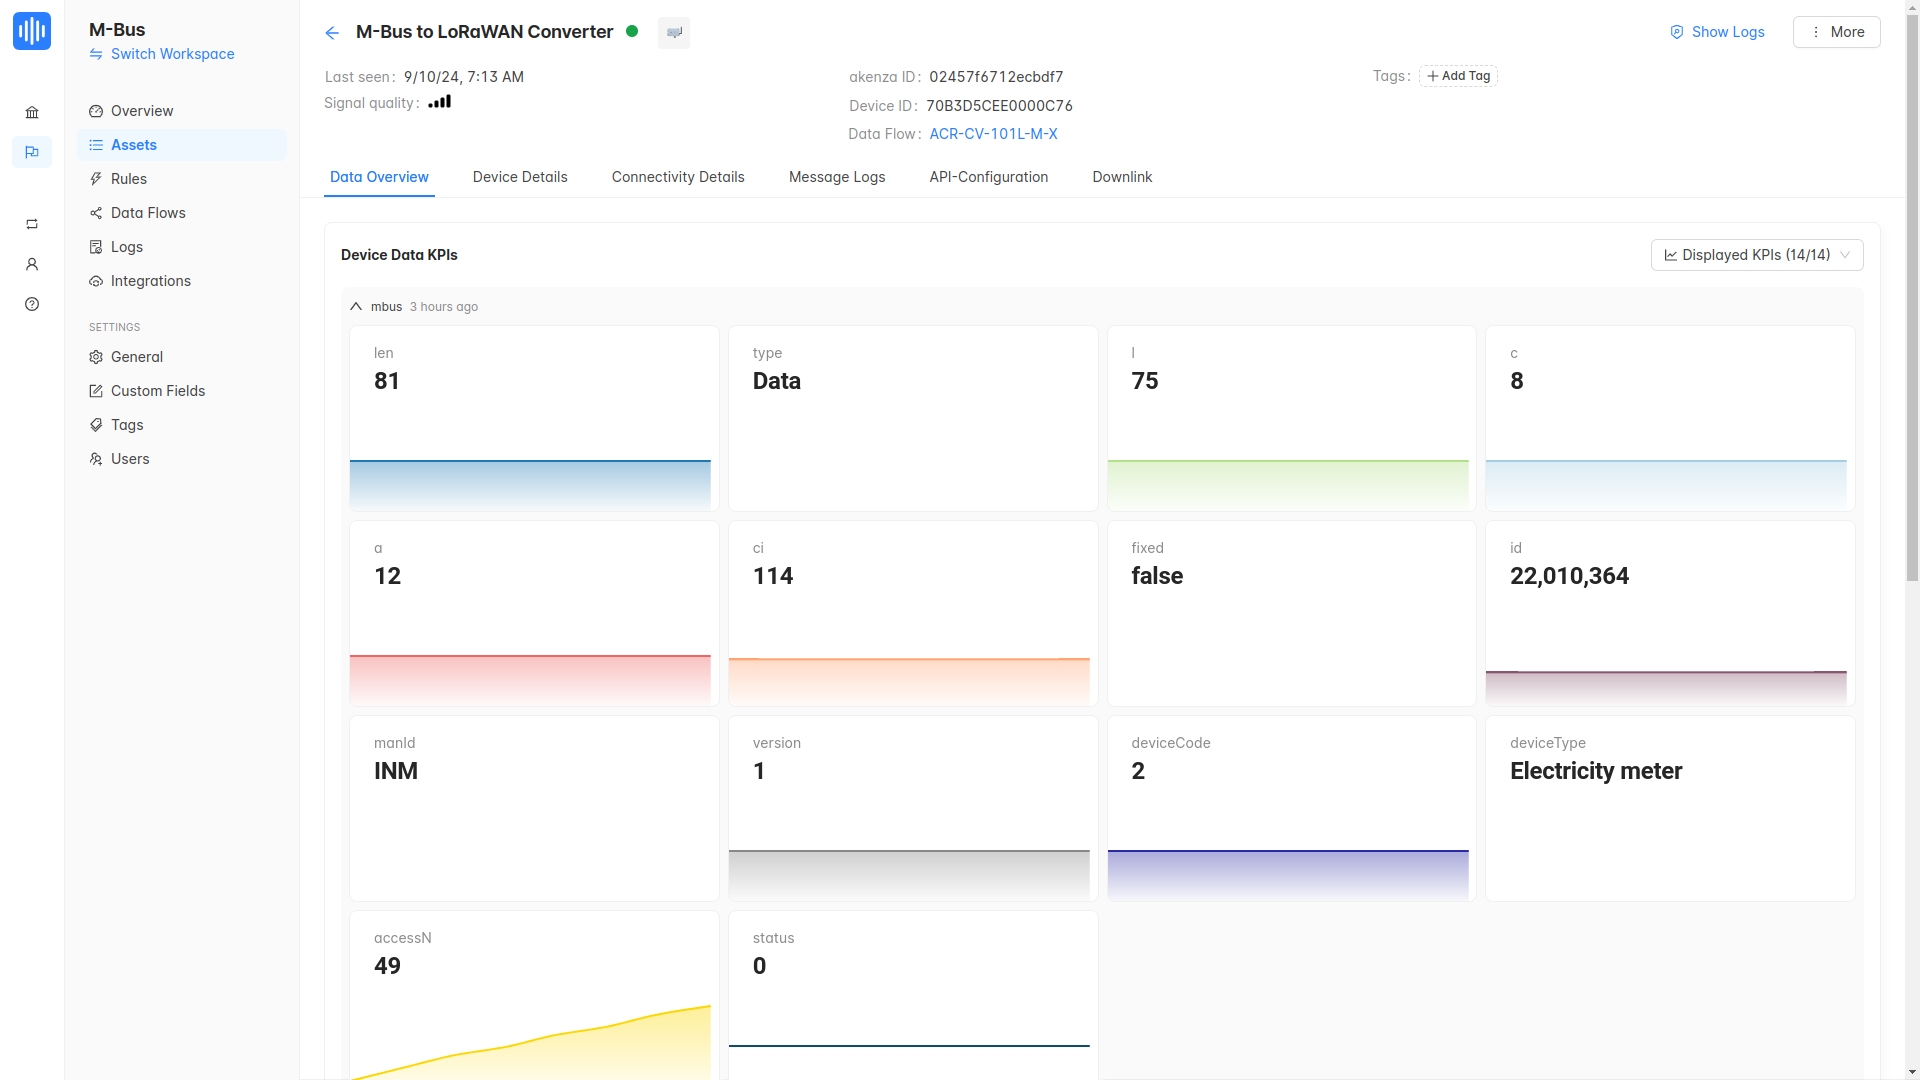
-
Data overview with flattened properties:
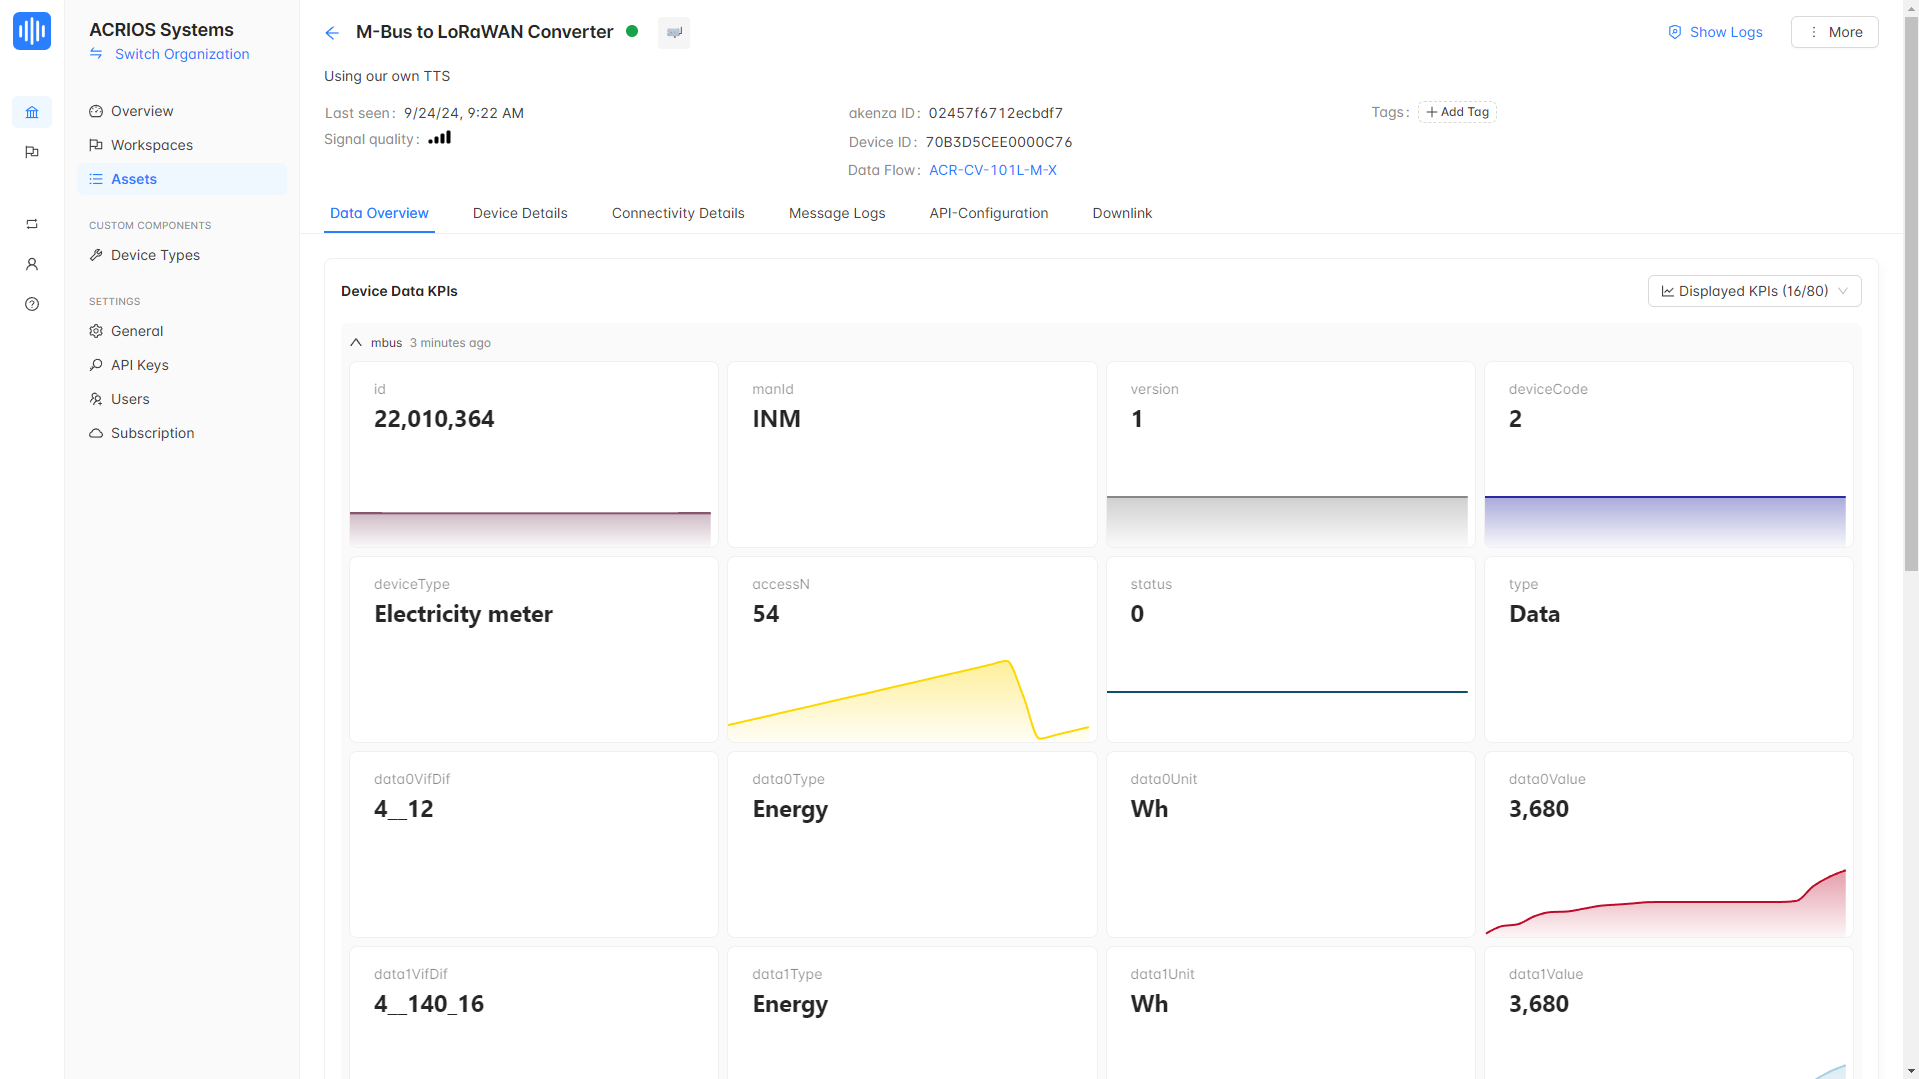
You can see that there is more KPIs that can be displayed after the data is flattened.
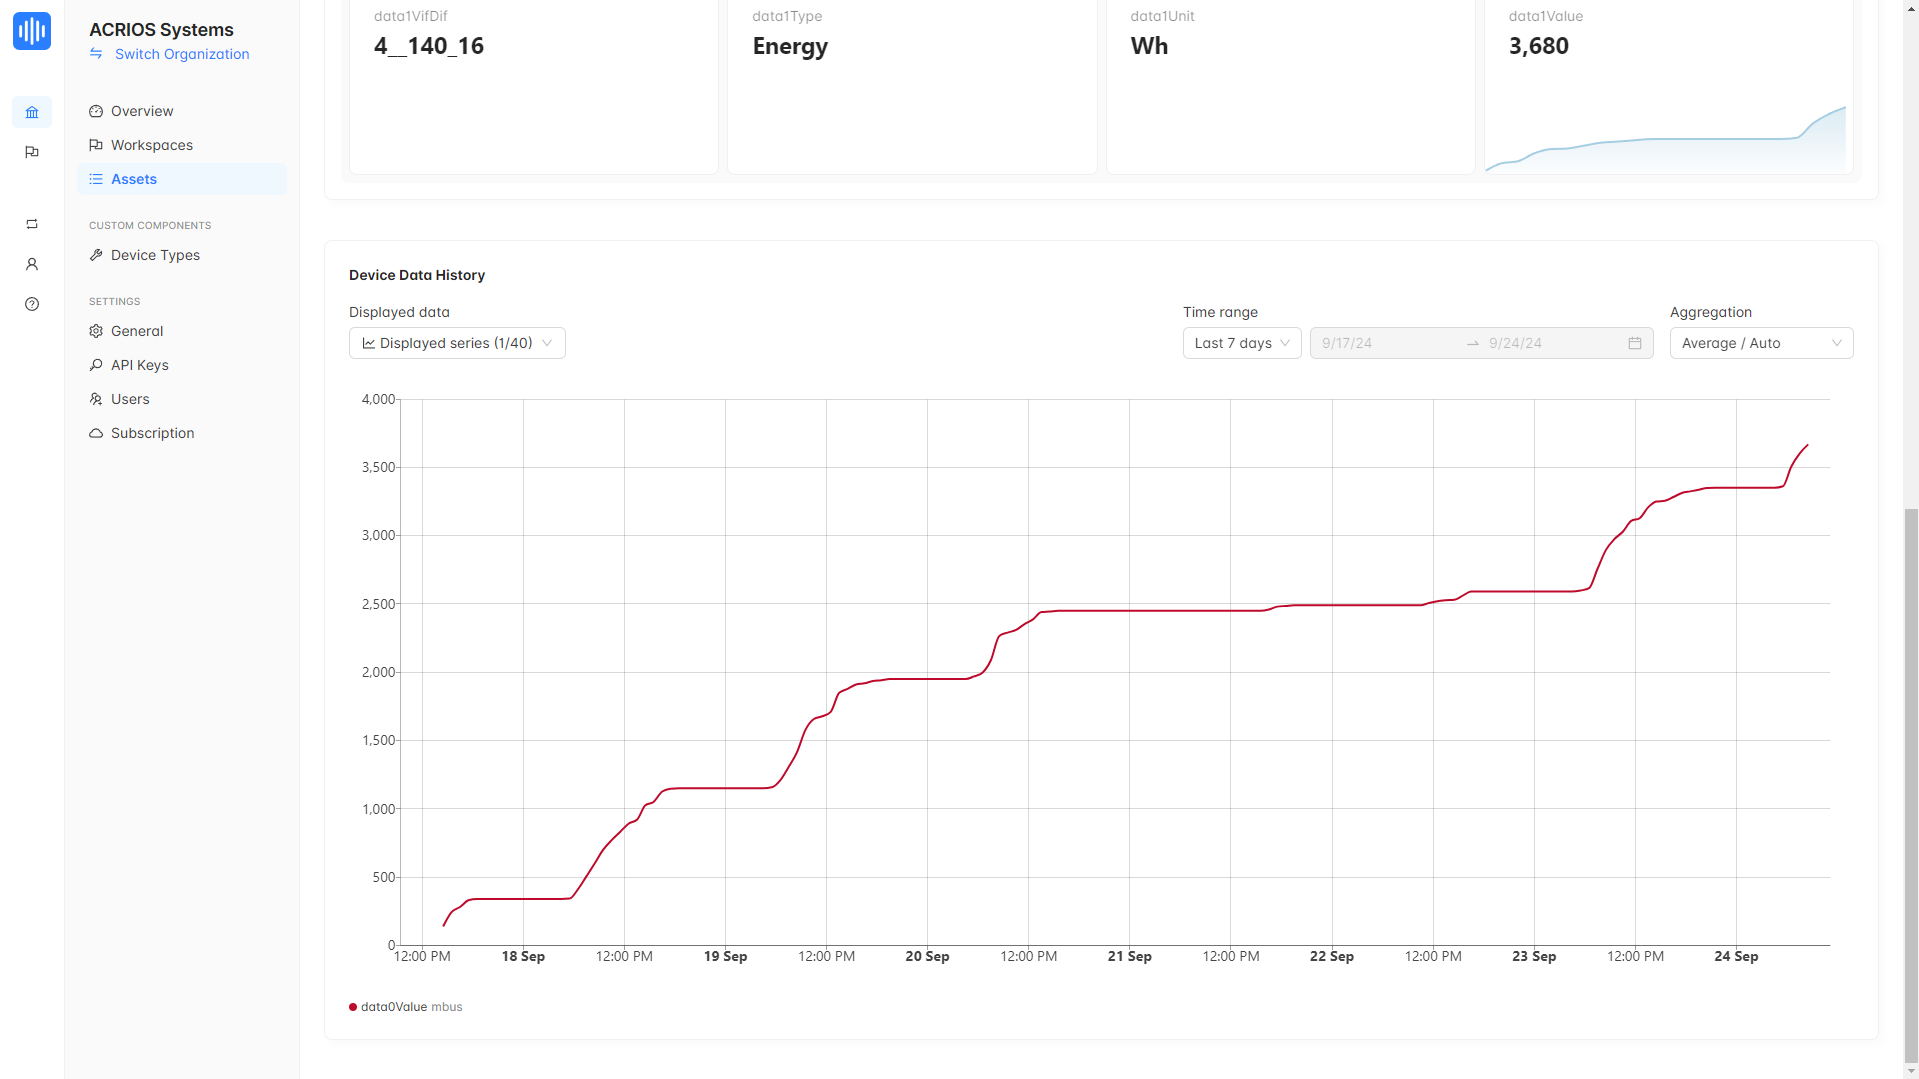
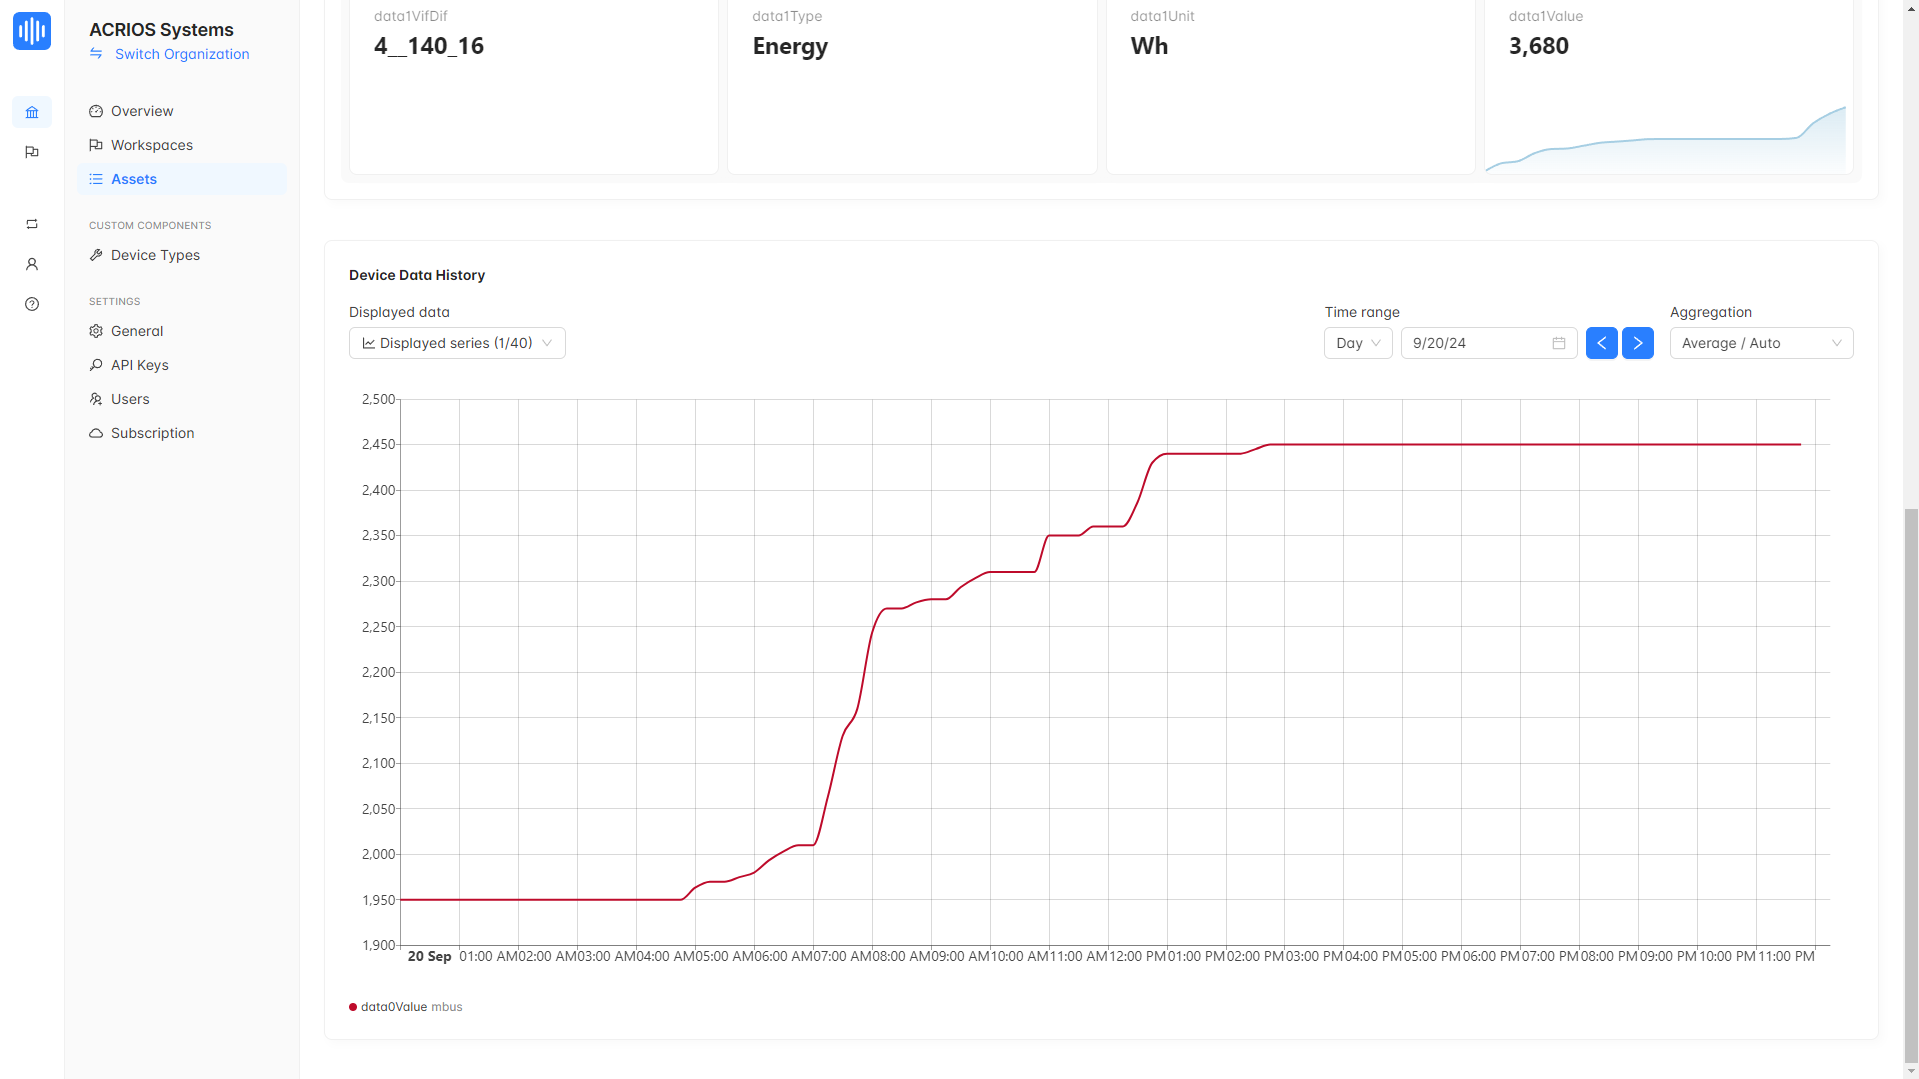
Energy Consumption Comparison
This section presents readouts from the electricity meter in our office, specifically monitoring energy consumption from the coffee machine and electric kettle.
- Monday
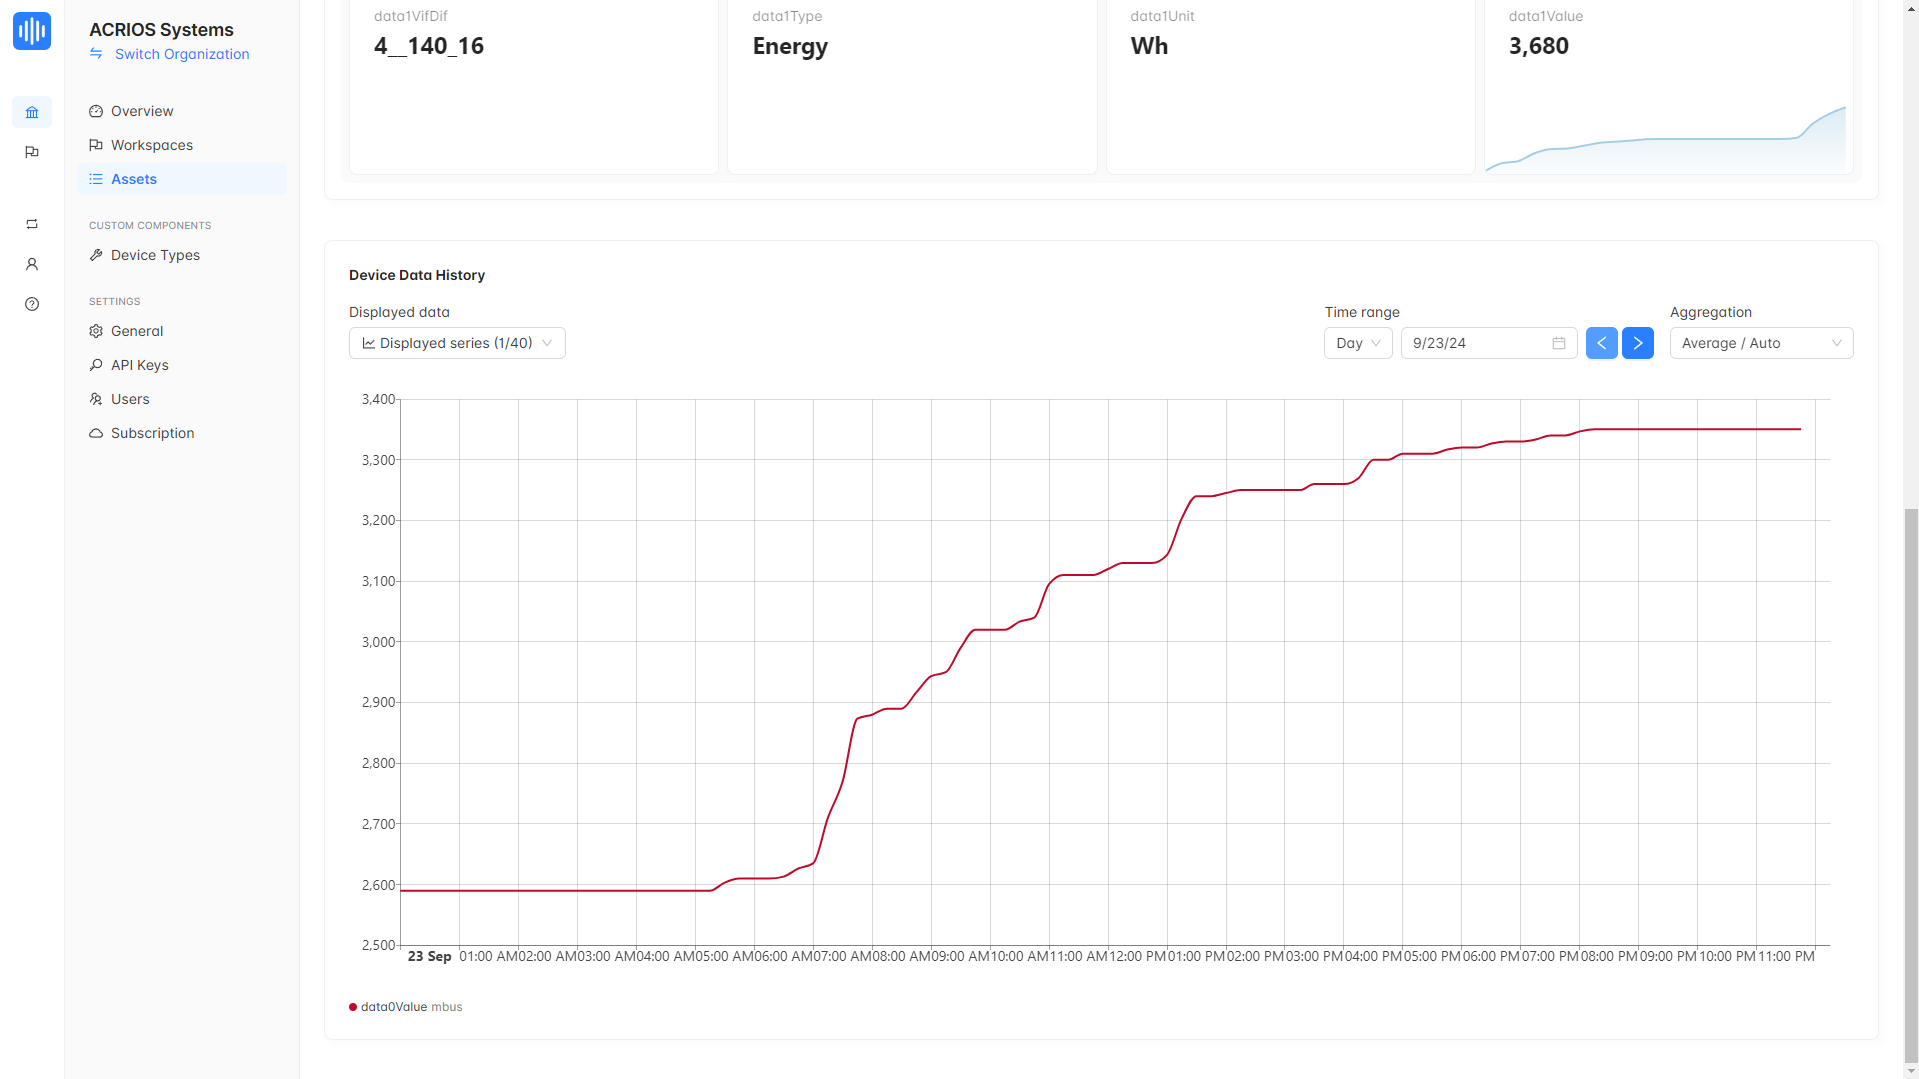
- Friday
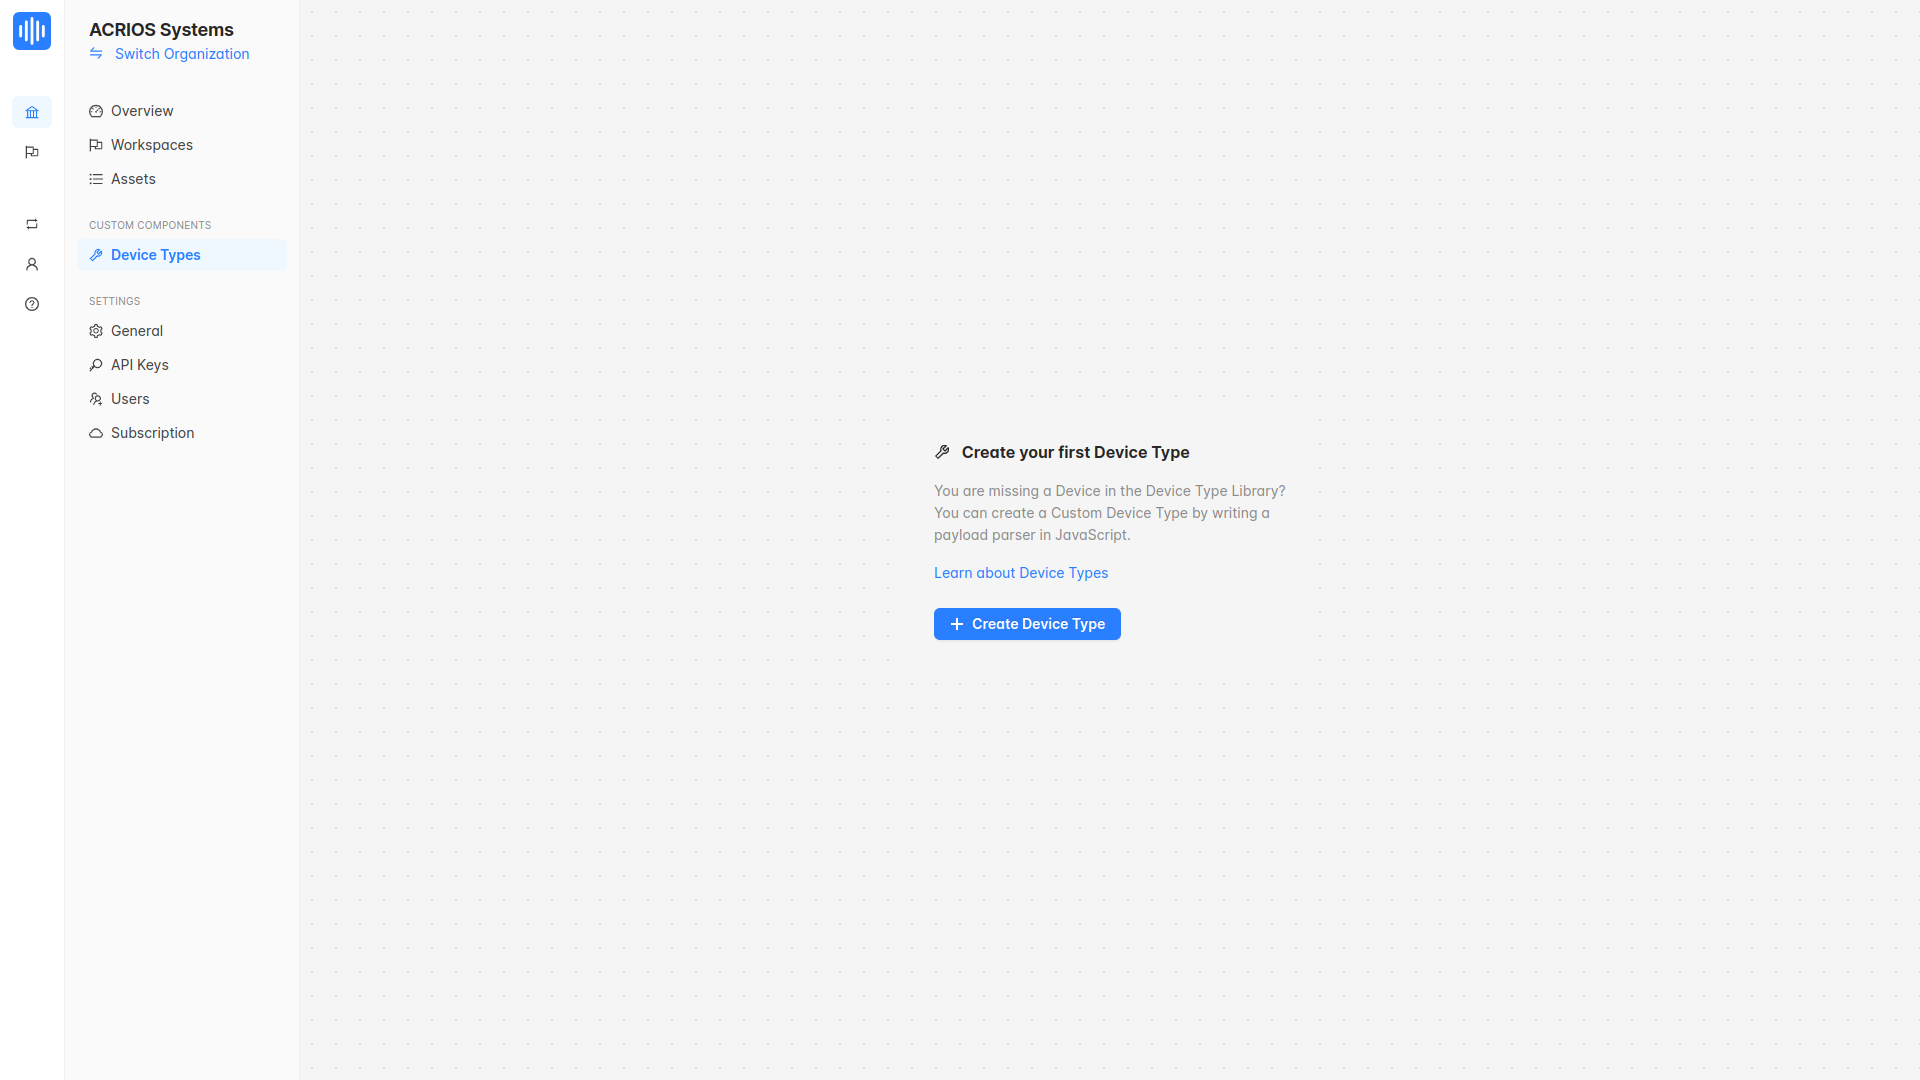
Creating custom device type with parser
If you want to parse the data in a specific way, you can create a custom device type with a parser. This allows you to define the data structure and parse the data according to your requirements.
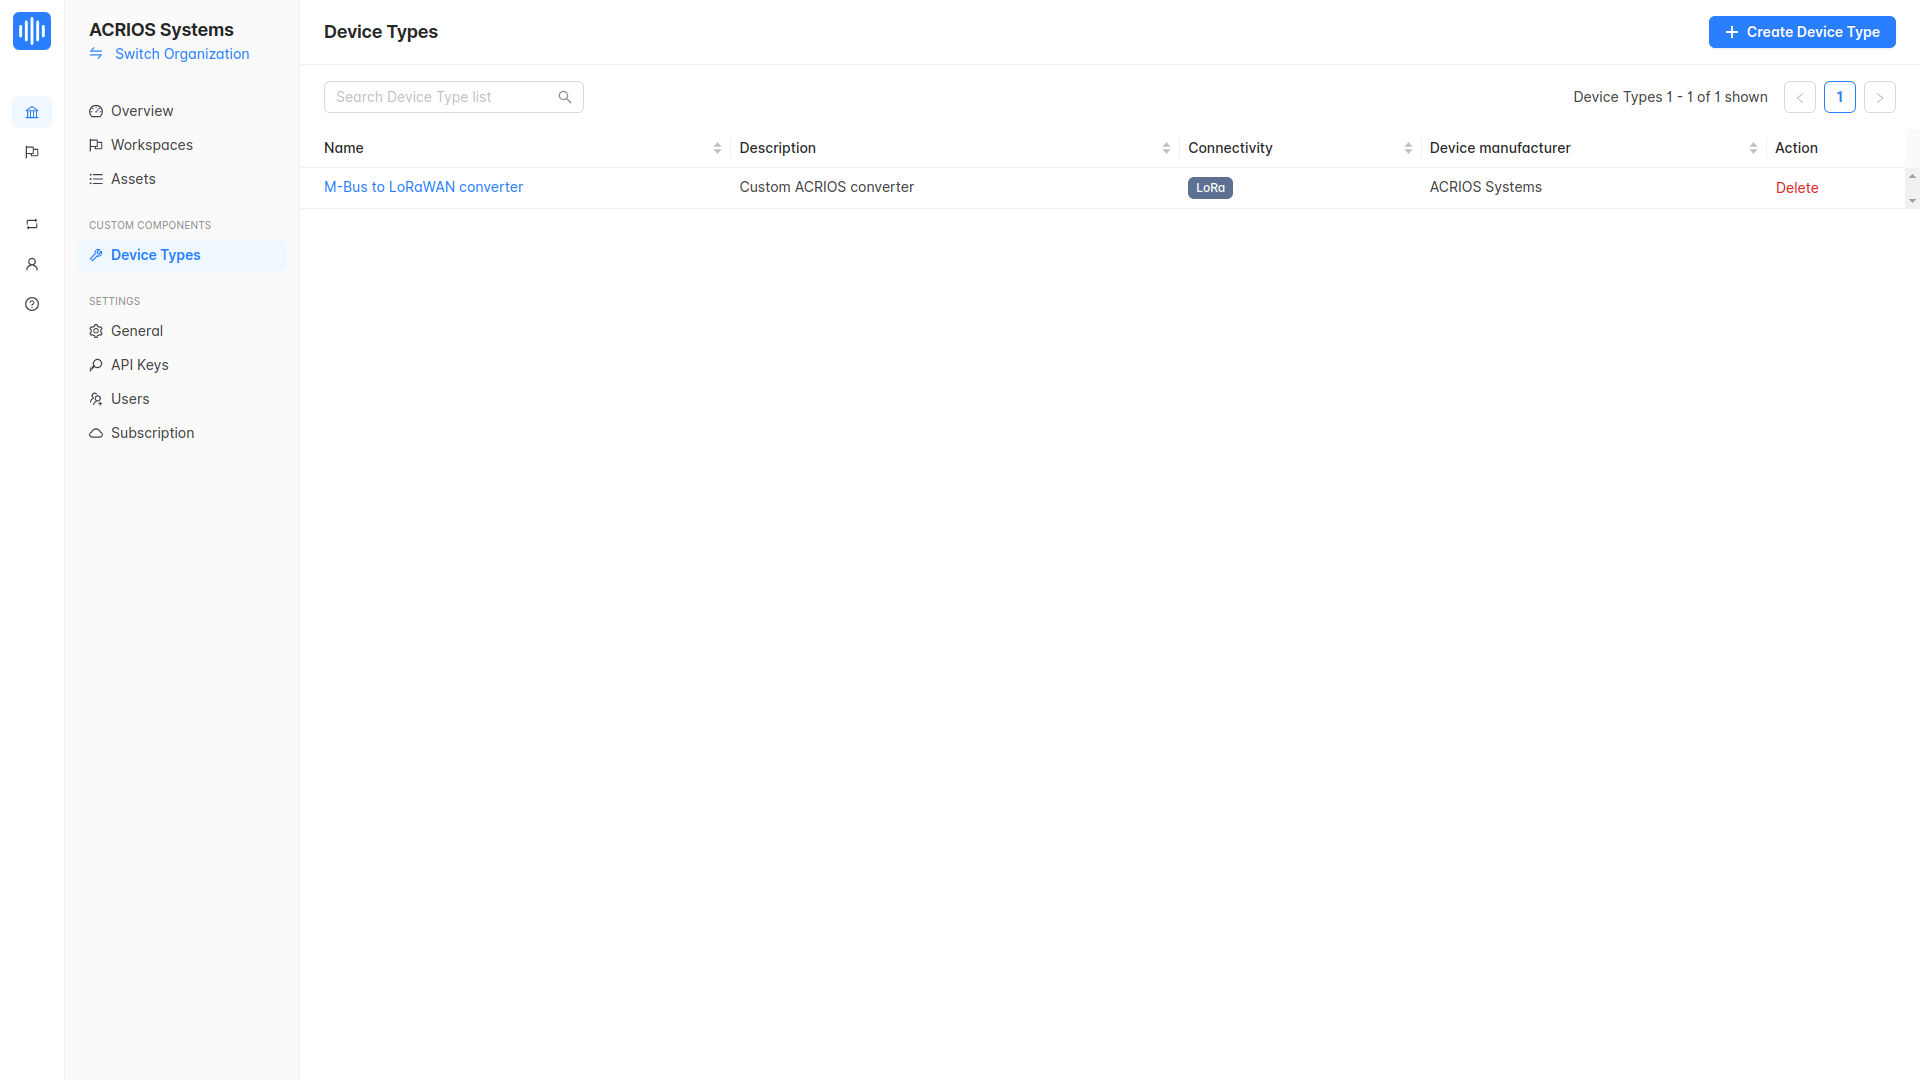
- Navigate to the Device Types tab on the left side of the screen and click on the Create Device Type button to create a new device type.
- Name your device type and click on the Next button.
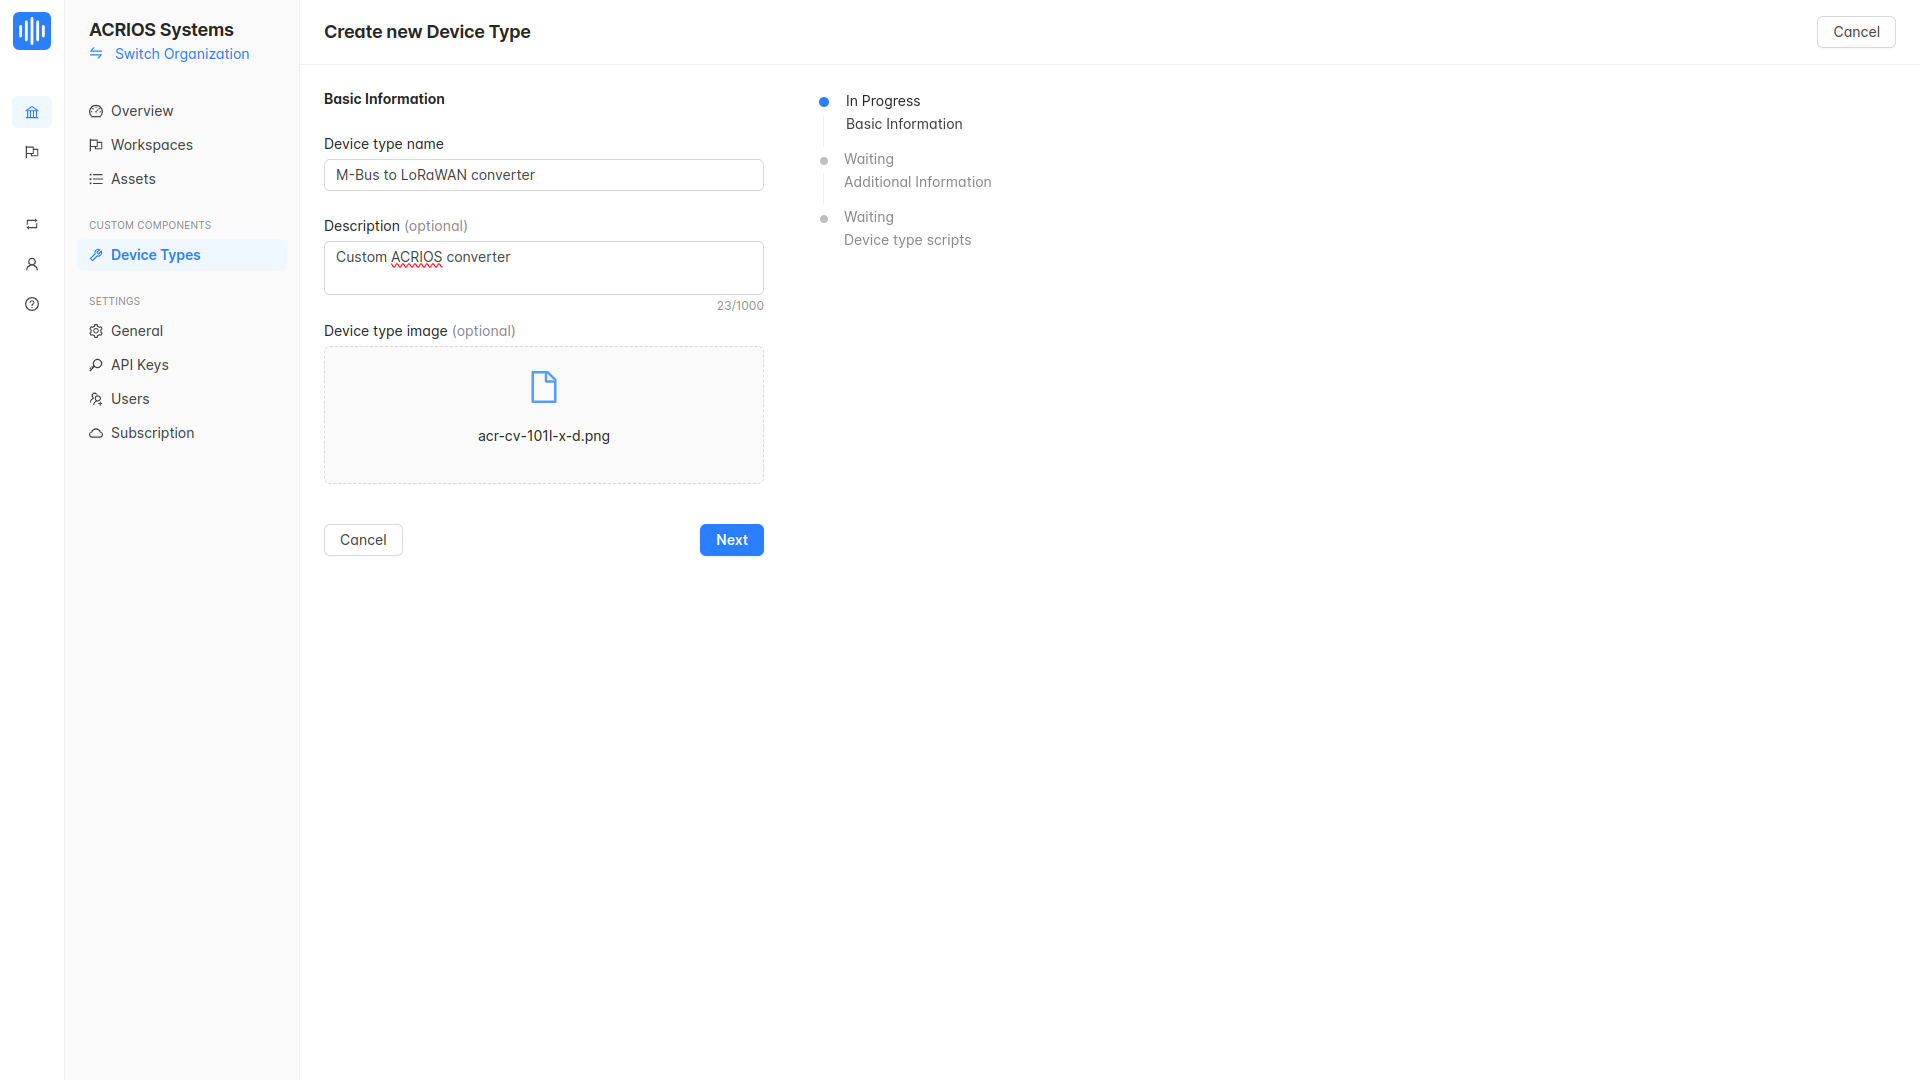
- You can fill additional information (optional) about your device type and click on the Next button.

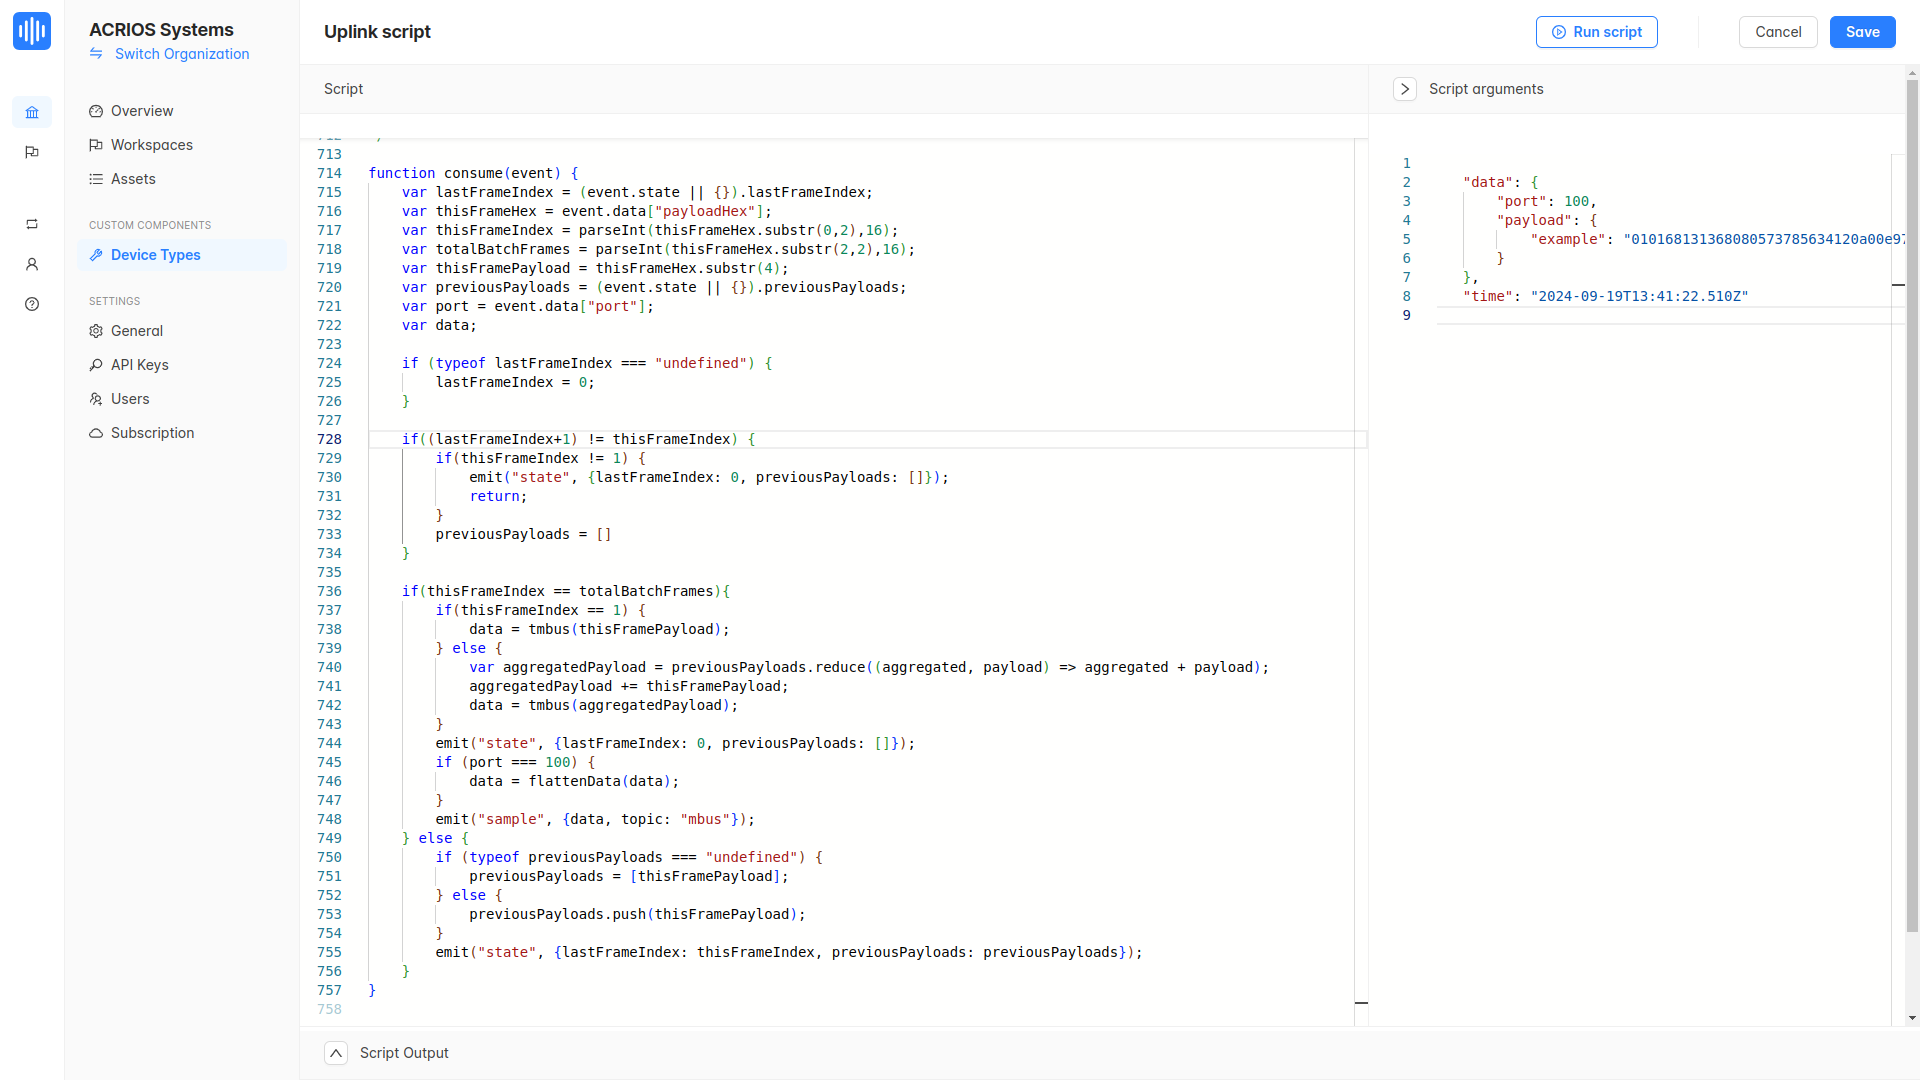
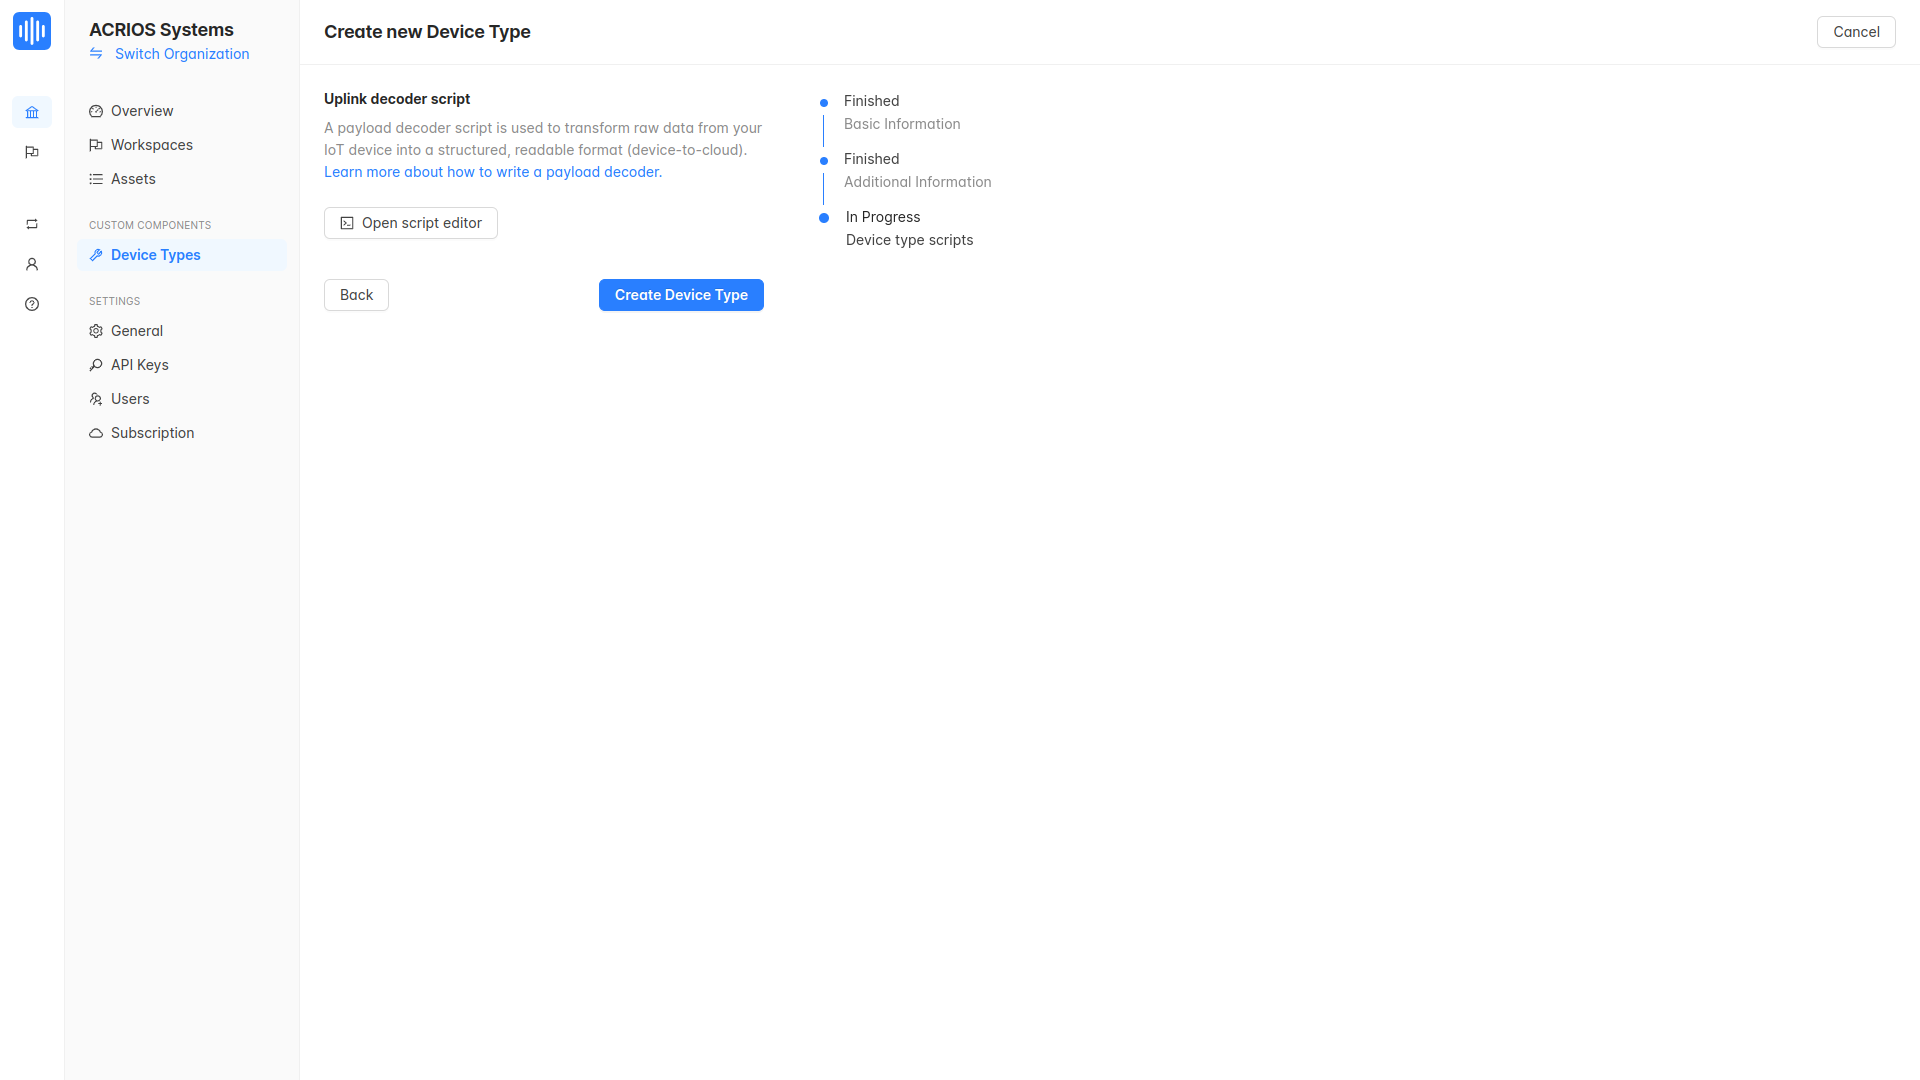
- Click on the Open script editor button to add a parser to your device type.

- Copy and paste parser script into the editor, then click on the Save button.
- Click on the Create Device Type button to save the device type.
- Your device type is now created and ready to be used.
Registering device via The Things Stack
If you have registered devices in TTS prior to integrating with Akenza.io, they will automatically synchronize after the integration is created.
You can also register new devices in TTS, and Akenza.io will automatically synchronize them. This automatic synchronization typically occurs once a day. For detailed steps on how to register a device in TTS, please refer to the TTS integration manual.
This also works for the public servers such as EU1, US1, etc.
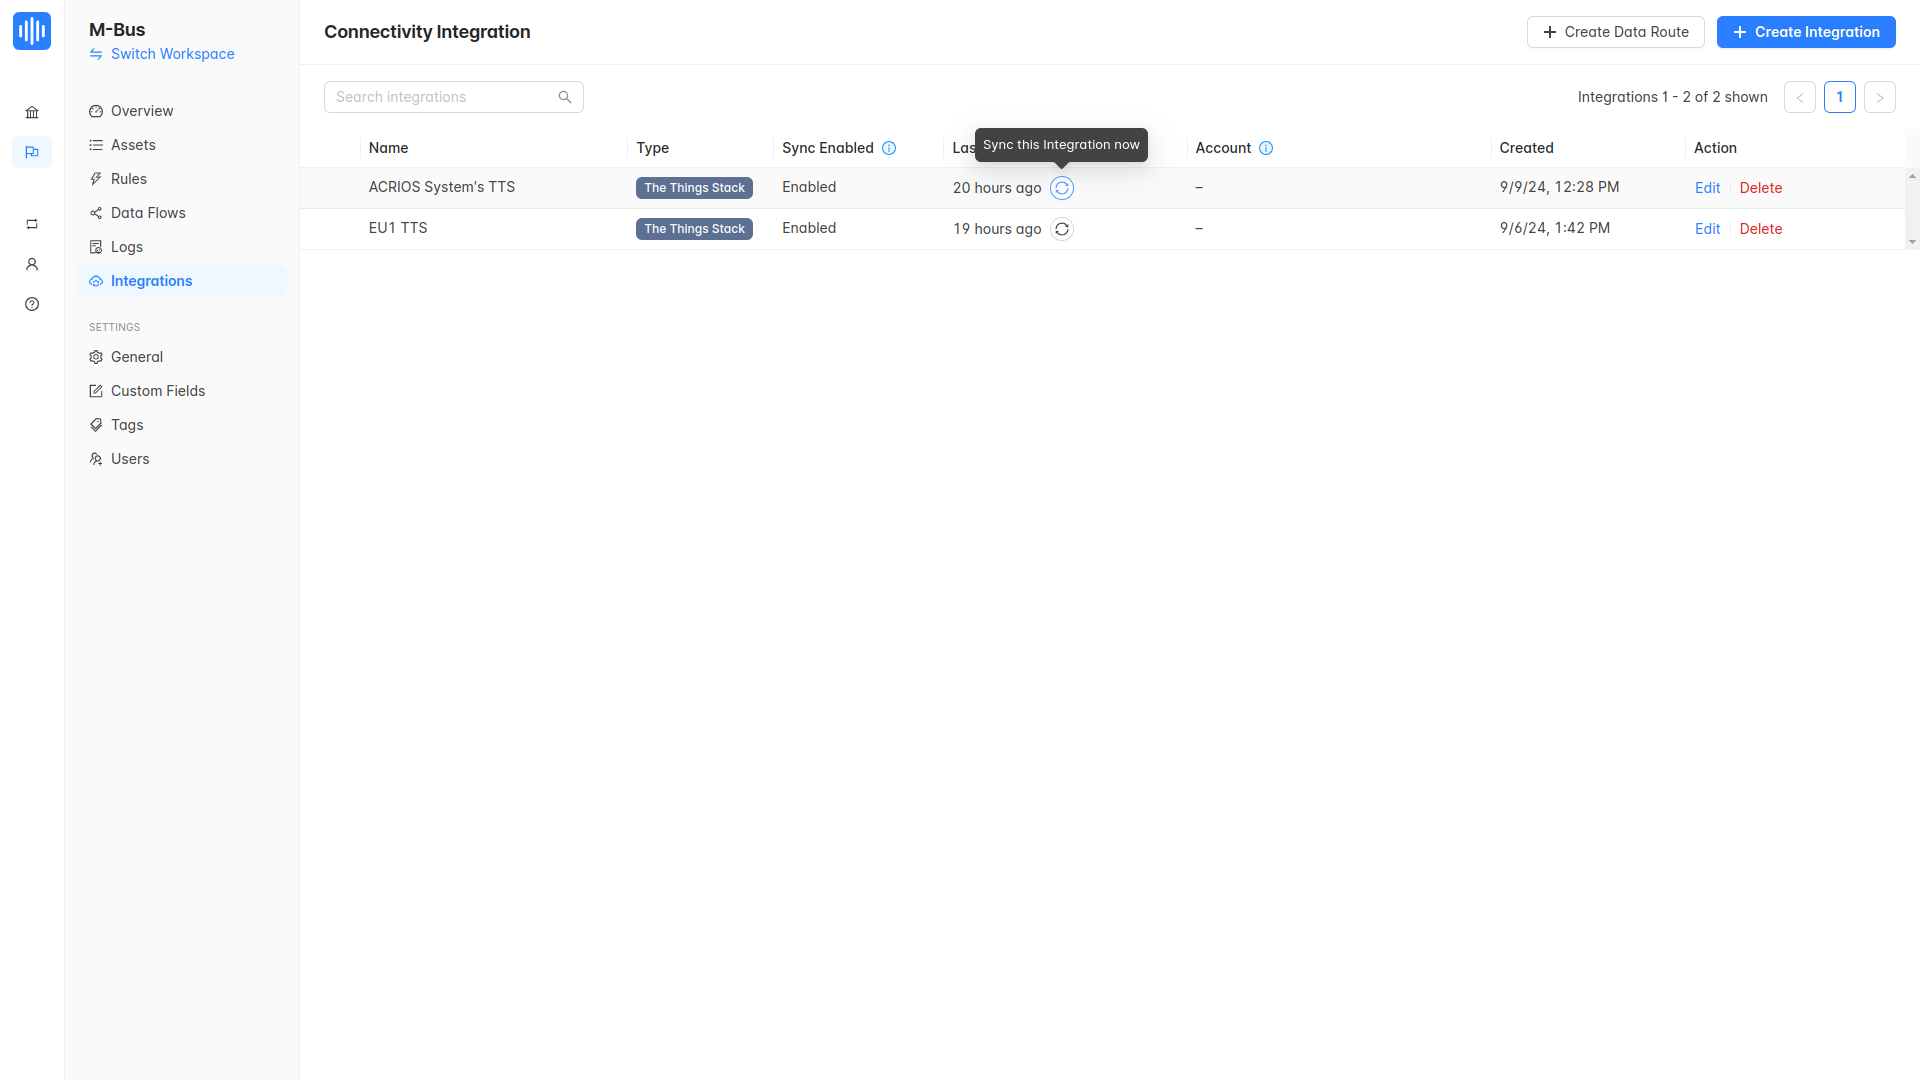
- If needed, you can manually synchronize devices by navigating to the appropriate workspace and selecting the "Integrations" tab. From there, click on the "Synchronization" button to initiate the sync process immediately.
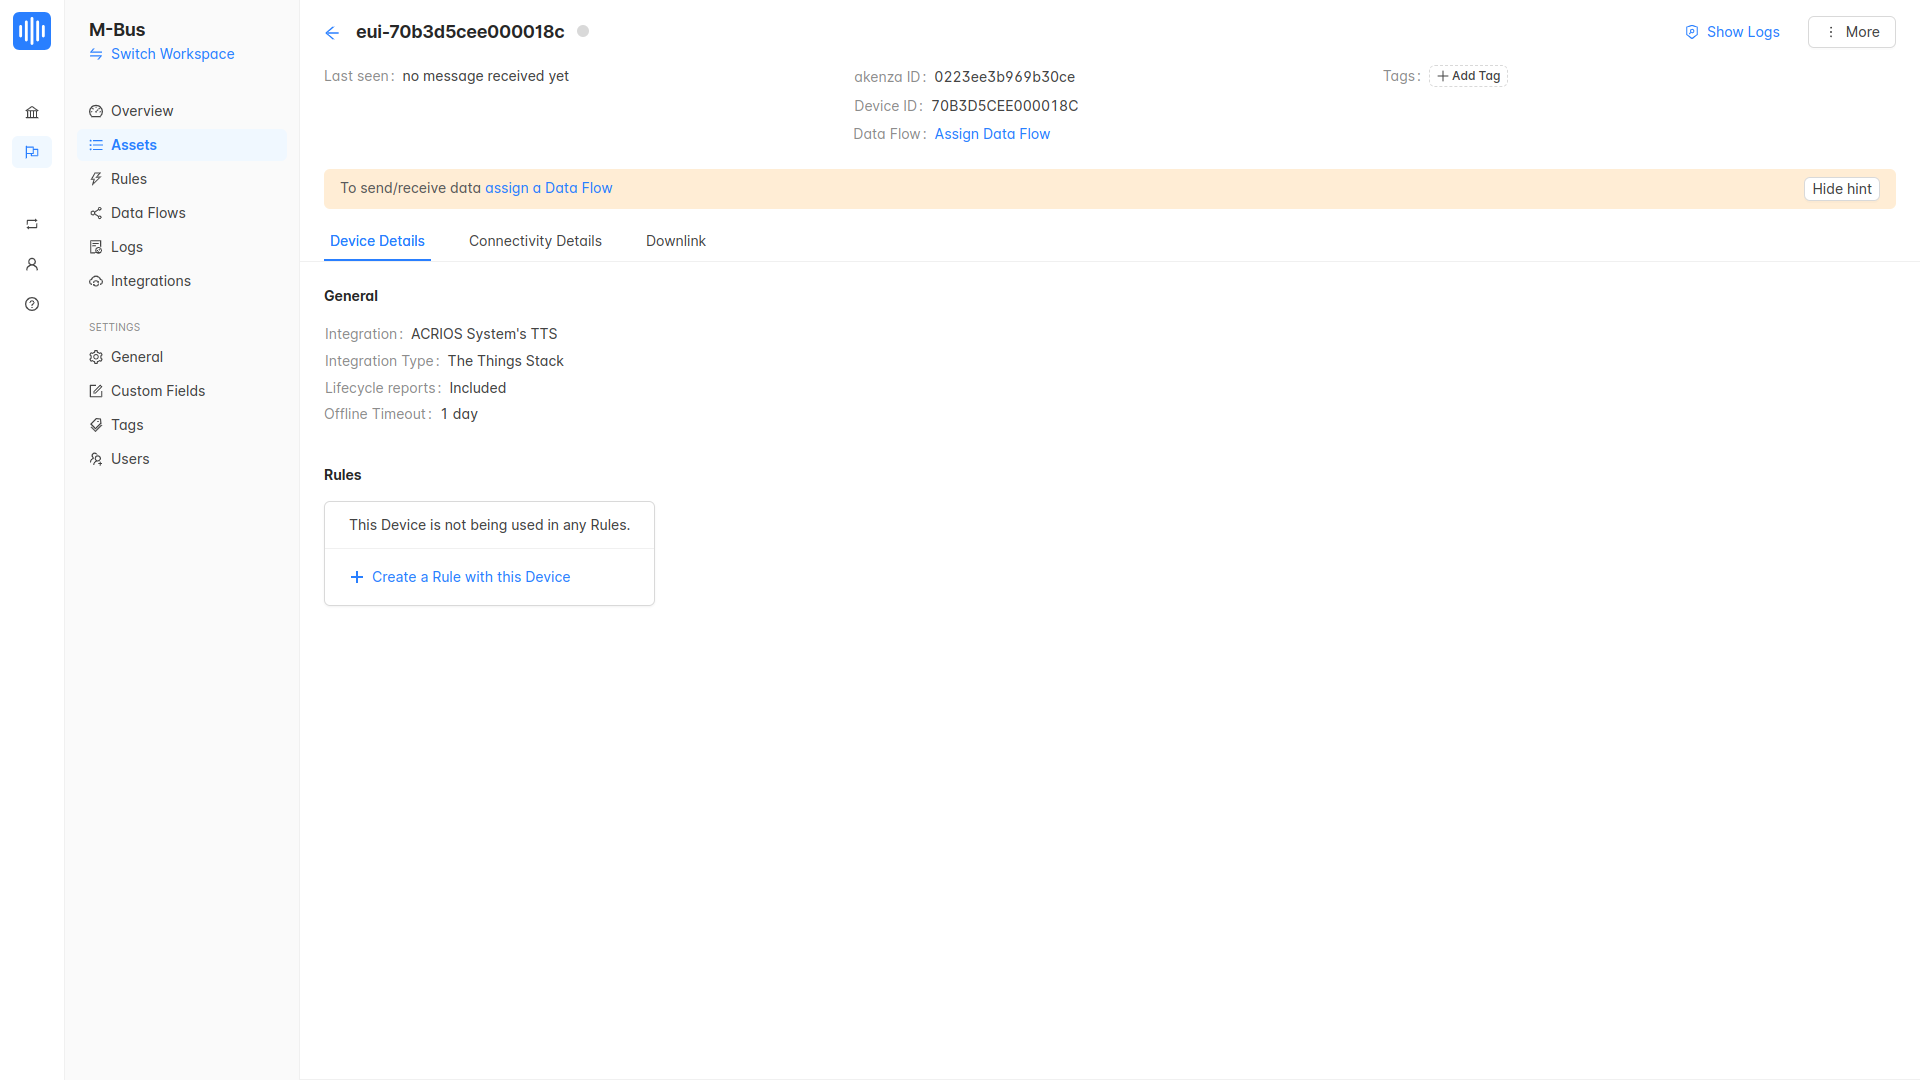
- After the synchronization process is complete, you can view the synchronized devices in the "Assets" tab of your workspace.
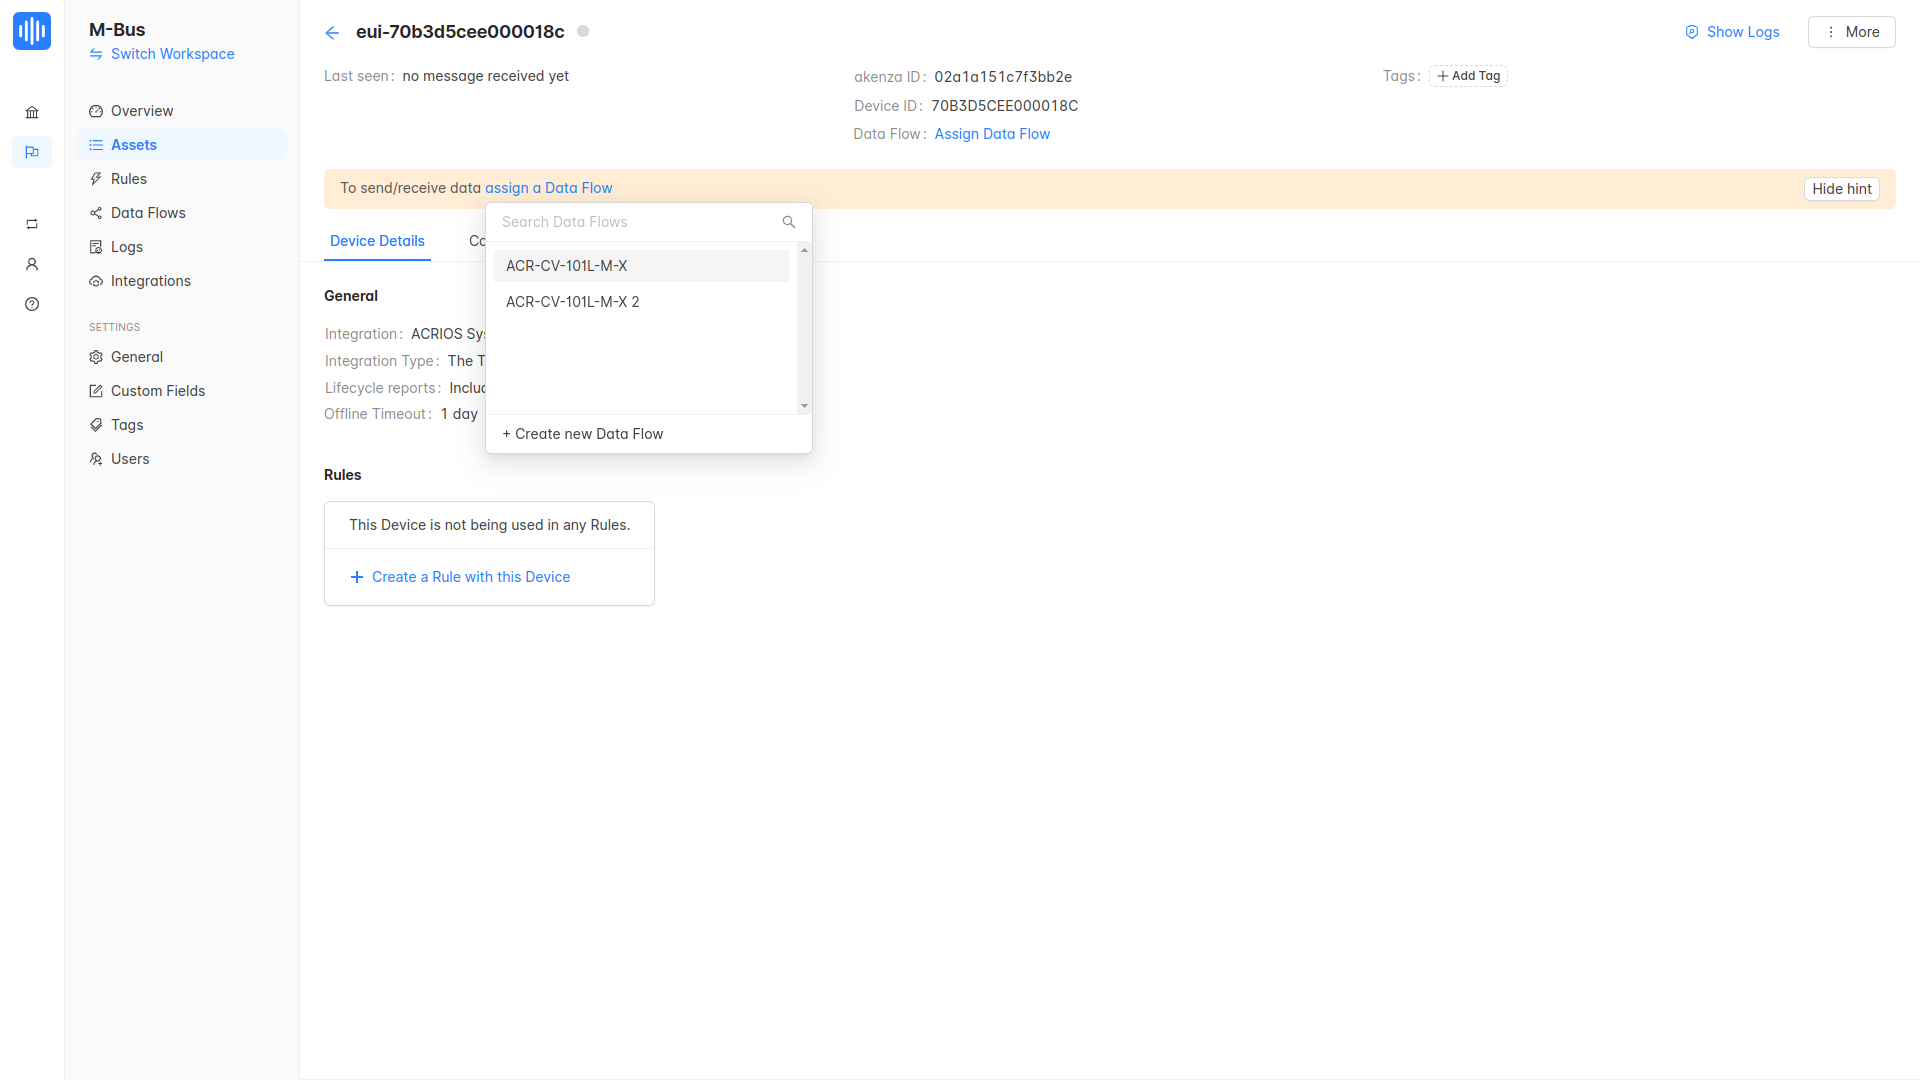
- Once the devices are added to the Assets tab, you need to assign a Dataflow to ensure the devices are properly connected and transmitting data.